Everyone is different but these are the top things we have used most for the twins during the newborn stage. I’ll also include a few things that would be helpful with a singleton too.
1 – The Snoo. Yes they are expensive. Yes I had two of them. Hear me out…With a newborn (or two), nothing is more important for a parent than sleep. I got both Snoo bassinets secondhand on Facebook Marketplace. I carefully vetted each seller and inspected each Snoo with precision. We used them for 5 months and I put them right back on Facebook Marketplace and sold them…for a profit.
The Snoo was so magical for me because it starts to rock your baby back to sleep for you, letting you stay horizontal.
2 – Table For Two. This is another great item to start looking for on Facebook Marketplace early. We got ours secondhand. Table for Two sent us instructions on how to remove the white cover to clean it up. We use this every day for bottle feeding.
3 – Bugaboo Donkey Twin. One of very few side-by-side strollers that fits through a standard door with ease. The bassinet and seat attachments both fit through our front door for walks with no issues. It’s not just a double stroller. It collapses down to a single stroller. This feature was helpful when I just needed to take one baby to a doctor’s appointment. Glides well, turns well.
4 – Twin Z Pillow. Not just for breastfeeding. We use this all the time for bottles before bed and used it a ton for elevated tummy time.
5 – OXO Space Saving Drying Rack. Twins means a ton of bottles so this vertical storage helps keep things off the countertop. As our twins have gotten older it’s also served us well for sippy cups and straw cups.
7 – Baby Brezza One-Step Bottle Sterilizer and Dryer. Our day care provider asks for four bottles per day per baby (eight bottles total). Having this dryer allows me to have clean and dry bottles quickly so I can have the next day prepared before bed.
8 – Baby Delight Bouncers (2). These look and function similarly to the Baby Bjorn bouncers but are half the price. With twins you can place them next to each other and use your foot to bounce both babies at the same time.
Nose Frida. I know it seems gross but it works 100x better than the bulb syringe.
Dapple Bottle Soap. In my experience, Dapple worked much better on both breast milk and formula compared to Dawn and Babyganics.
Fisher-price Deluxe Kick & Play Piano. Both of babies have loved it since they were 2 months old. Helpful during tummy time, learning to roll, crawl, and pull up. This toy was also mentioned in some of the forums I read as helpful when dealing with my son’s brachycephaly. He did not like being on his tummy.
1: Take Care of Yourself *Before diving in here…it’s important to state I’m speaking from my experience but every body, baby, and pregnancy is different. Please follow the guidance of your doctor, doula, mid-wife, or other medical professional.
Care Team It’s vital to have a care team that makes you feel comfortable. I have been going to my OB/GYN for years so we already had a good relationship and I trusted that she would provide the proper care and deliver my babies safely. When we discovered the added complexity that I had two babies, she immediately referred me to a MFM (Maternal Fetal Medicine) specialist for sonograms. This was a perfect example of my OB doing what was best for me by getting another doctor involved.
My MFM doctor was also a trusted member of my care team. I was in his office every month, then every other week, then every week towards the end of my pregnancy.
Nutrition My OB/GYN had recommended that I start taking prenatal vitamins when we were trying to conceive. These pills are packed with essential vitamins for a growing embryo. In addition to this, my MFM doctor had me taking a daily baby aspirin and extra folic acid. Studies conducted have shown that baby aspirin can reduce the risk of pre-eclampsia which is more common in a multiples pregnancy (source). The added folic acid provided enough to support two growing babies. Regular prenatal vitamins only contain enough folic acid to support one.
My doctors also recommended I try to gain 24 lbs by the time I hit 24 weeks. They advised that gaining weight early in a multiples pregnancy has been shown to increase the likelihood that the babies would not be born prematurely (source). So I ate…and ate…and ate. After my first trimester when the nausea subsided, gaining weight was easy since I just ate whatever I wanted, whenever I wanted. I wanted to stay healthy so avoided a lot of junk food but I added more peanut butter, avocado, and cheese to things. It’s important to eat well because gestational diabetes is more common in a twin pregnancy (source).
Rest I was not ready for how exhausted I would be while pregnant. I needed to take a nap every single day and was still going to be very early in the evening. My care team advised that I sleep when I was tired. I was taking a 1-2 hour nap daily and lying around a lot. Towards the end of my pregnancy when I was very large, this pregnancy pillow really made a difference in helping me sleep at night. Friends of mine have also said a good body pillow does the trick.
Water You have to drink so much water! Blood volume increases by 40% during a singleton pregnancy (source). You need water in your body to make sure you build up that blood supply and make enough amniotic fluid. I was extremely thirsty all the time so I had no problem drinking the recommended 64 oz per day. I actually drank more than that regularly. In order to ensure I was hitting that target, I bought this water bottle.
2: Gear Babylist Registry Because some of the items for twins aren’t available at big box stores, Babylist was a great registry option for me. It allows you to pull in products from all different stores into one easy to manage place. Highly recommend!
Target and BuyBuyBaby Registries Registering at Target and BuyBuyBaby was worth it for those friends and family that prefer to shop in a physical store. Also…you get free samples for registering at these places.
Top Twin Baby Items I broke this out into a separate post.
Secondhand Shopping Two of everything gets expensive quickly. I highly recommend buying as much as you can secondhand. Babies grow out of clothes, swings, bouncers, toys, etc. so quickly that a lot of the “used” items will still look and perform as if they were brand new.
I was constantly checking Facebook Marketplace, Mercari, and Poshmark for items. Facebook Marketplace is great for finding things in your general area for pick up or drop off. We bought bassinets, high chairs, swings, bouncers, nursing pillows, clothes, and baby gates all secondhand for a fraction of what you pay in a store.
You can also Google terms like “secondhand baby store” and see if there is one in your area. Kid to Kid in South Austin has been a great place for selling clothes the twins have outgrown and purchasing the next size up.
3: Create a Birth Plan Doula Hiring a doula is a personal choice. For me, I wanted a doula for a couple of reasons 1: The rules around visitors and guests kept changing due to COVID-19. At the time of delivery, I was only allowed to have one person with me while I labored and delivered except if using a doula or midwife. 2: My husband and I had no idea what to expect. Hiring a doula to walk us through everything that was happening in the moment was extremely helpful.
Overall, I’m glad we hired a doula. Brenda was a wonderful resource to us before, during, and after delivery. She kept me comfortable and calm. She asked good questions that I would not have known to ask and explained everything to me and my husband in a way we could understand.
What’s in a birth plan? Our doula told us the “birth plan” is really more of a wishlist. It is very unusual for a birth plan to go 100% as written in your document. This helped set our expectations that we can have preferences but to be aware that things can change. Brenda came to our house about 6 weeks prior to our due date to discuss the birth plan. The first thing she told us was We put into a one-page document our goals and preferences for procedures during labor and postpartum. For example, we listed the preference to hold off on an epidural until I reached 5-6cm of dilation.
4: Generally Helpful Resources I’m a researcher and like to do my own due diligence. Here are the resources I found the most helpful.
What To Do When You’re Having Two” by Natalie Diaz: Buy it. Read it. Keep it for help once the kiddos are here! Natalie is also the founder of Twiniversity, details below.
The Podcast: Some episodes were more helpful than others. I still listen to this regularly and have found it to still be valuable as the babies age.
The Facebook Group: This is a very engaged group of women. It was helpful for me to get advice from other women going through the same thing I was. I still get in there and answer questions from time to tine.
As a newly certified PMI project manager, I hope this post is helpful to others seeking the accreditation. I want to caveat that this advice is based on the exam when I took it. Please reference PMI for the most up-to-date information.
What is the PMP? PMP stands for Project Management Professional. This is a professional certification given by the Project Management Institute, a global organization of project managers. You can find additional information at PMI.org.
Who is eligible to take the PMP exam? Before applying for your exam, make sure you meet the eligibility requirements.
A four-year degree
36 months leading projects
35 hours of project management education/training or CAPM® Certification
OR
A high school diploma or an associate’s degree (or global equivalent)
60 months leading projects
35 hours of project management education/training or CAPM® Certification
How do I get my 35 training credit hours? You can get your PDUs from a variety of PMI accredited education programs or trainings.
I wanted in-person training so I attended The University of Texas at Austin’s Center for Professional Education’s “Project Management Certification Program”. This is an 8-week course aimed to prepare you for the exam and provide real examples of project management. During this course, you form a team and build a project plan from scratch. By the end of the course, you are asked to present your project in front of a panel of PMP certified project managers. I enjoyed this course but it is not necessary for getting your PMP.
How do I fill out the PMP application? You can start the application process by creating an account with PMI.
Before going through the application with PMI, I’d recommend writing out all of your projects in a spreadsheet. Here is a link to the template that I used to keep track.
What study materials should I use? There are many options when you begin to study for the PMP. These are the resources I utilized and would recommend. Everyone learns differently so feel free to find other resources via a Google search.
Rita Mulcahy’s PMP Exam Prep – I purchased the ebook version. I read this book cover to cover once, taking the chapter assessments as I went. This book is great because it breaks down the PMBOK into easy to understand concepts, has exercises to test your knowledge, and contains tips for passing the exam. For each end of chapter quiz, I recommend reading through the reasoning for each answer, even if you got those questions correct. I took extensive notes and re-read those notes at least 3 times. I also re-read chapter 2-3 again a couple of weeks before my exam.
PMP Exam Simulator – This is an excellent tool when preparing for your exam. You can customize assessments based on areas where you need more practice or take full 200 question exams. I took 3 of the full exams in the month leading up to my actual exam. You get a full breakdown of which questions you missed with explanations on the correct answers and where in the PMBOK to reference for additional details.
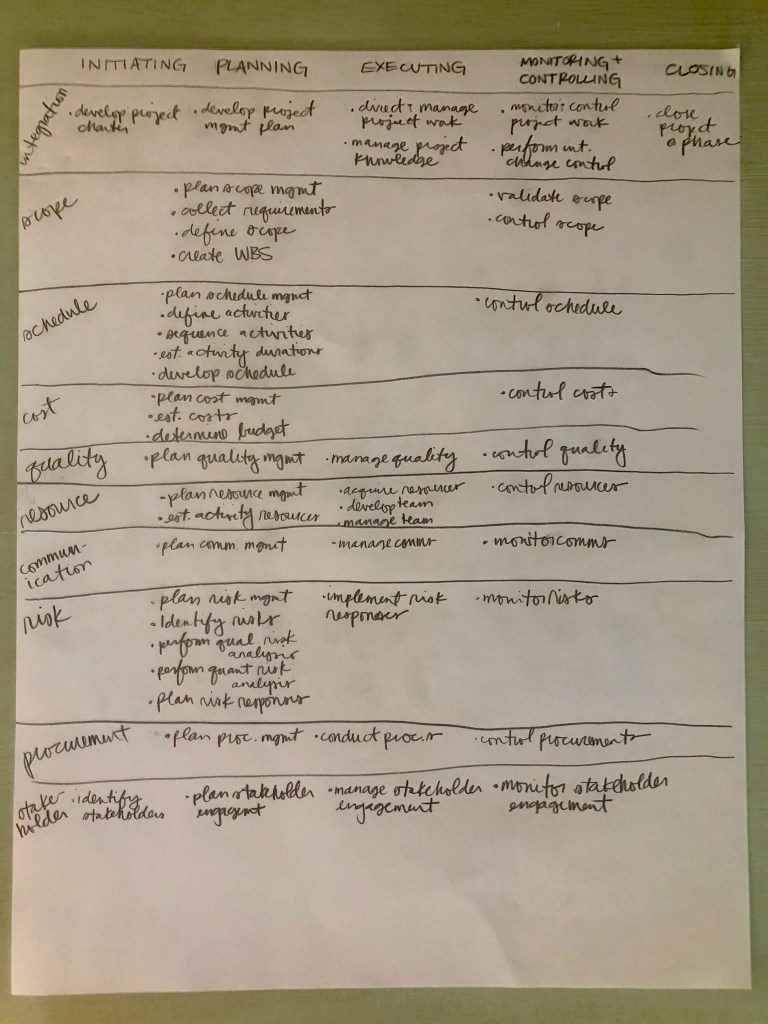
What does a brain dump look like? I took photos of the brain dump I practiced for your enjoyment!
Front of brain dumpBack of brain dump
Because I took the exam via online proctor, I ended up not writing down the original front of my brain dump. More on that later.
What’s it like taking the PMP exam via online proctor? In all honesty, it’s not ideal. However, I do think it’s necessary to prevent the spread of COVID-19.
Make sure you have a Windows machine. The PearsonVUE application does not play nicely with MacOS. I am very glad that I tried this out the Friday before my exam the following Monday. I was able to borrow a friend’s PC and practice on it over the weekend. I highly recommend downloading the application at least the day before your exam to test that it actually works with your system. I did not have any issues the morning of my exam because I worked out all of the kinks over the weekend.
The main downside to the proctored exam for me was the inability to use scratch paper for my brain dump and calculations. You are not allowed to have anything on your desk besides a mouse and keyboard.
You do have access to a “notepad” that works similarly to Microsoft Paint. I practiced creating the full 49 process groups chart but it was taking too much time. I ended up simply opening a single text box and dumping in all of my equations. Let me tell you, trying to go through the algebra using the equivalent of the Microsoft Paint pencil was not easy.
My husband and I bought a fixer upper in June 2019. This house was a mess which means I will always have projects to work on. Yay! We wanted to get our downstairs renovated quickly so we could have somewhere to live while we slowly worked on the upstairs.
I wanted to share a full breakdown of my journey with this upstairs guest bathroom. It’s been a doozy.
Phase I
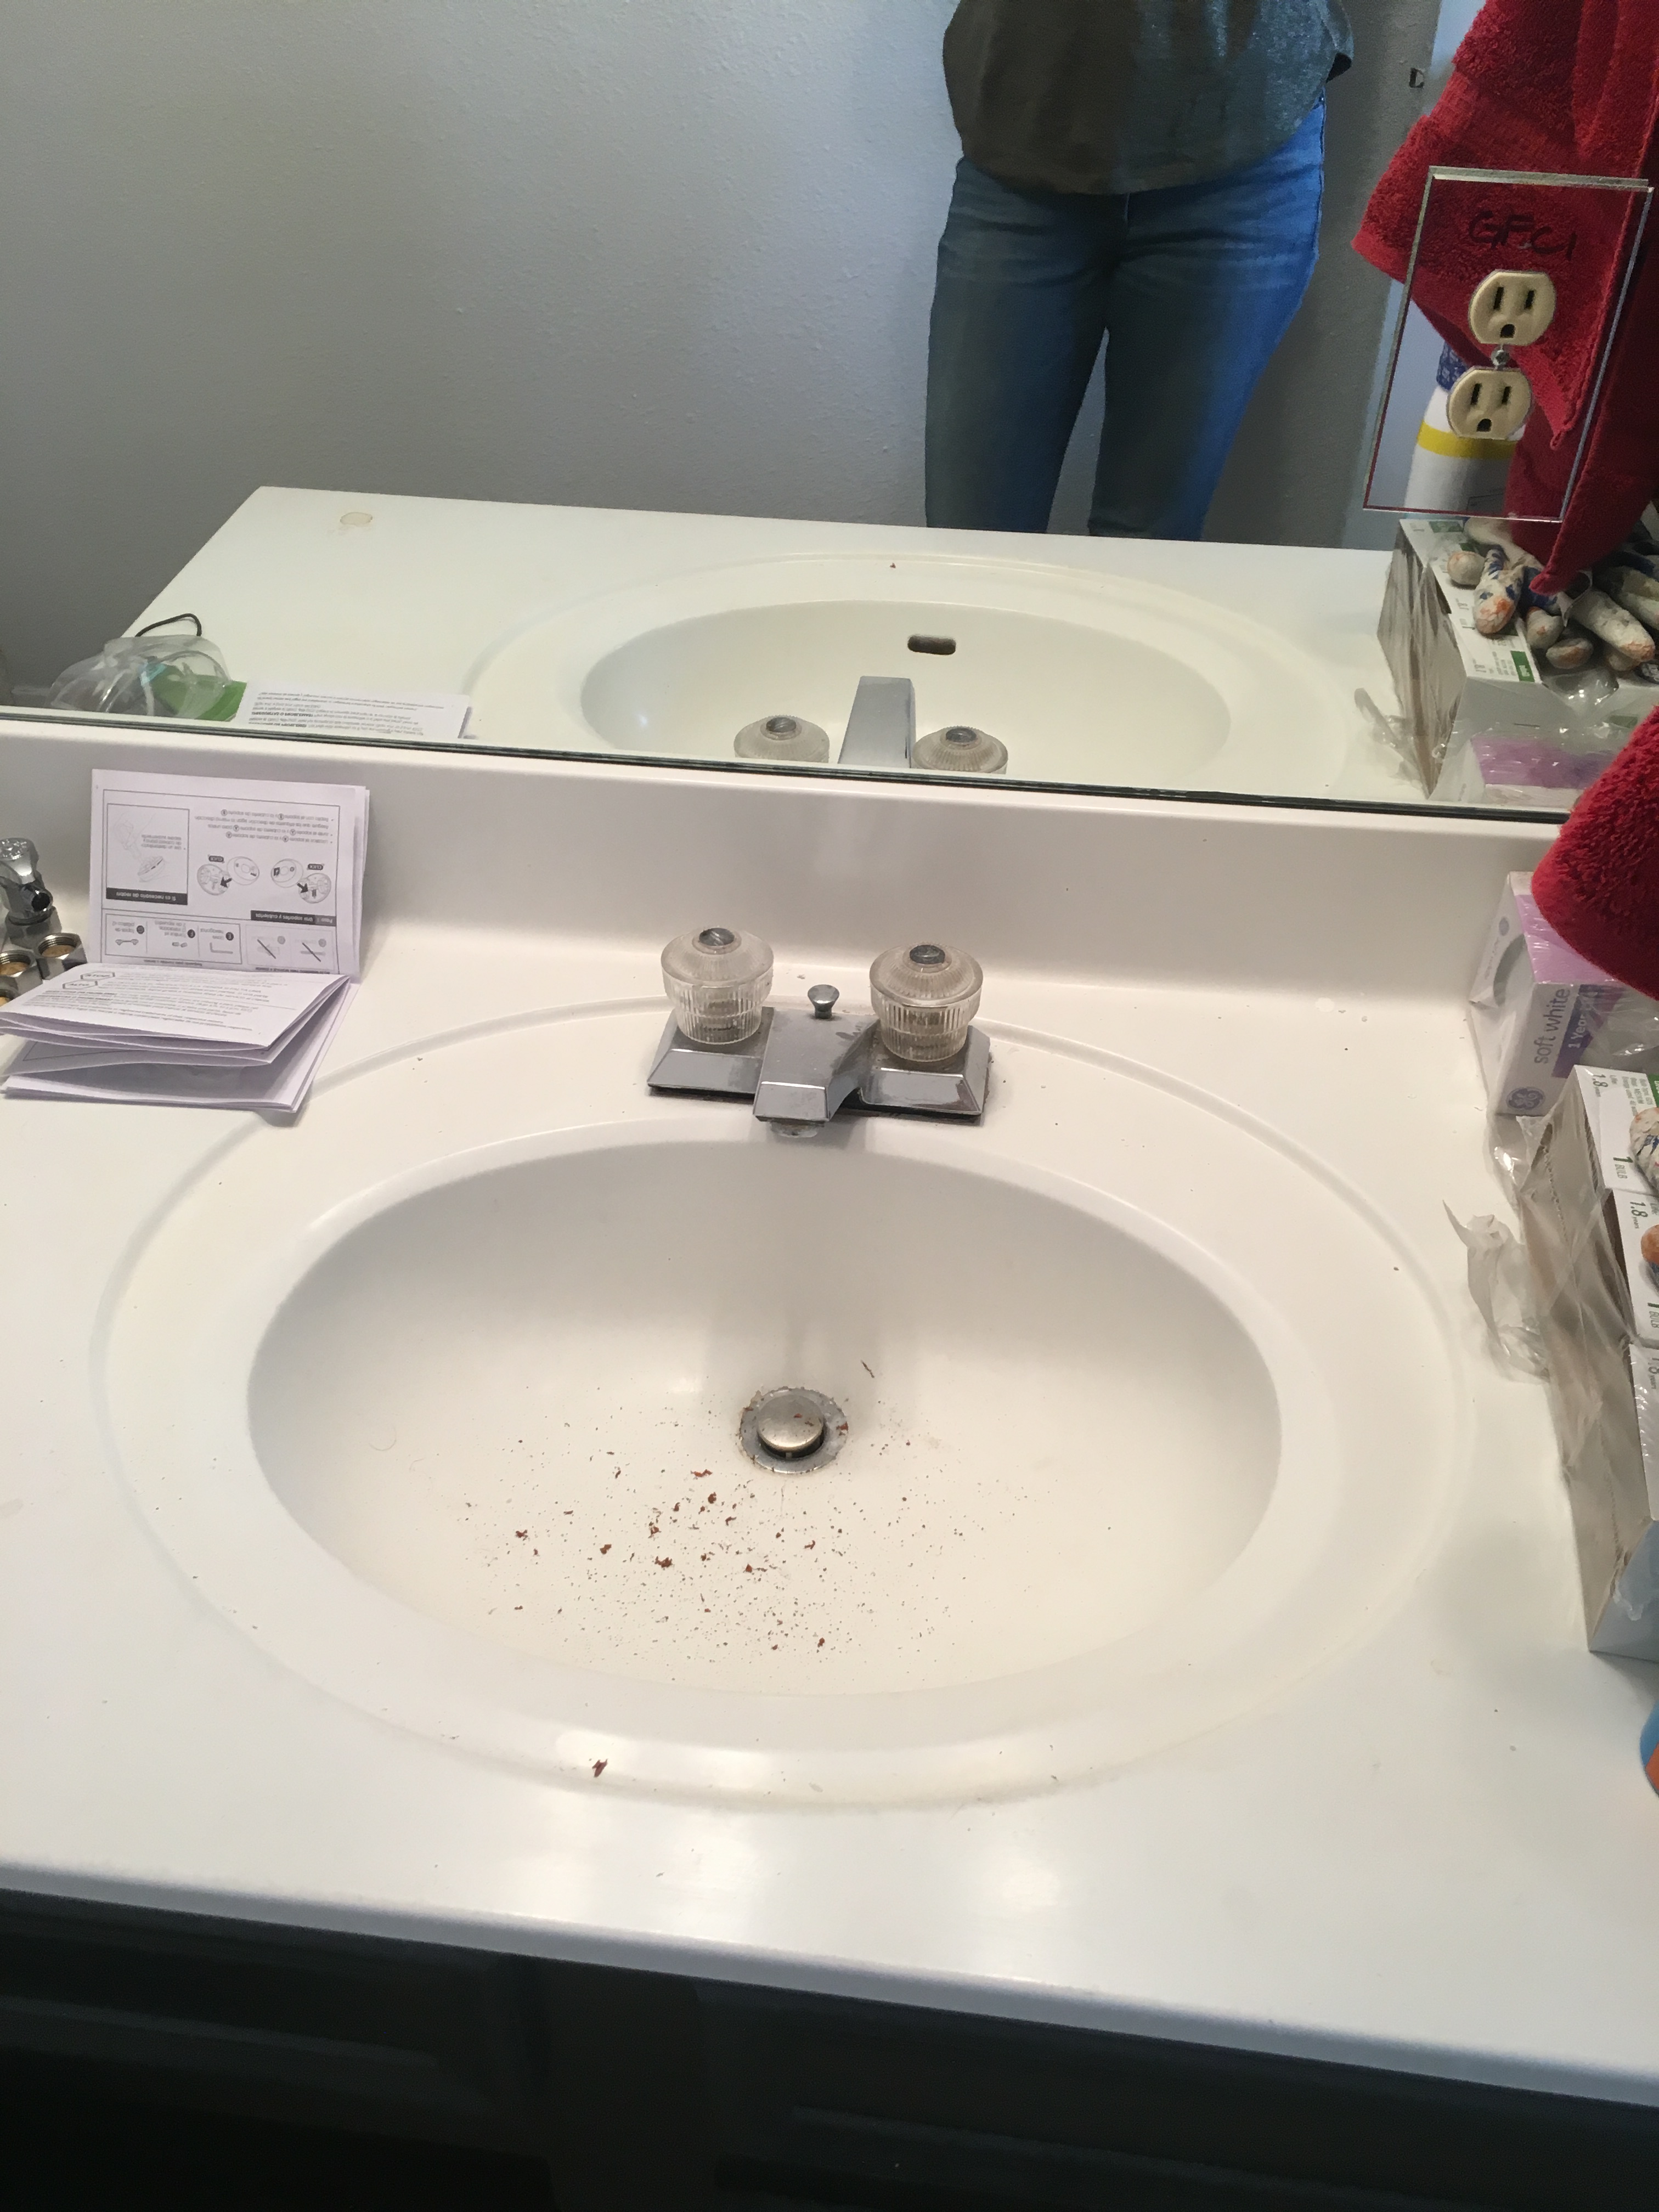
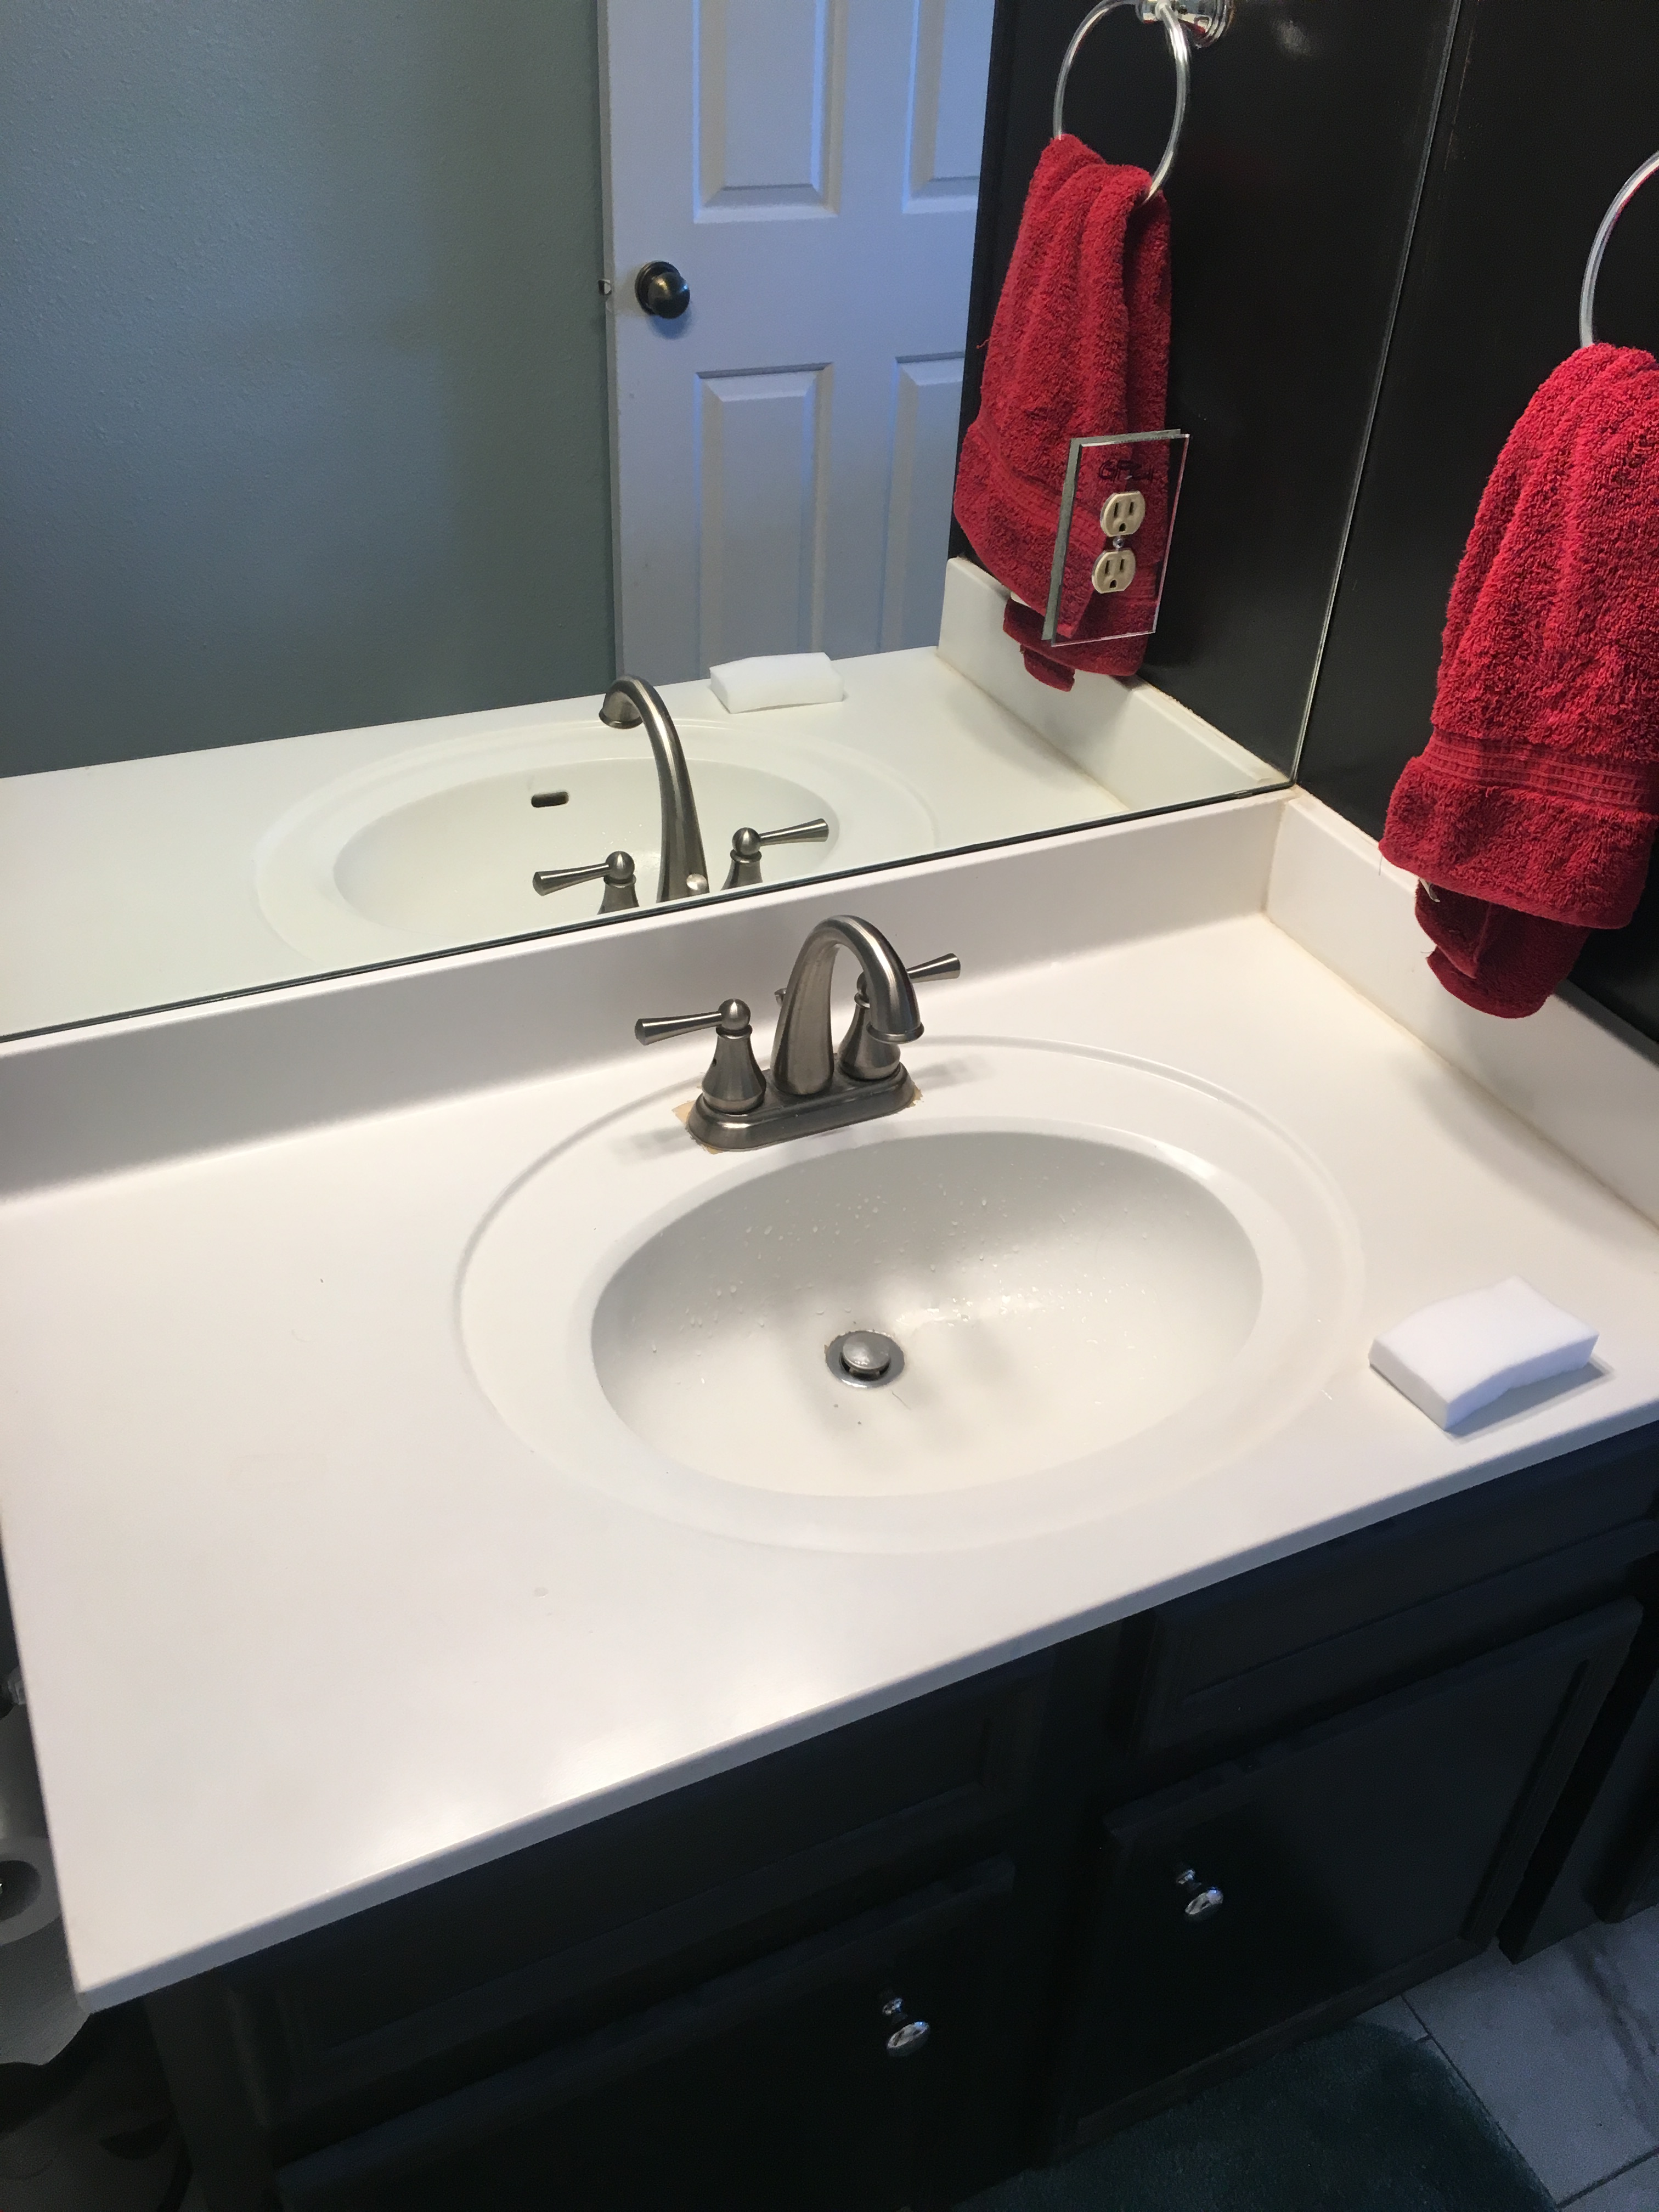
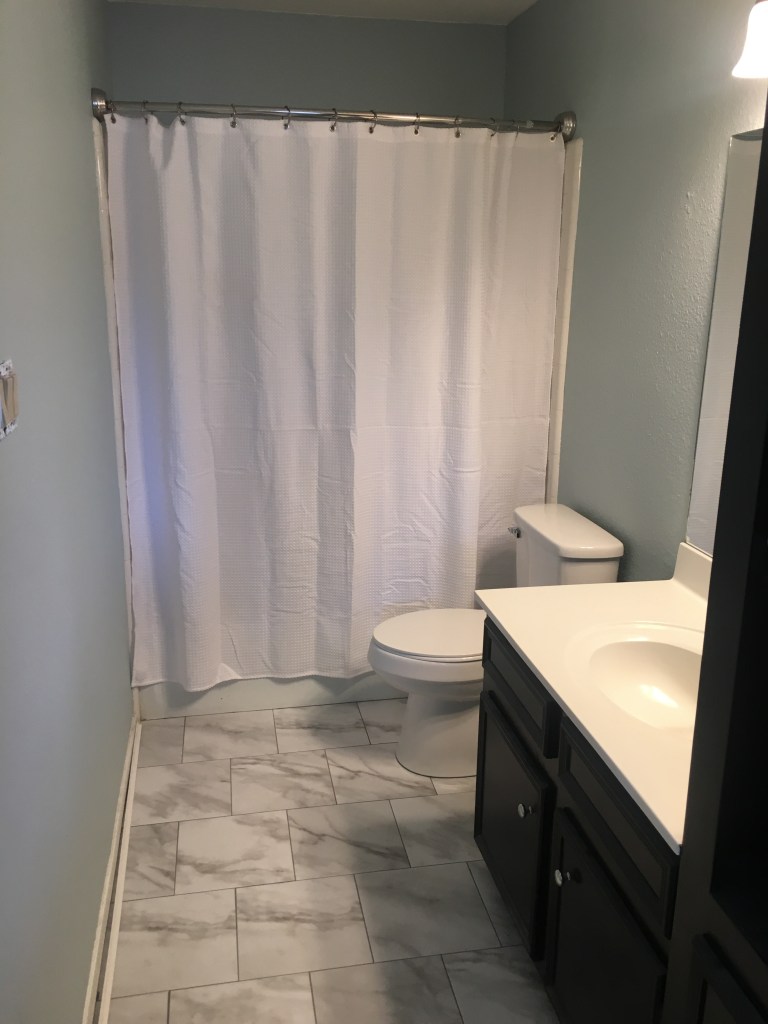
When we bought this house, there was carpet everywhere. Including the bathrooms. Phase I of this renovation was to get rid of the carpet, replace the 1970s toilet and faucet, and freshen up the paint.
I painted the walls, removed the nasty carpet and toilet, added a peel-and-stick vinyl tile, and a shower curtain. This quick make over cost less than $500 and gave us a working bathroom while we focused on getting downstairs completed. We also took the existing faucet out of the master bathroom and repurposed it here.
Phase II
I knew Phase II of the bathroom renovation wouldn’t be far away because we removed the bathtub in the master bathroom downstairs in favor of a walk in shower. I love my epsom salt baths and needed to get a new tub in here. The original tub was not cutting it for a 5’10” gal like myself.
Because we were all in lock down due to COVID-19, I really wanted to do as much of this project on our own as possible. I knew I would need to bring in a plumber for moving around water lines and such but thought I’d be able to handle the rest. Shout out to Jeff for providing detailed step-by-step instructions for all things DIY. I watched hours and hours of YouTube videos on how to do this properly and Jeff’s Home RenoVision channel is by far the most helpful.
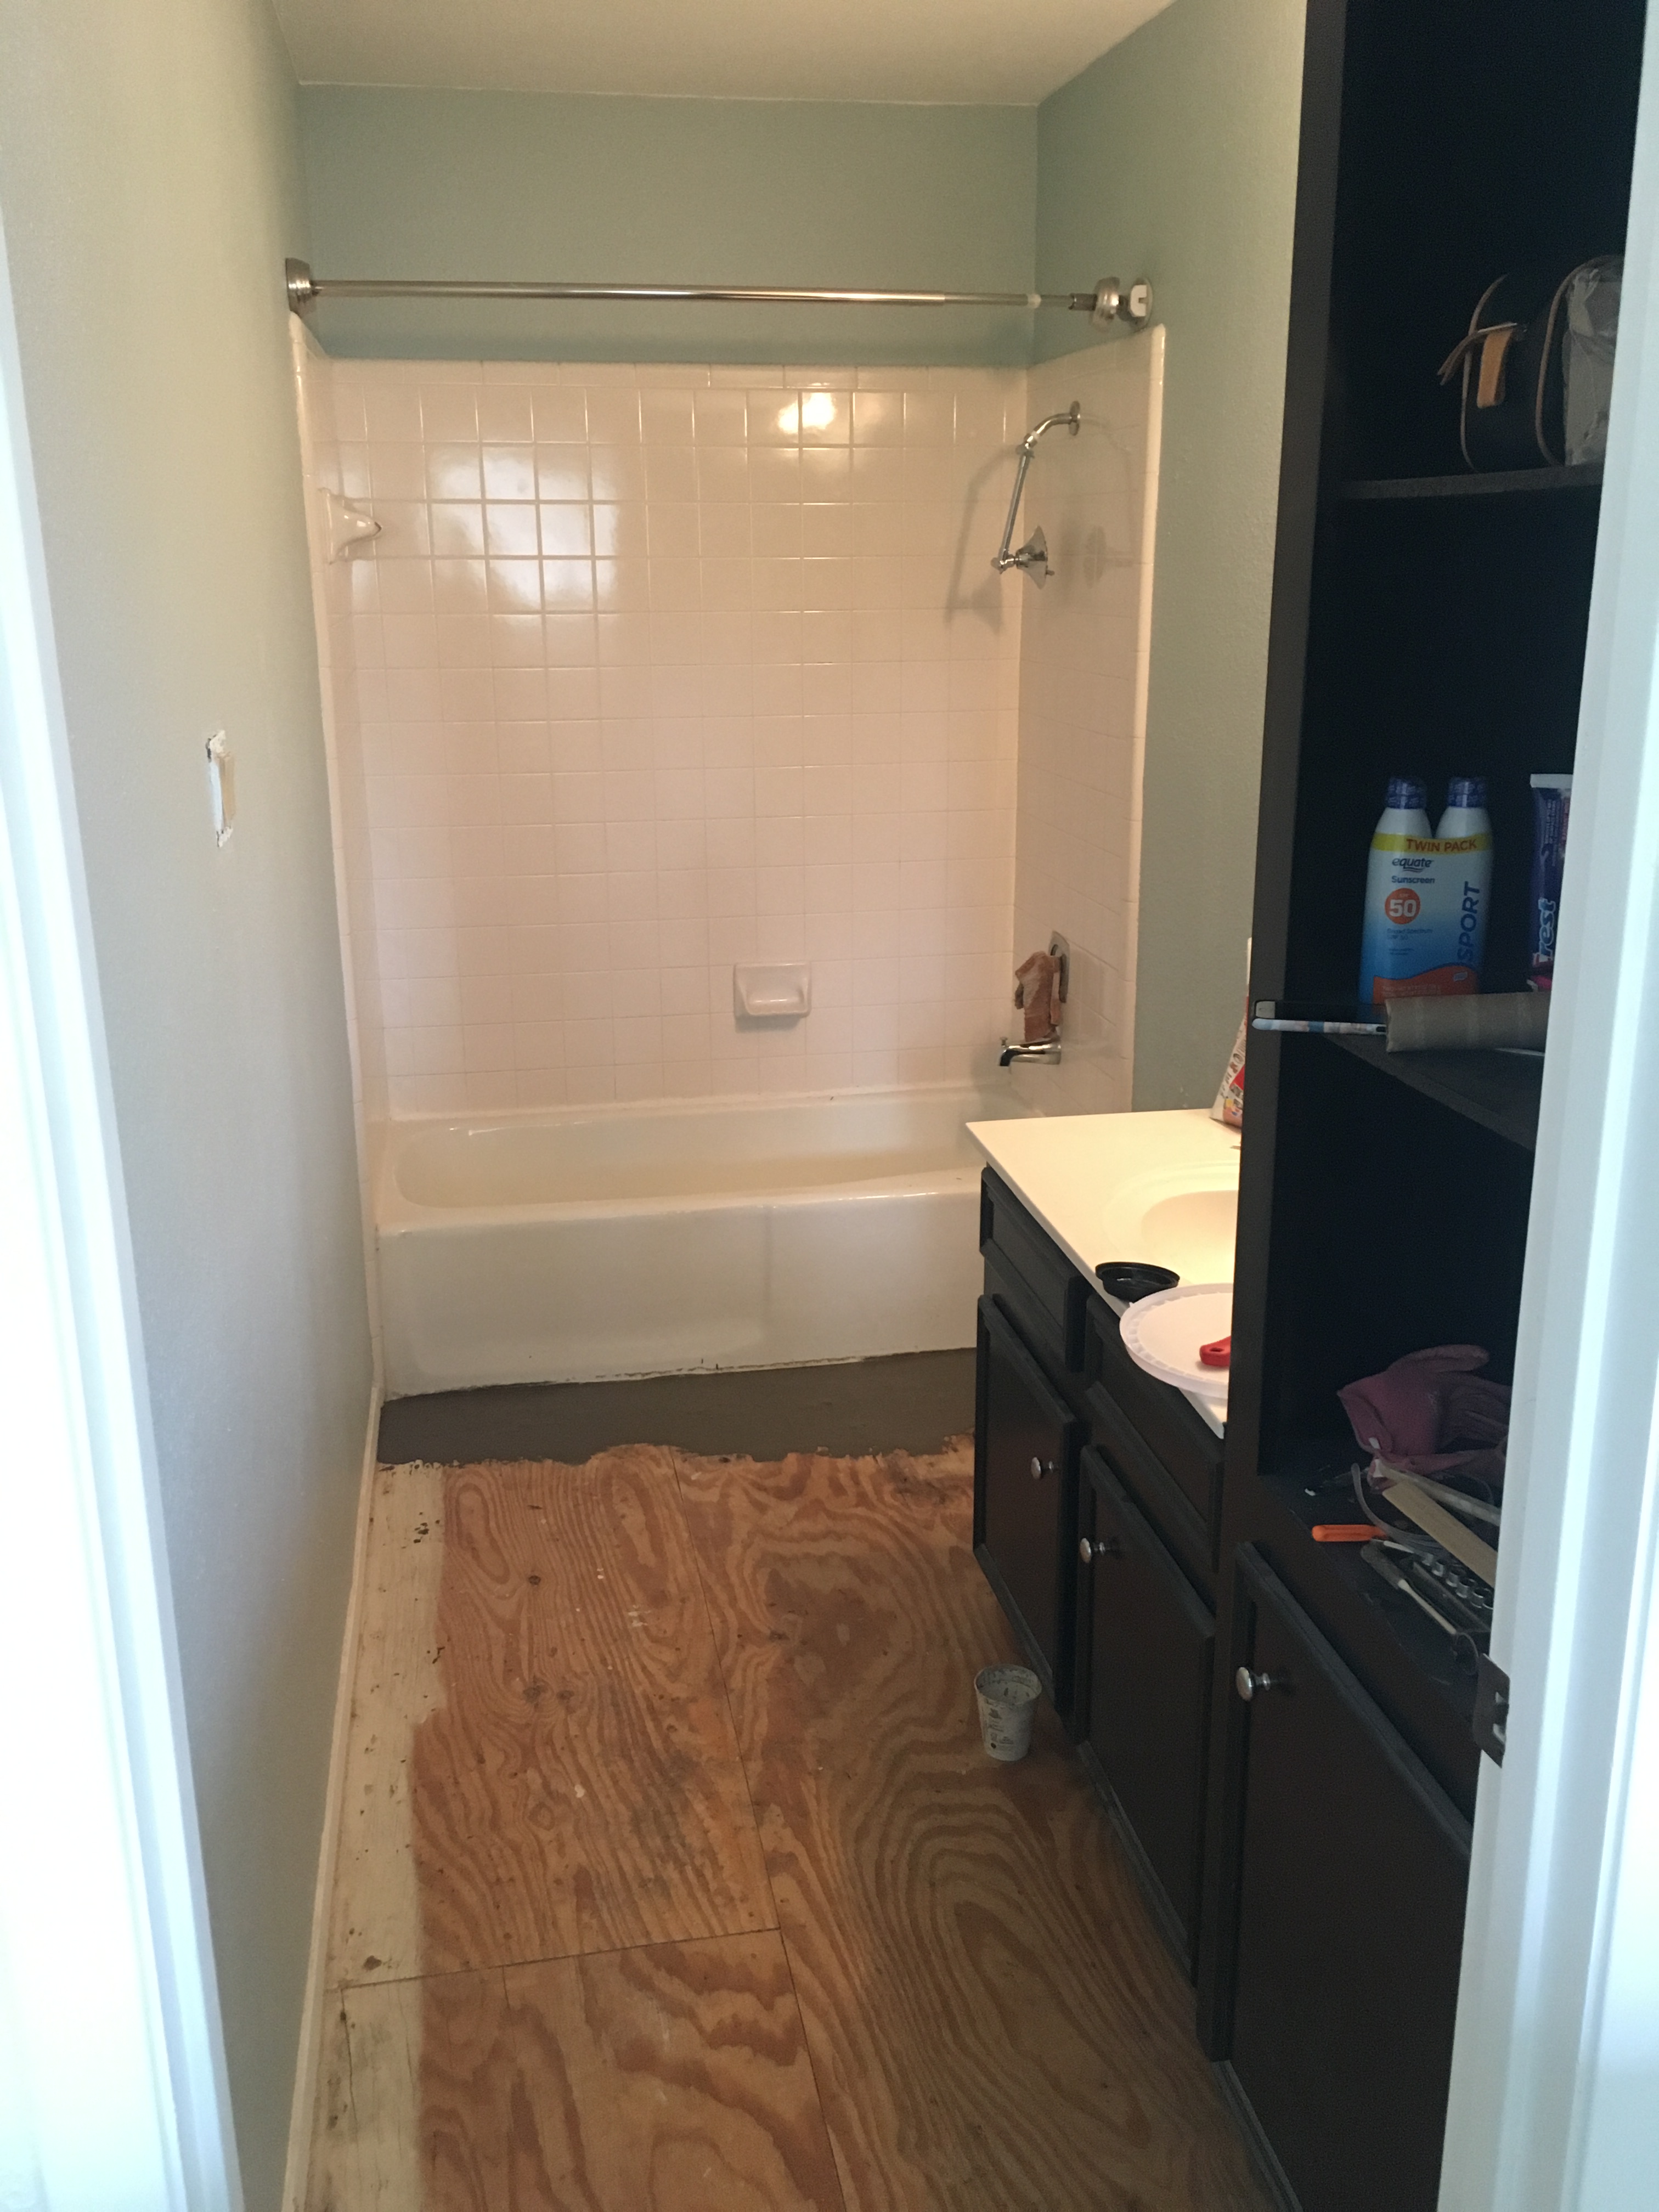
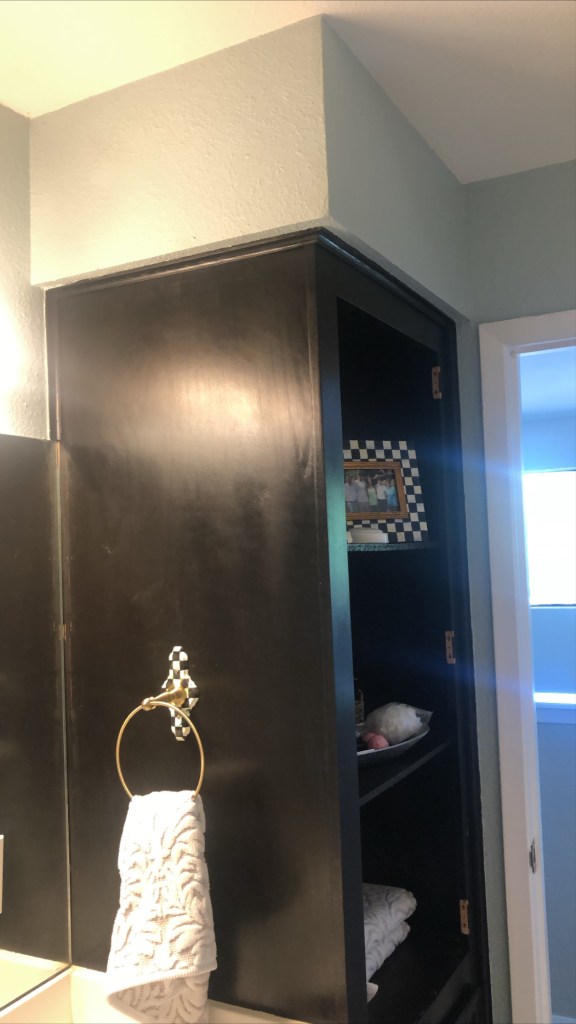
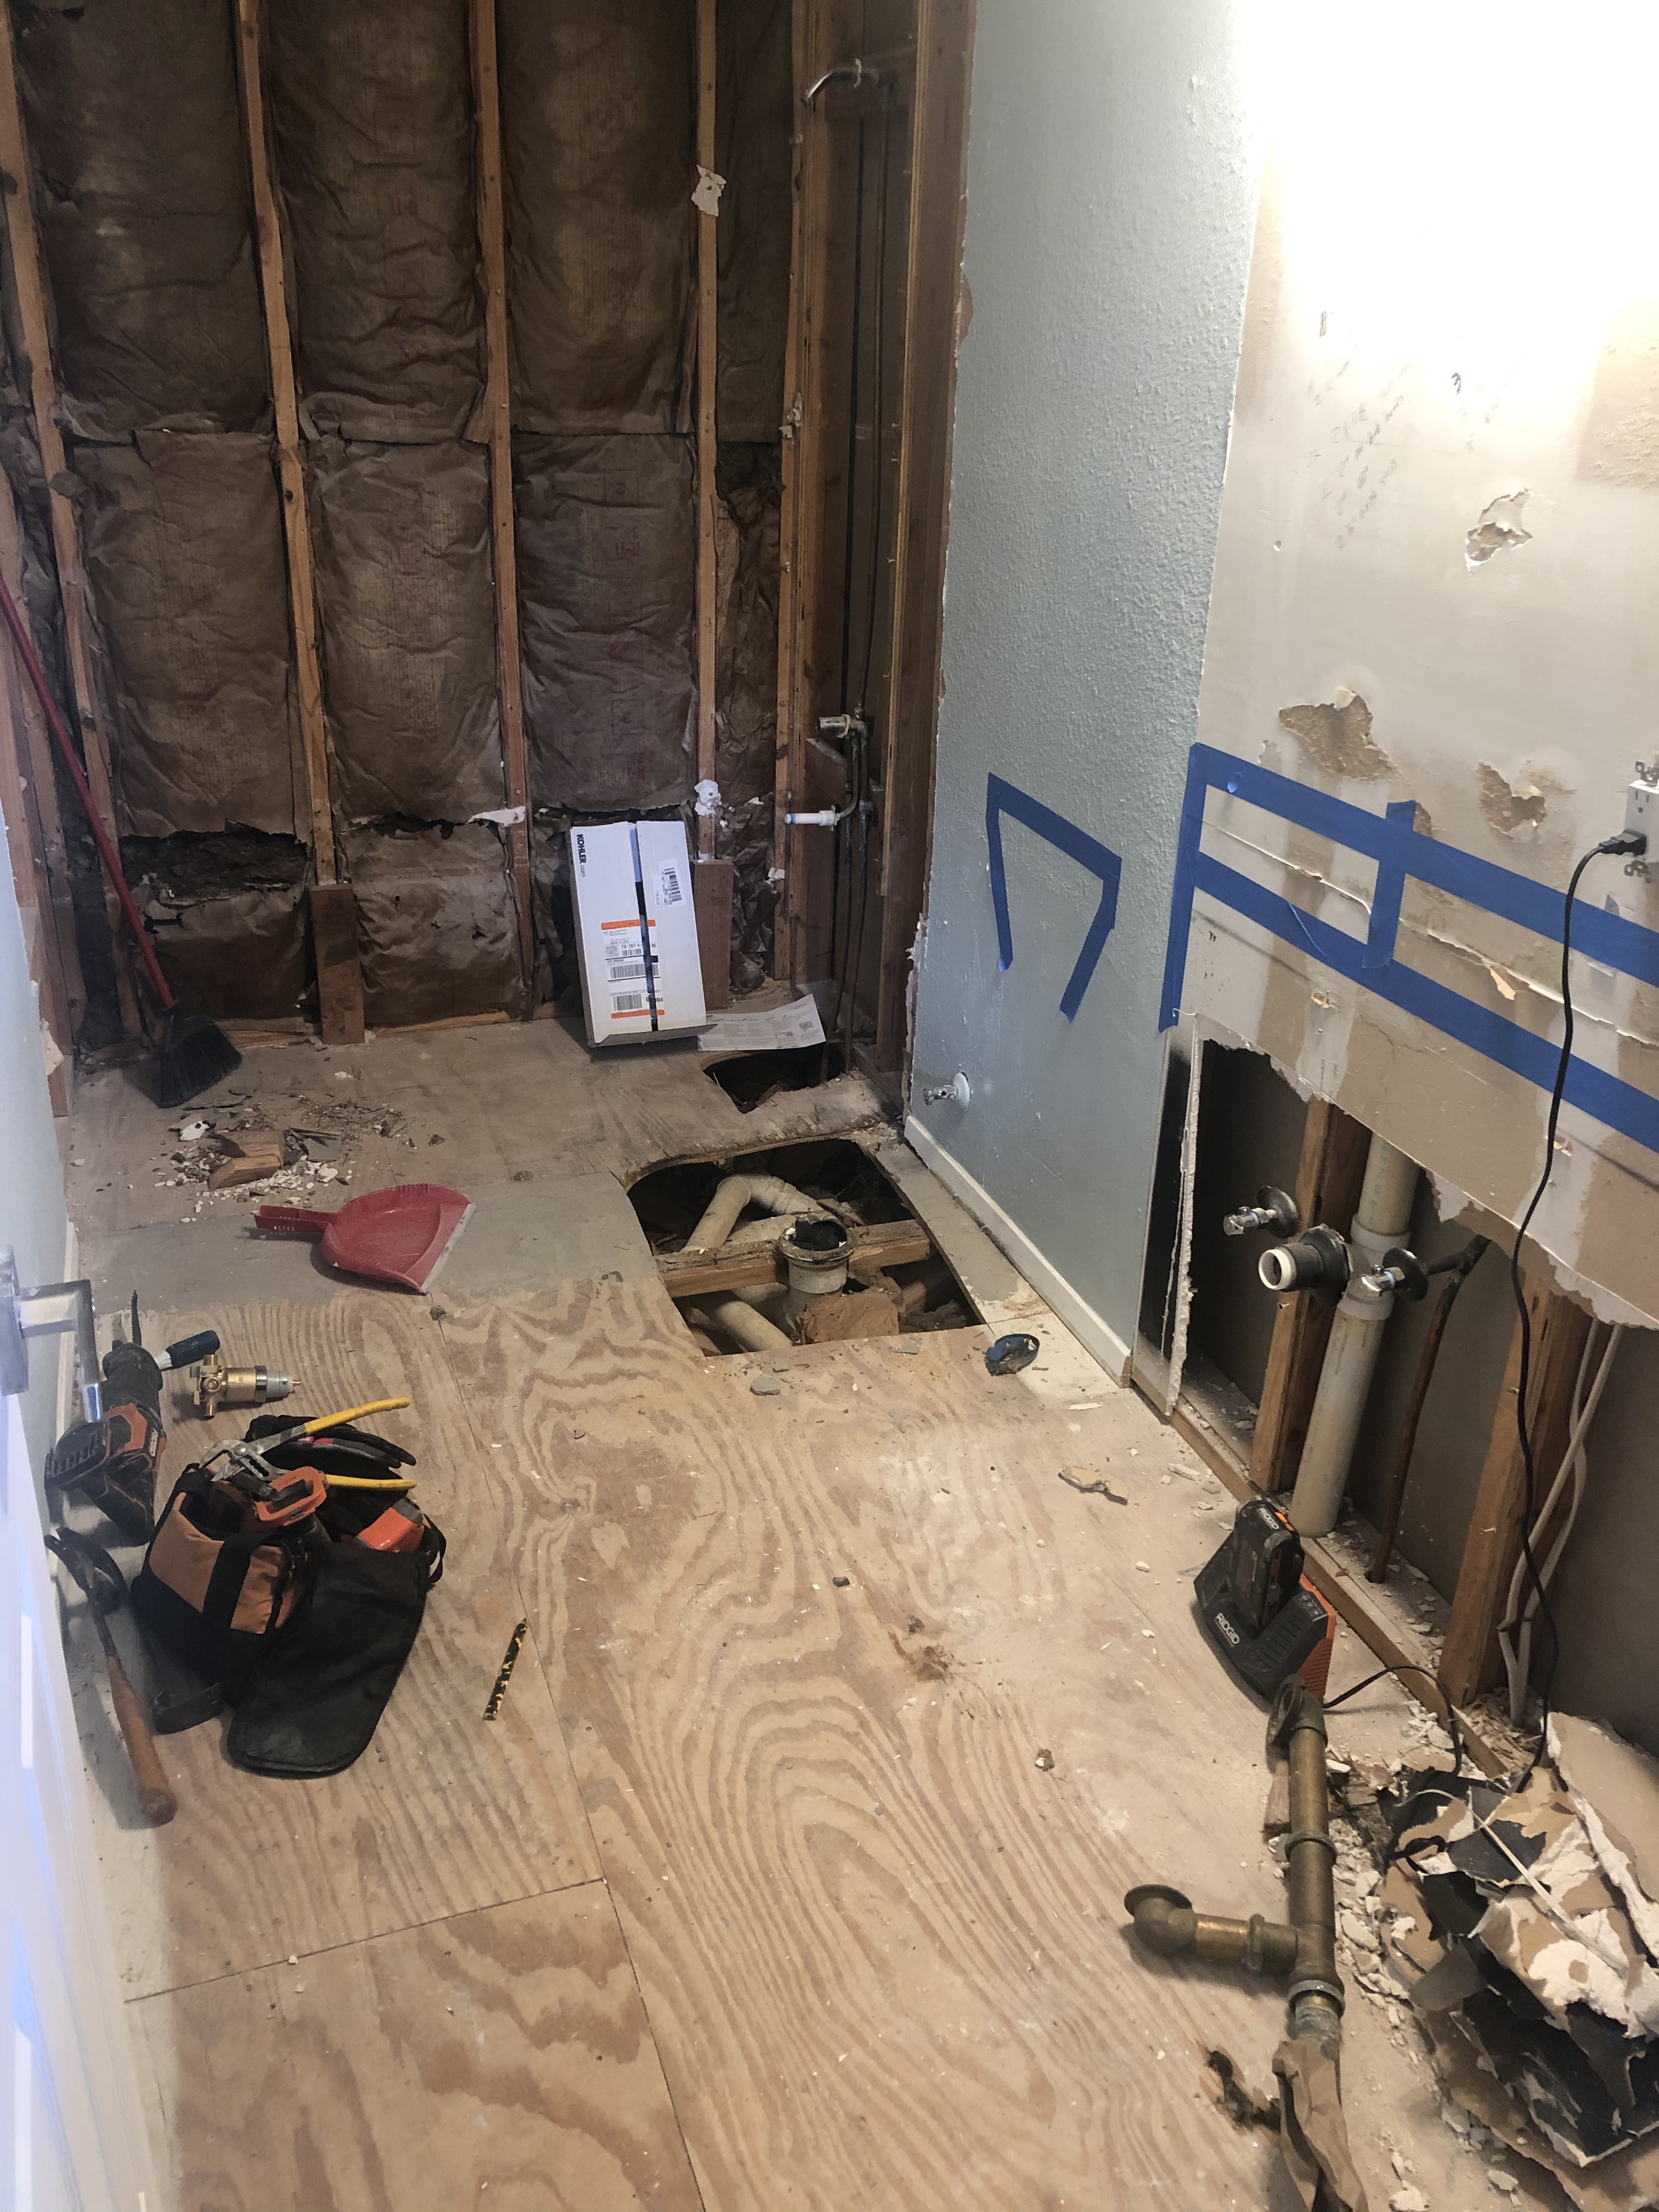
First order of business was to remove the vanity, tall cabinet, and soffit. I wanted to be able to accommodate a double vanity in this space.
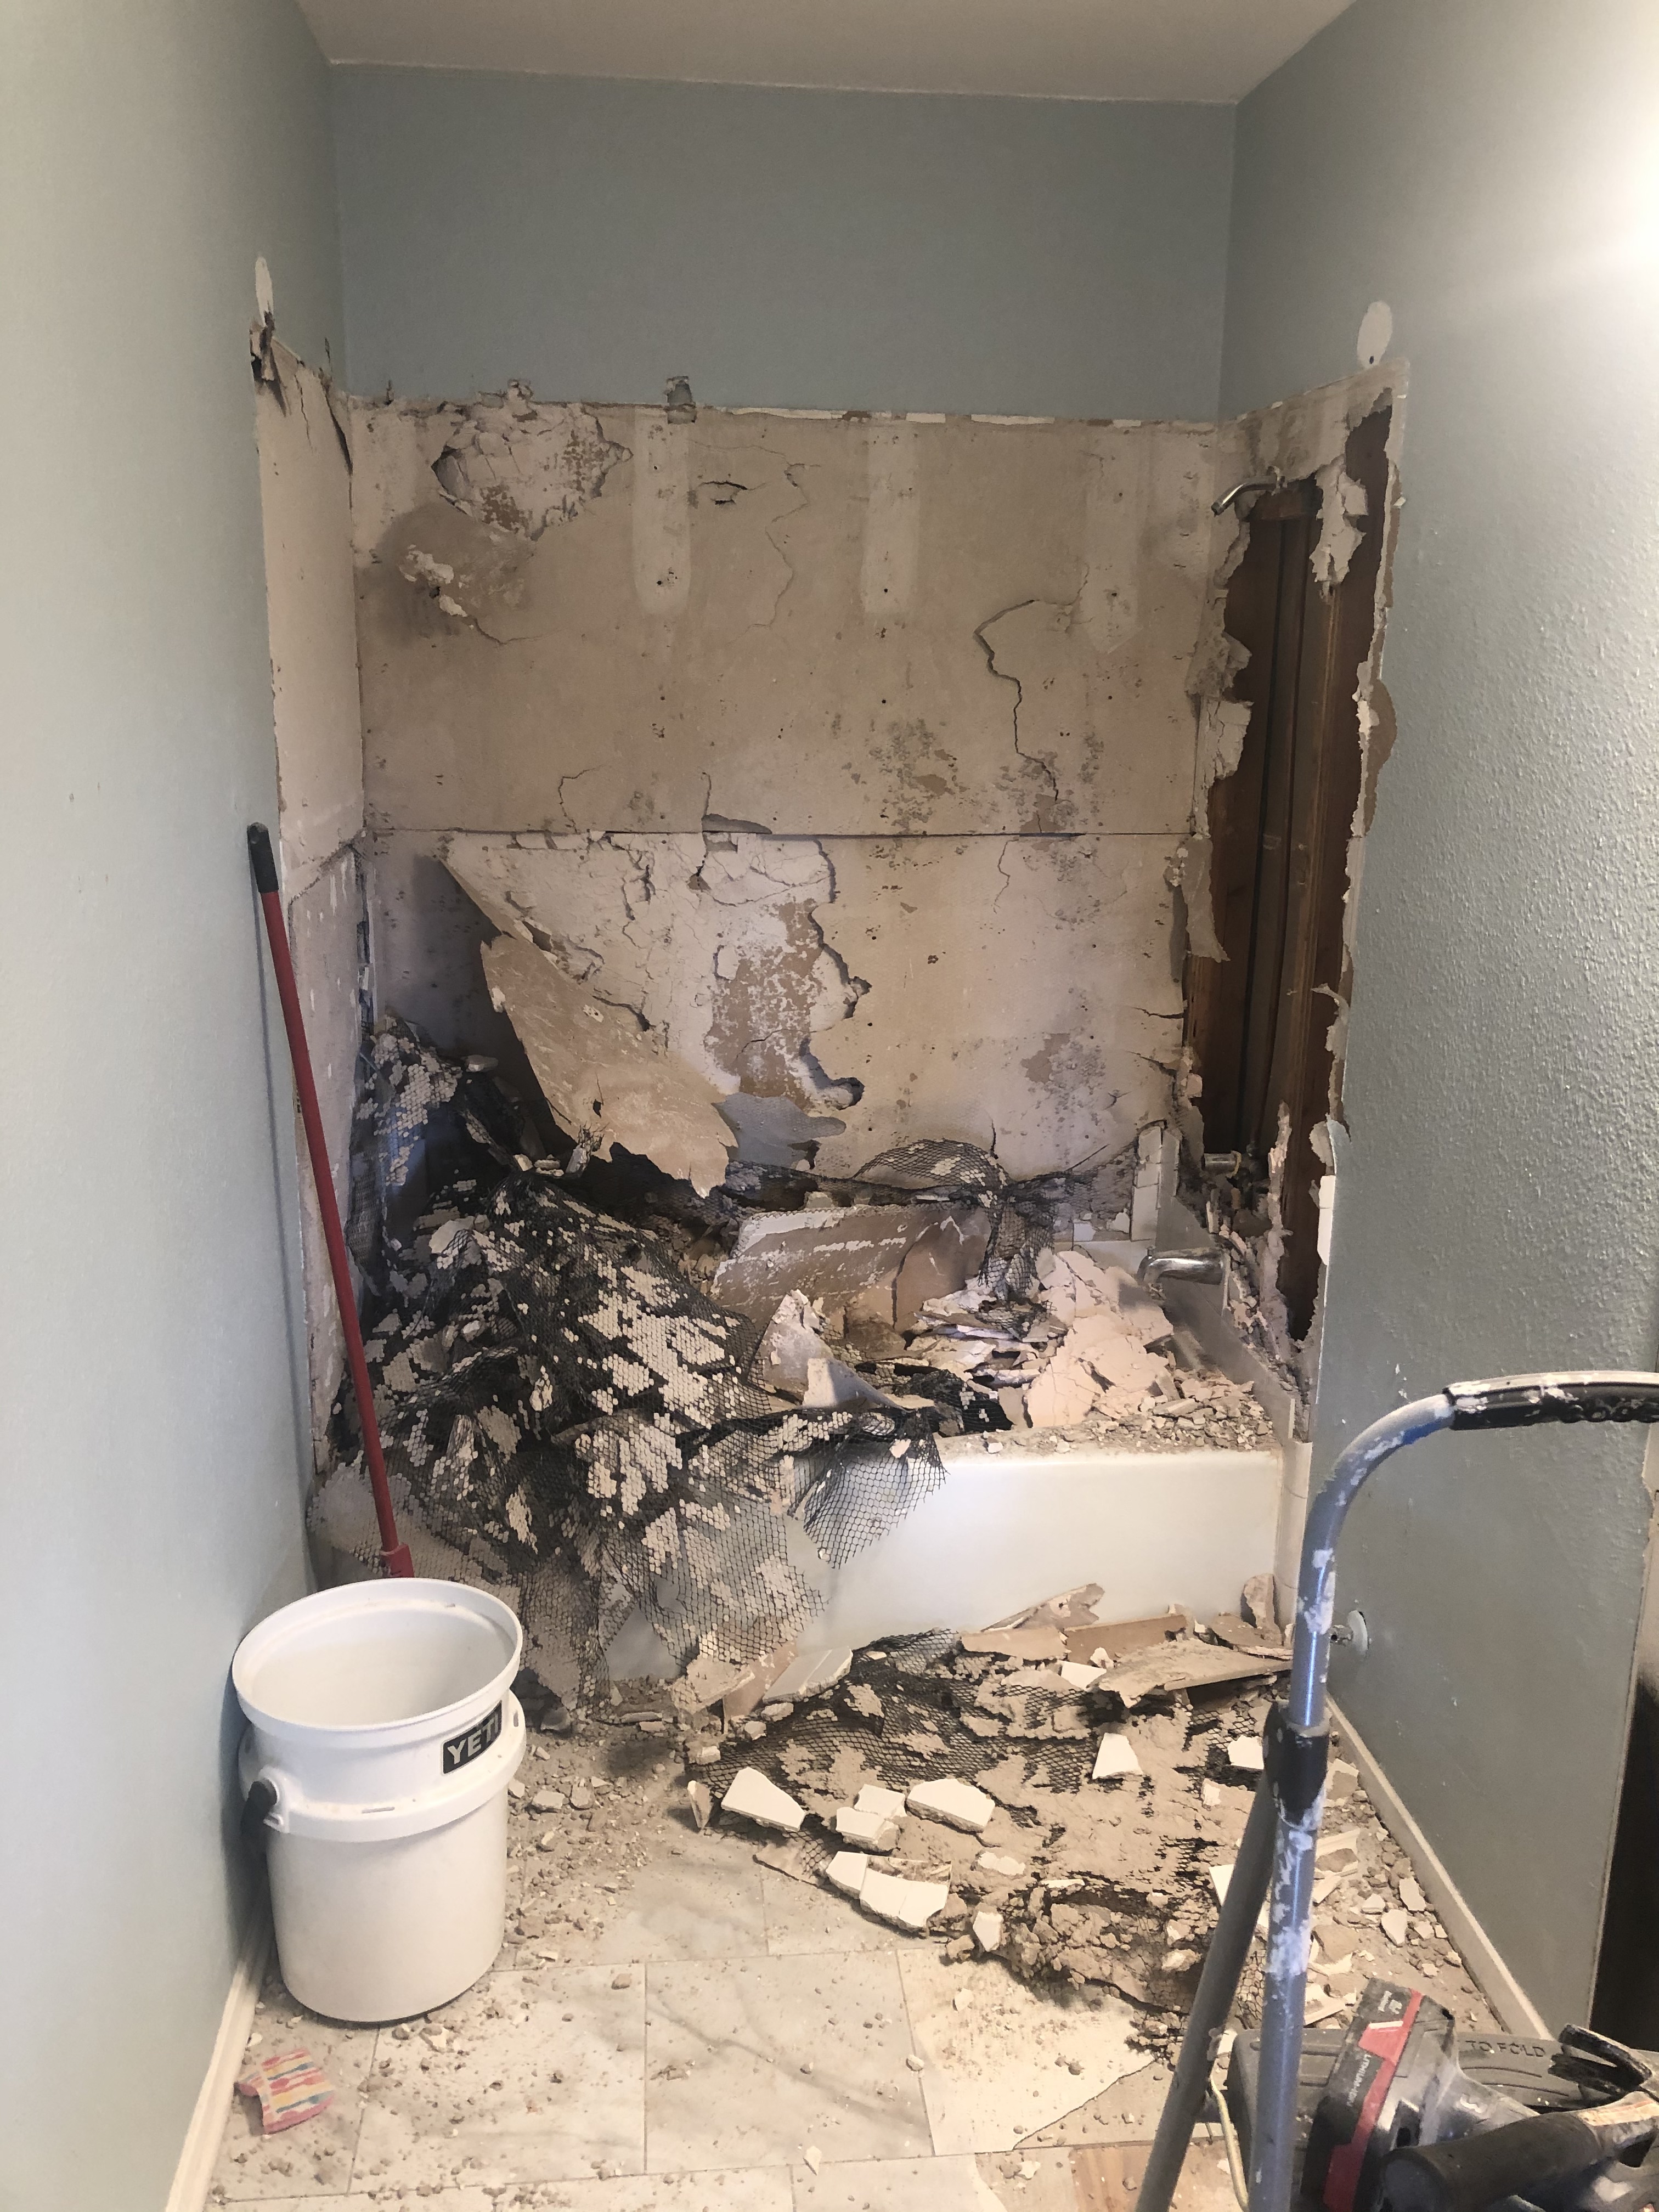
From here, I removed the toilet and got to work on the floors and shower surround tile.
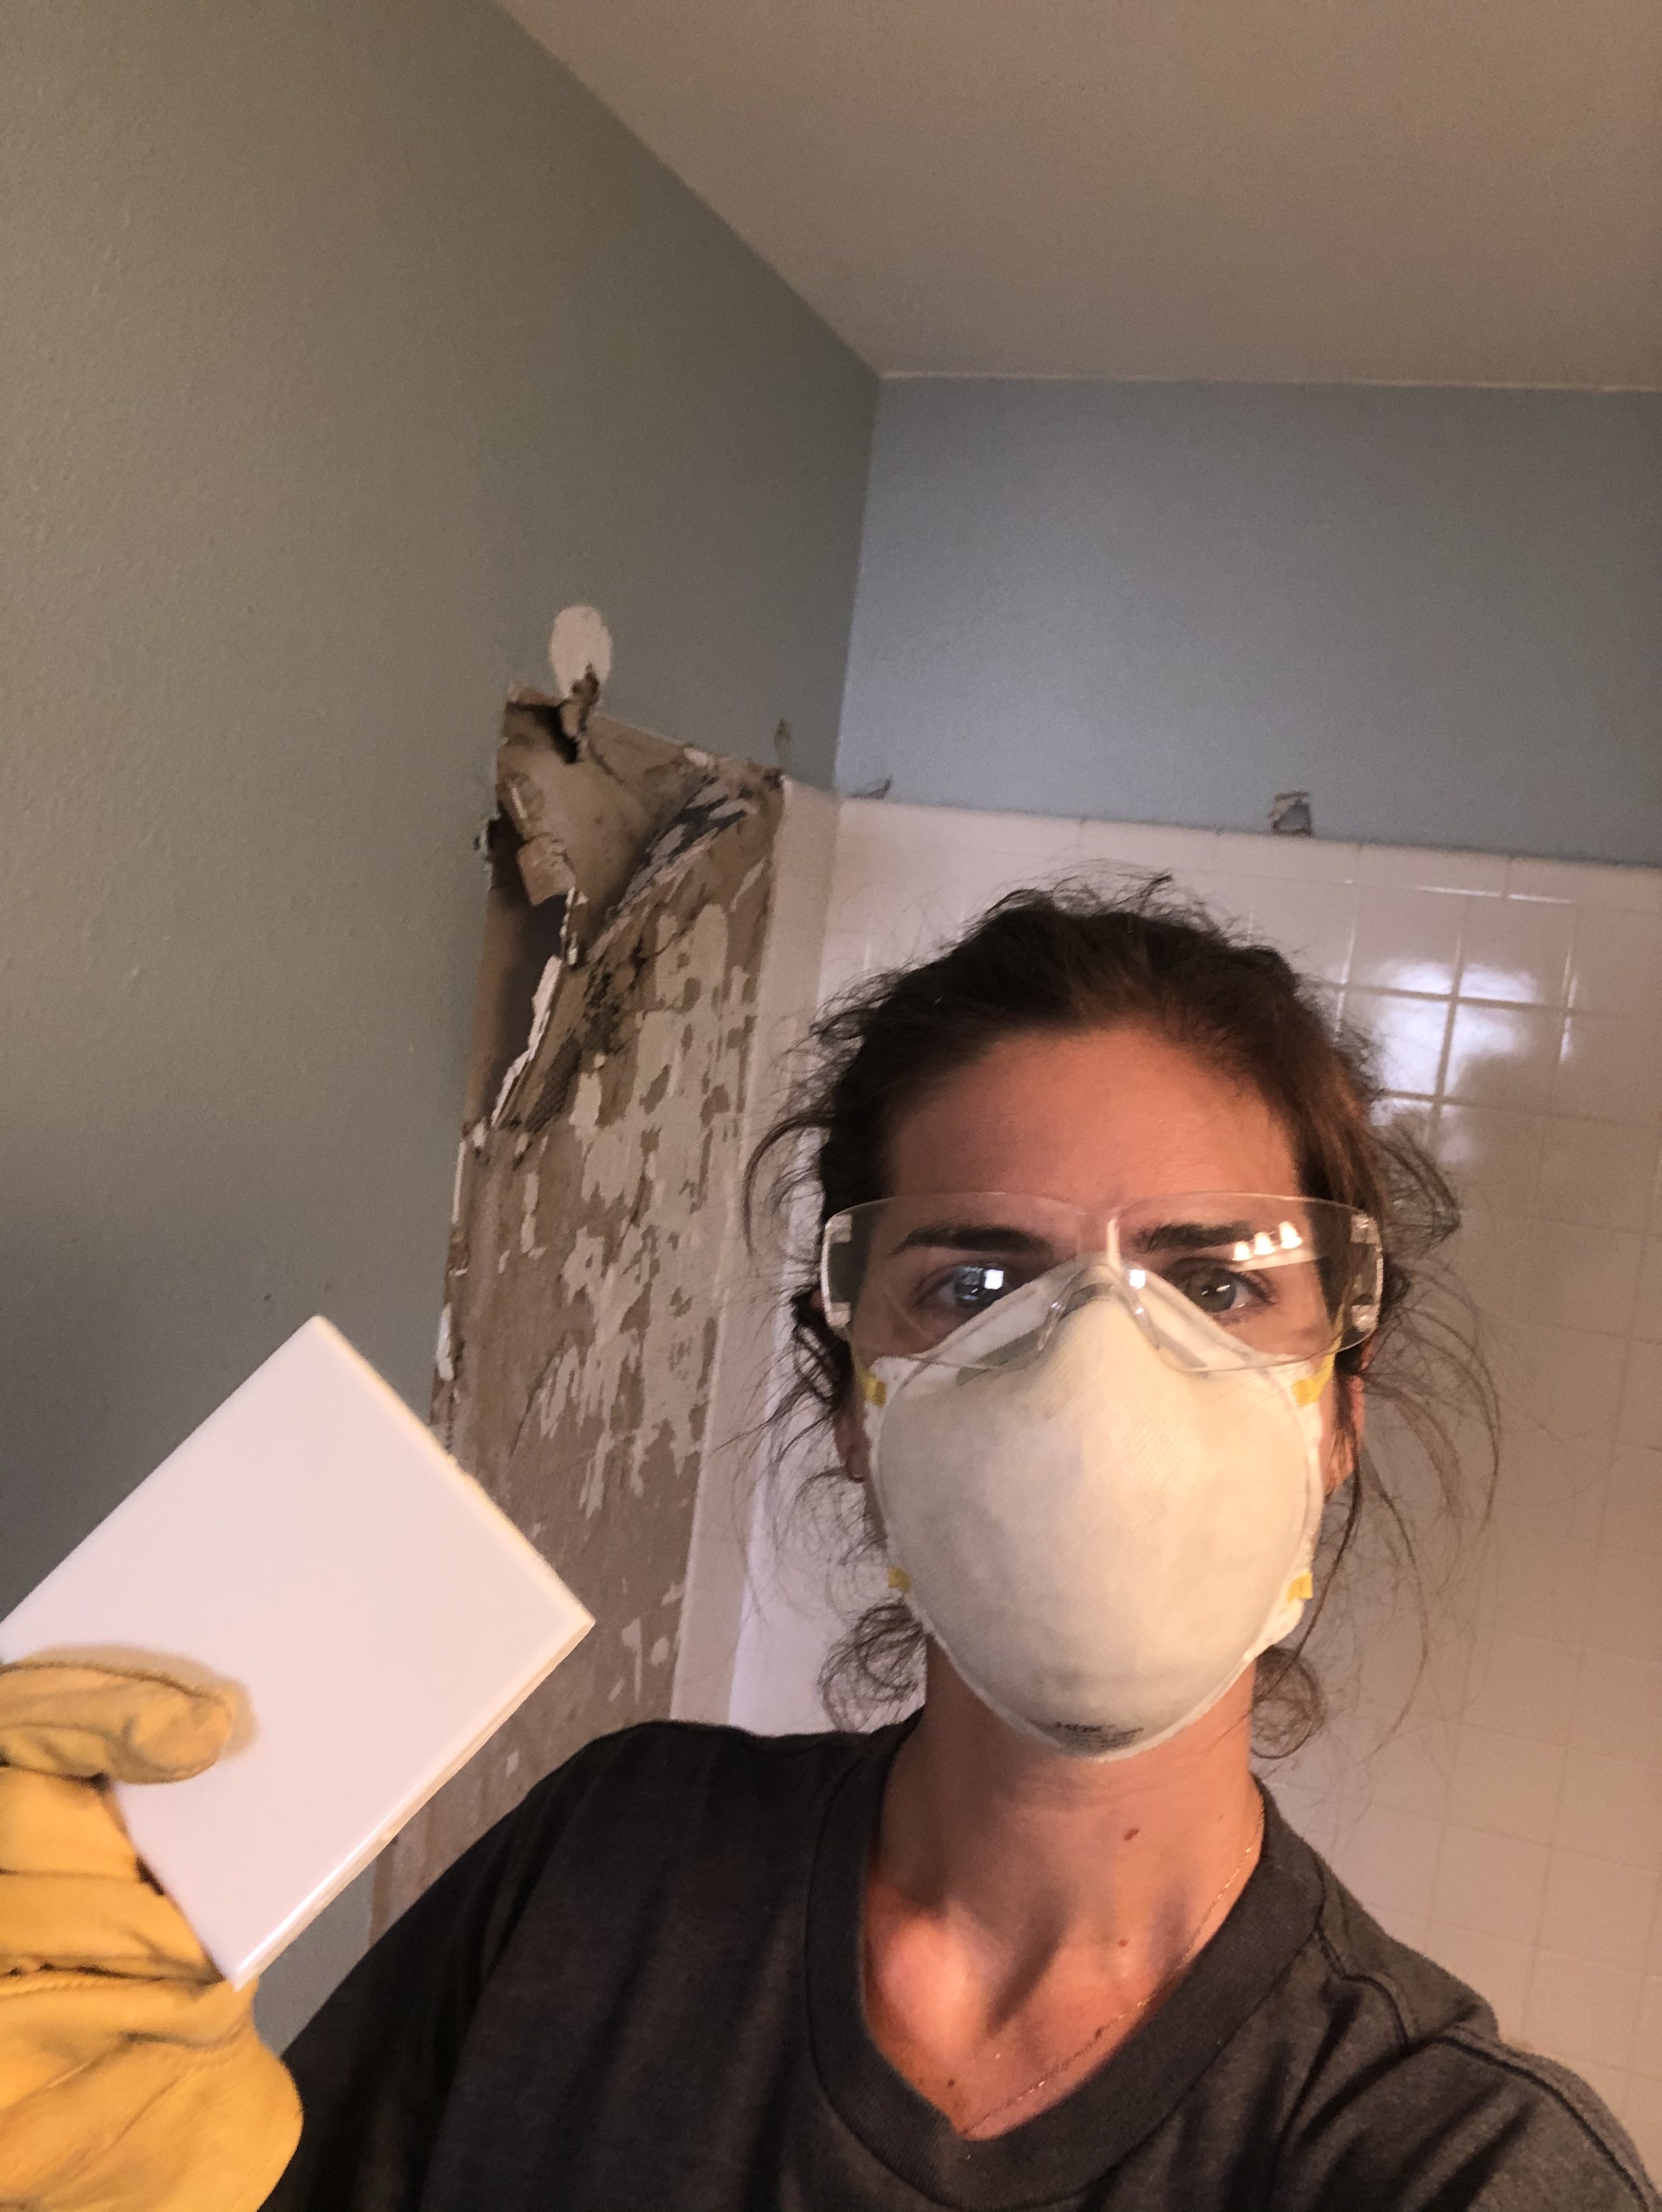
With DIY, you are constantly learning. I learned a hard lesson while removing the shower wall tile. I knew you should always wear eye protection, gloves, and a mask (as seen in the photo above) but hadn’t considered the need to cover my legs. The lesson: wear long sleeves and pants when demo-ing tile. I had a very sharp piece fall from the wall and catch my shin. Ouch. Luckily, it wasn’t deep enough to need stitches but has left a pretty nasty scar.
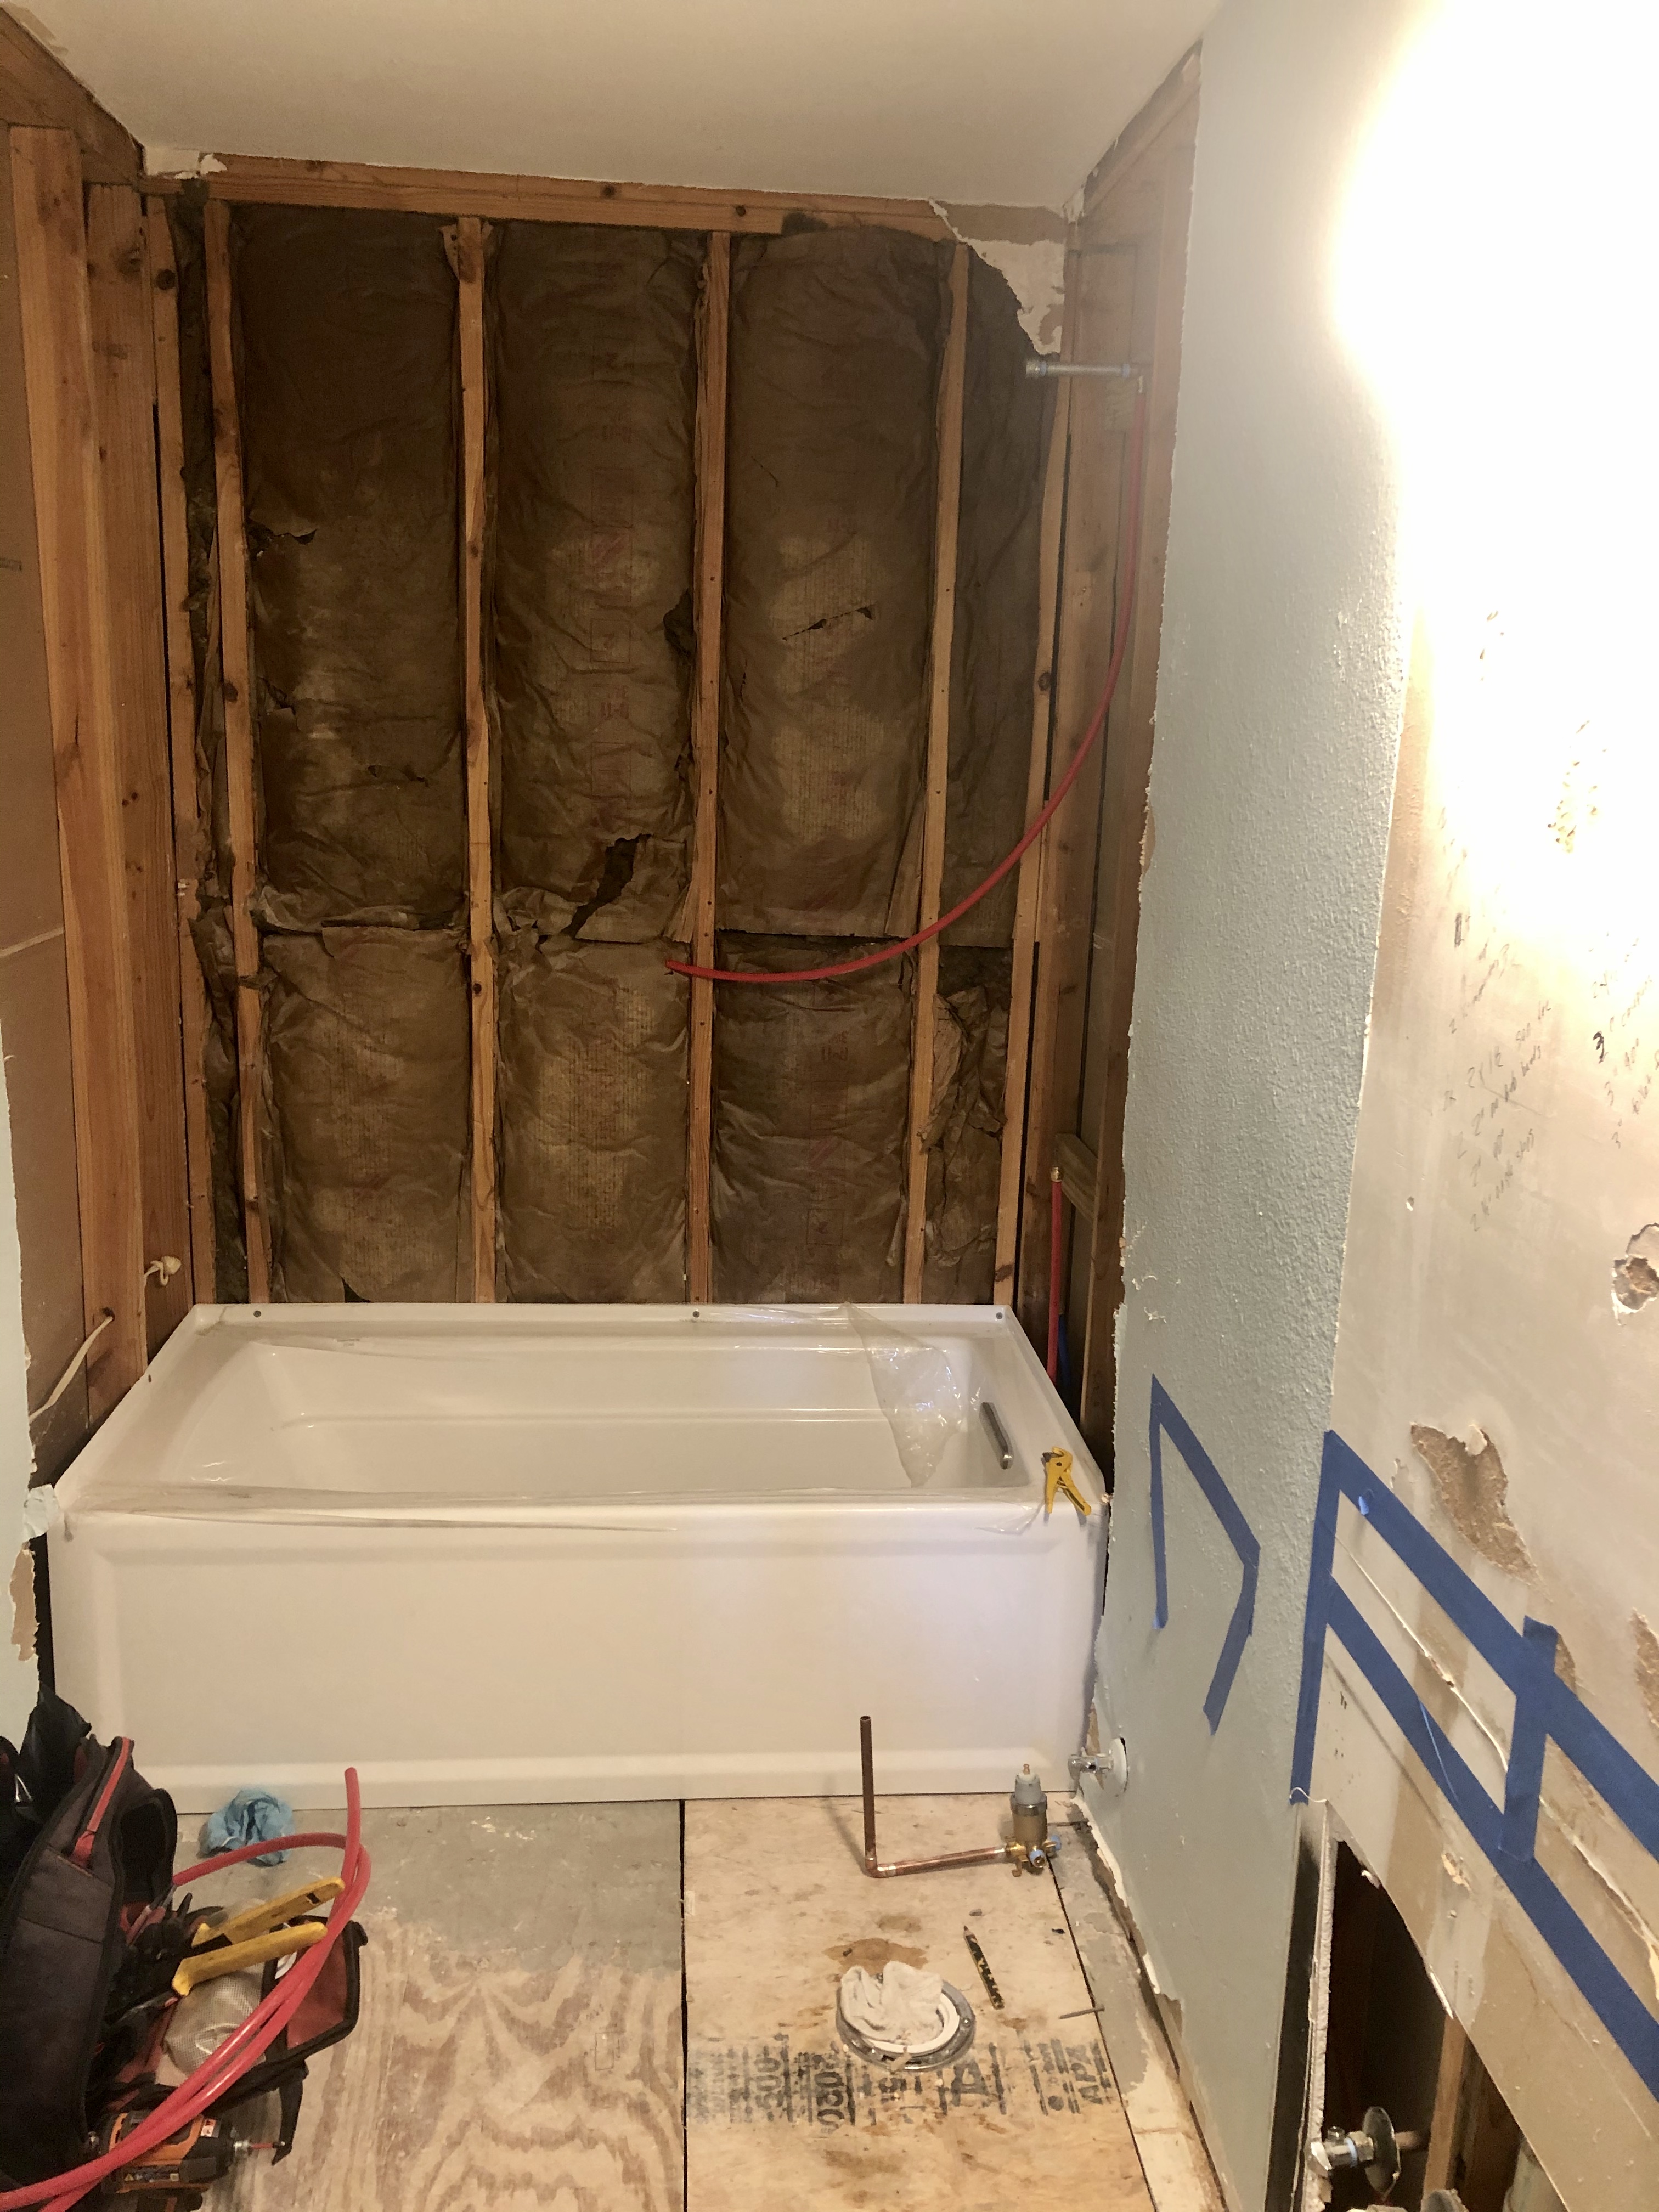
For the tub removal, I had to hire someone. Cast iron tubs weigh 100s of pounds and no matter how hard I tried, I could not get that thing to break up so I could carry it out myself in pieces. After doing some research online, I found JDog Junk Removal. They hire veterans and had great reviews online.
They brought in a sledgehammer and broke up that bathtub in no time. It was a little scary because the walls were shaking with every swing. These guys are strong! I was very pleased with their professionalism and would use them again for junk removal. They hauled off the bathtub, vanity, and broken tiles in under an hour plus got our new two sink vanity up the stairs for us.
I also hired a plumber for this portion of the renovation. I am so glad to have a great plumber. Tim Stevens with 1 of a Kind Plumbing has my business for life. He did so much work for us on the downstairs renovation: new hot water heater, gas line movement, removal of an old wet bar, and remodel of the master bathroom. Tim’s the best – I can’t recommend him enough if you are in the Austin area.
For this bathroom, Tim added water lines to accommodate the second sink, shifted over the toilet, and installed our new bathtub.
Matching injuries from drilling into cement board. Blood, sweat, and tears go into every project
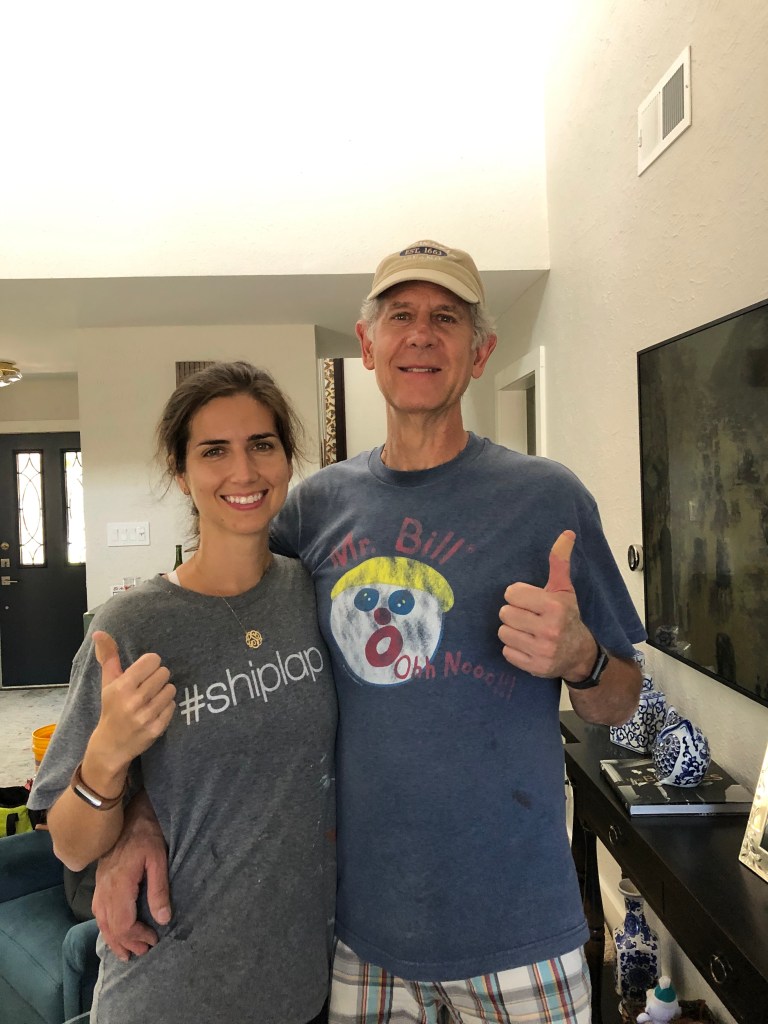
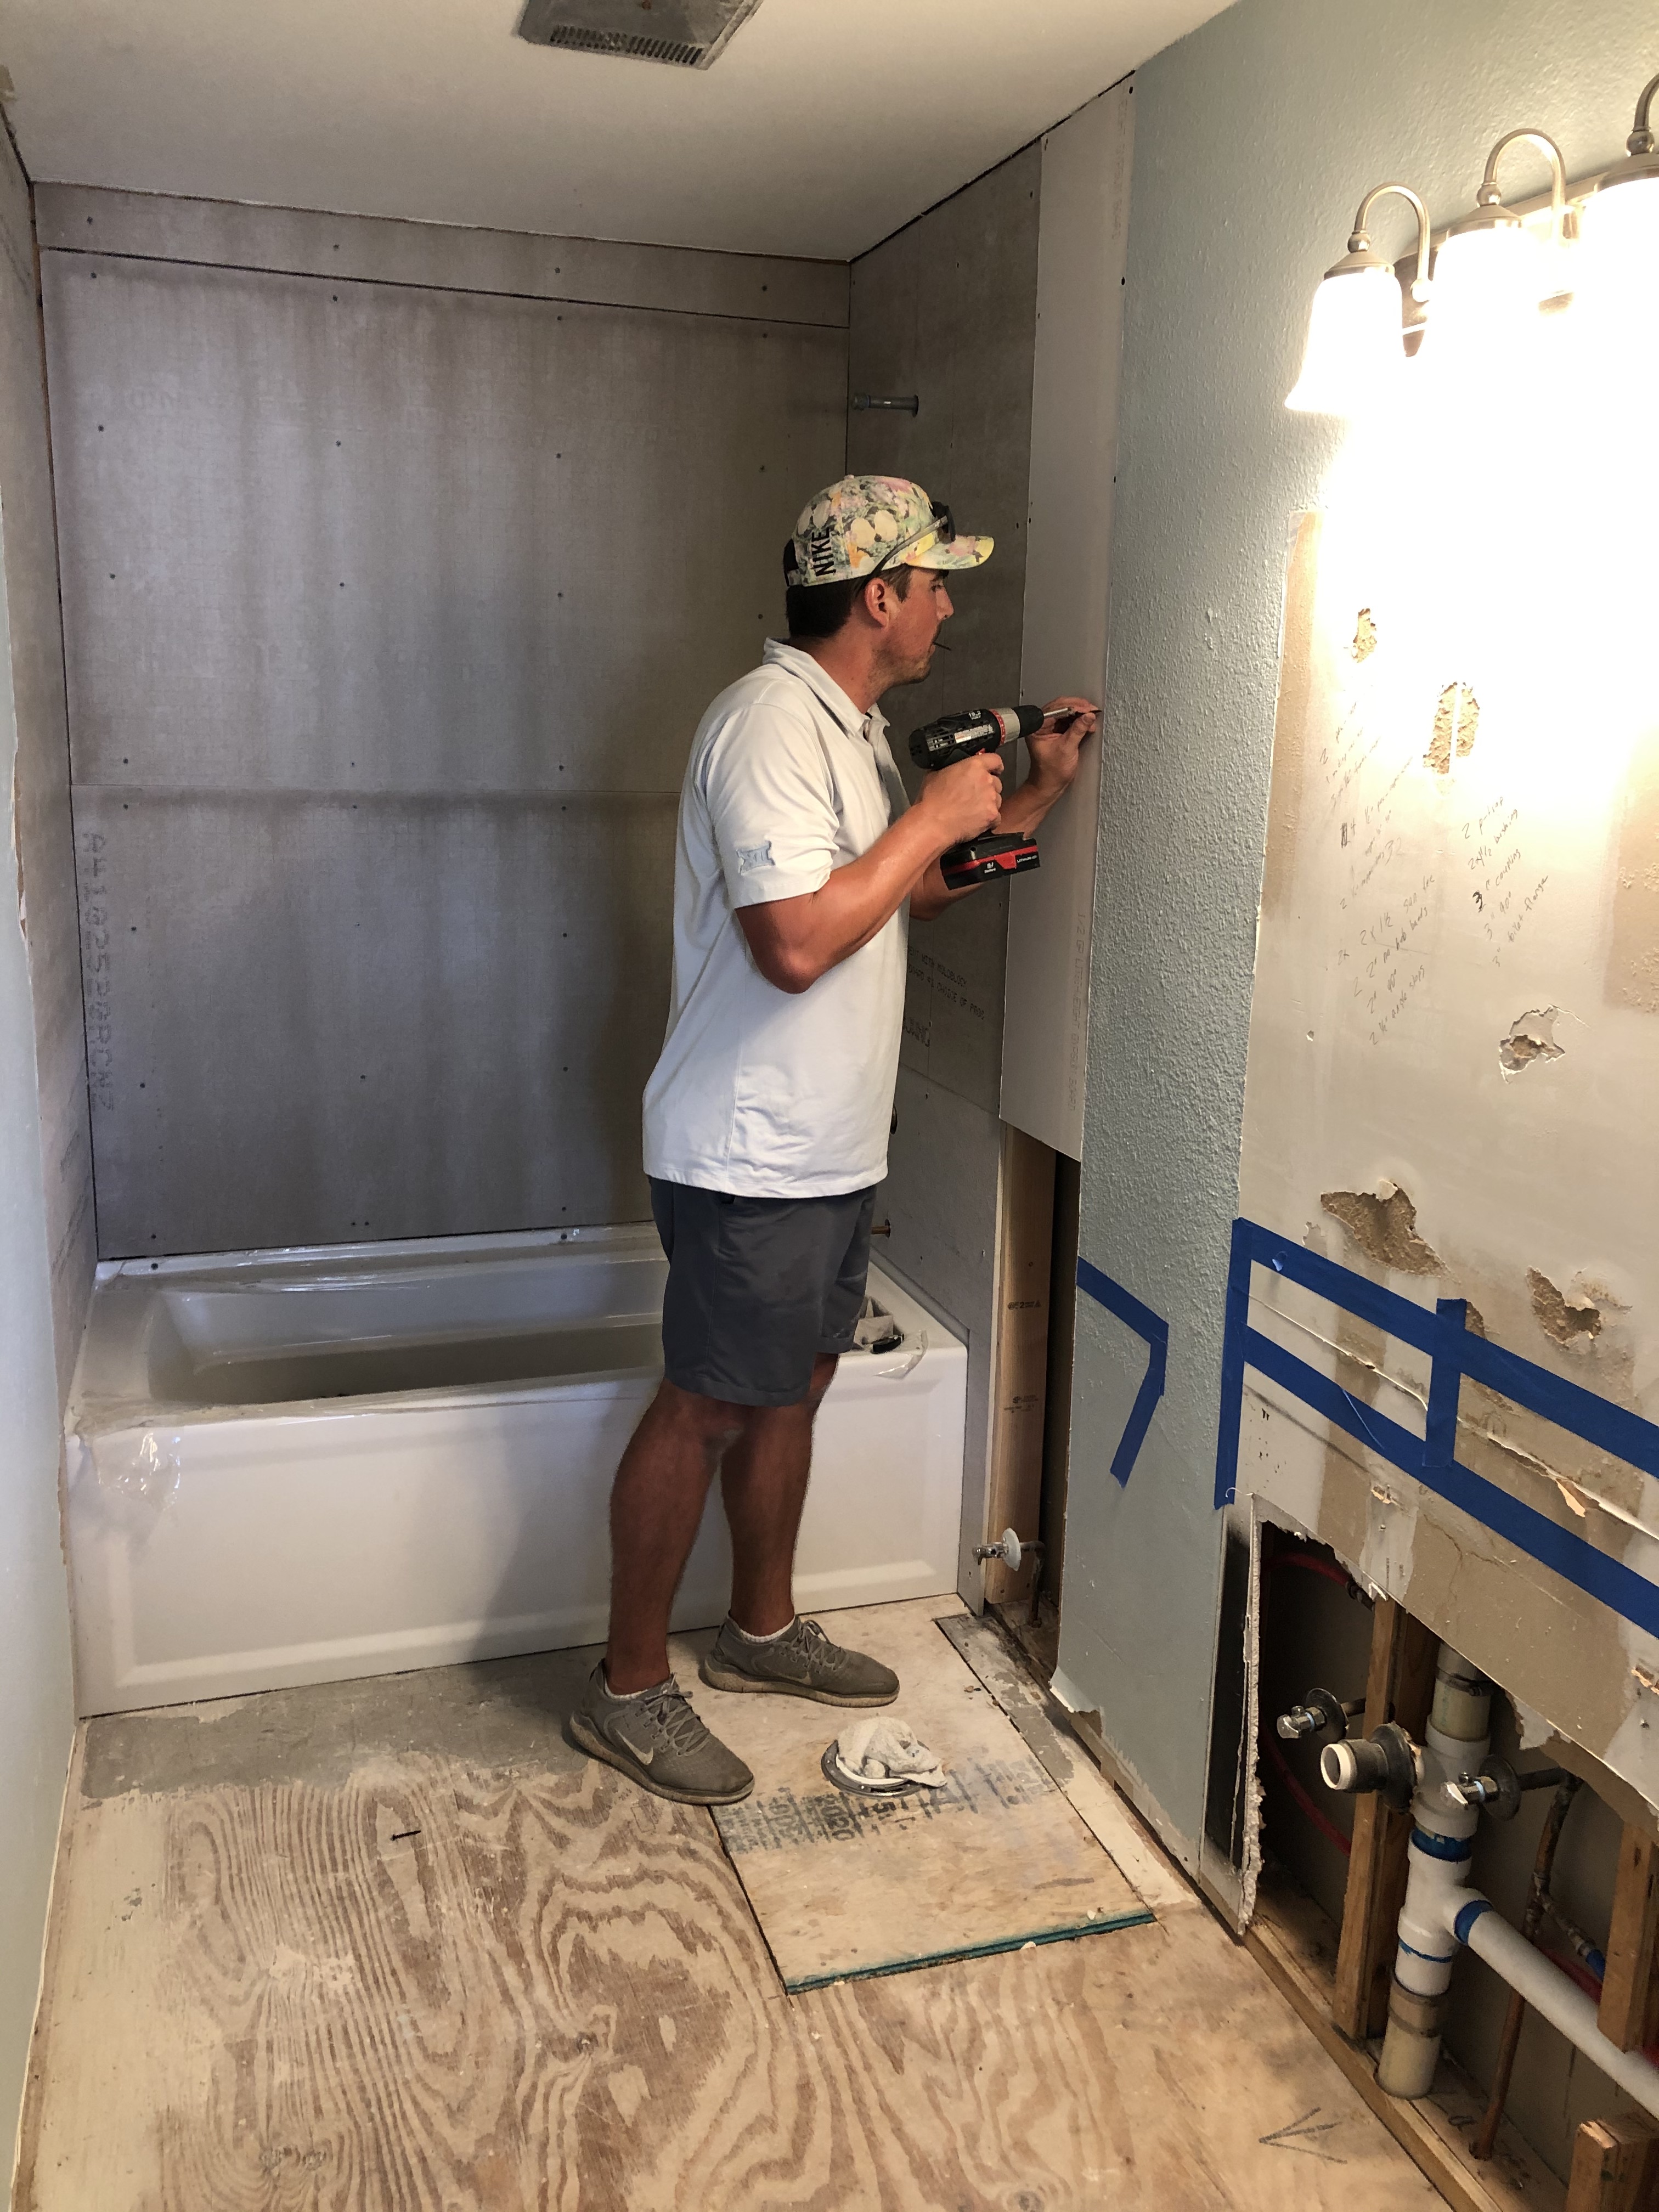
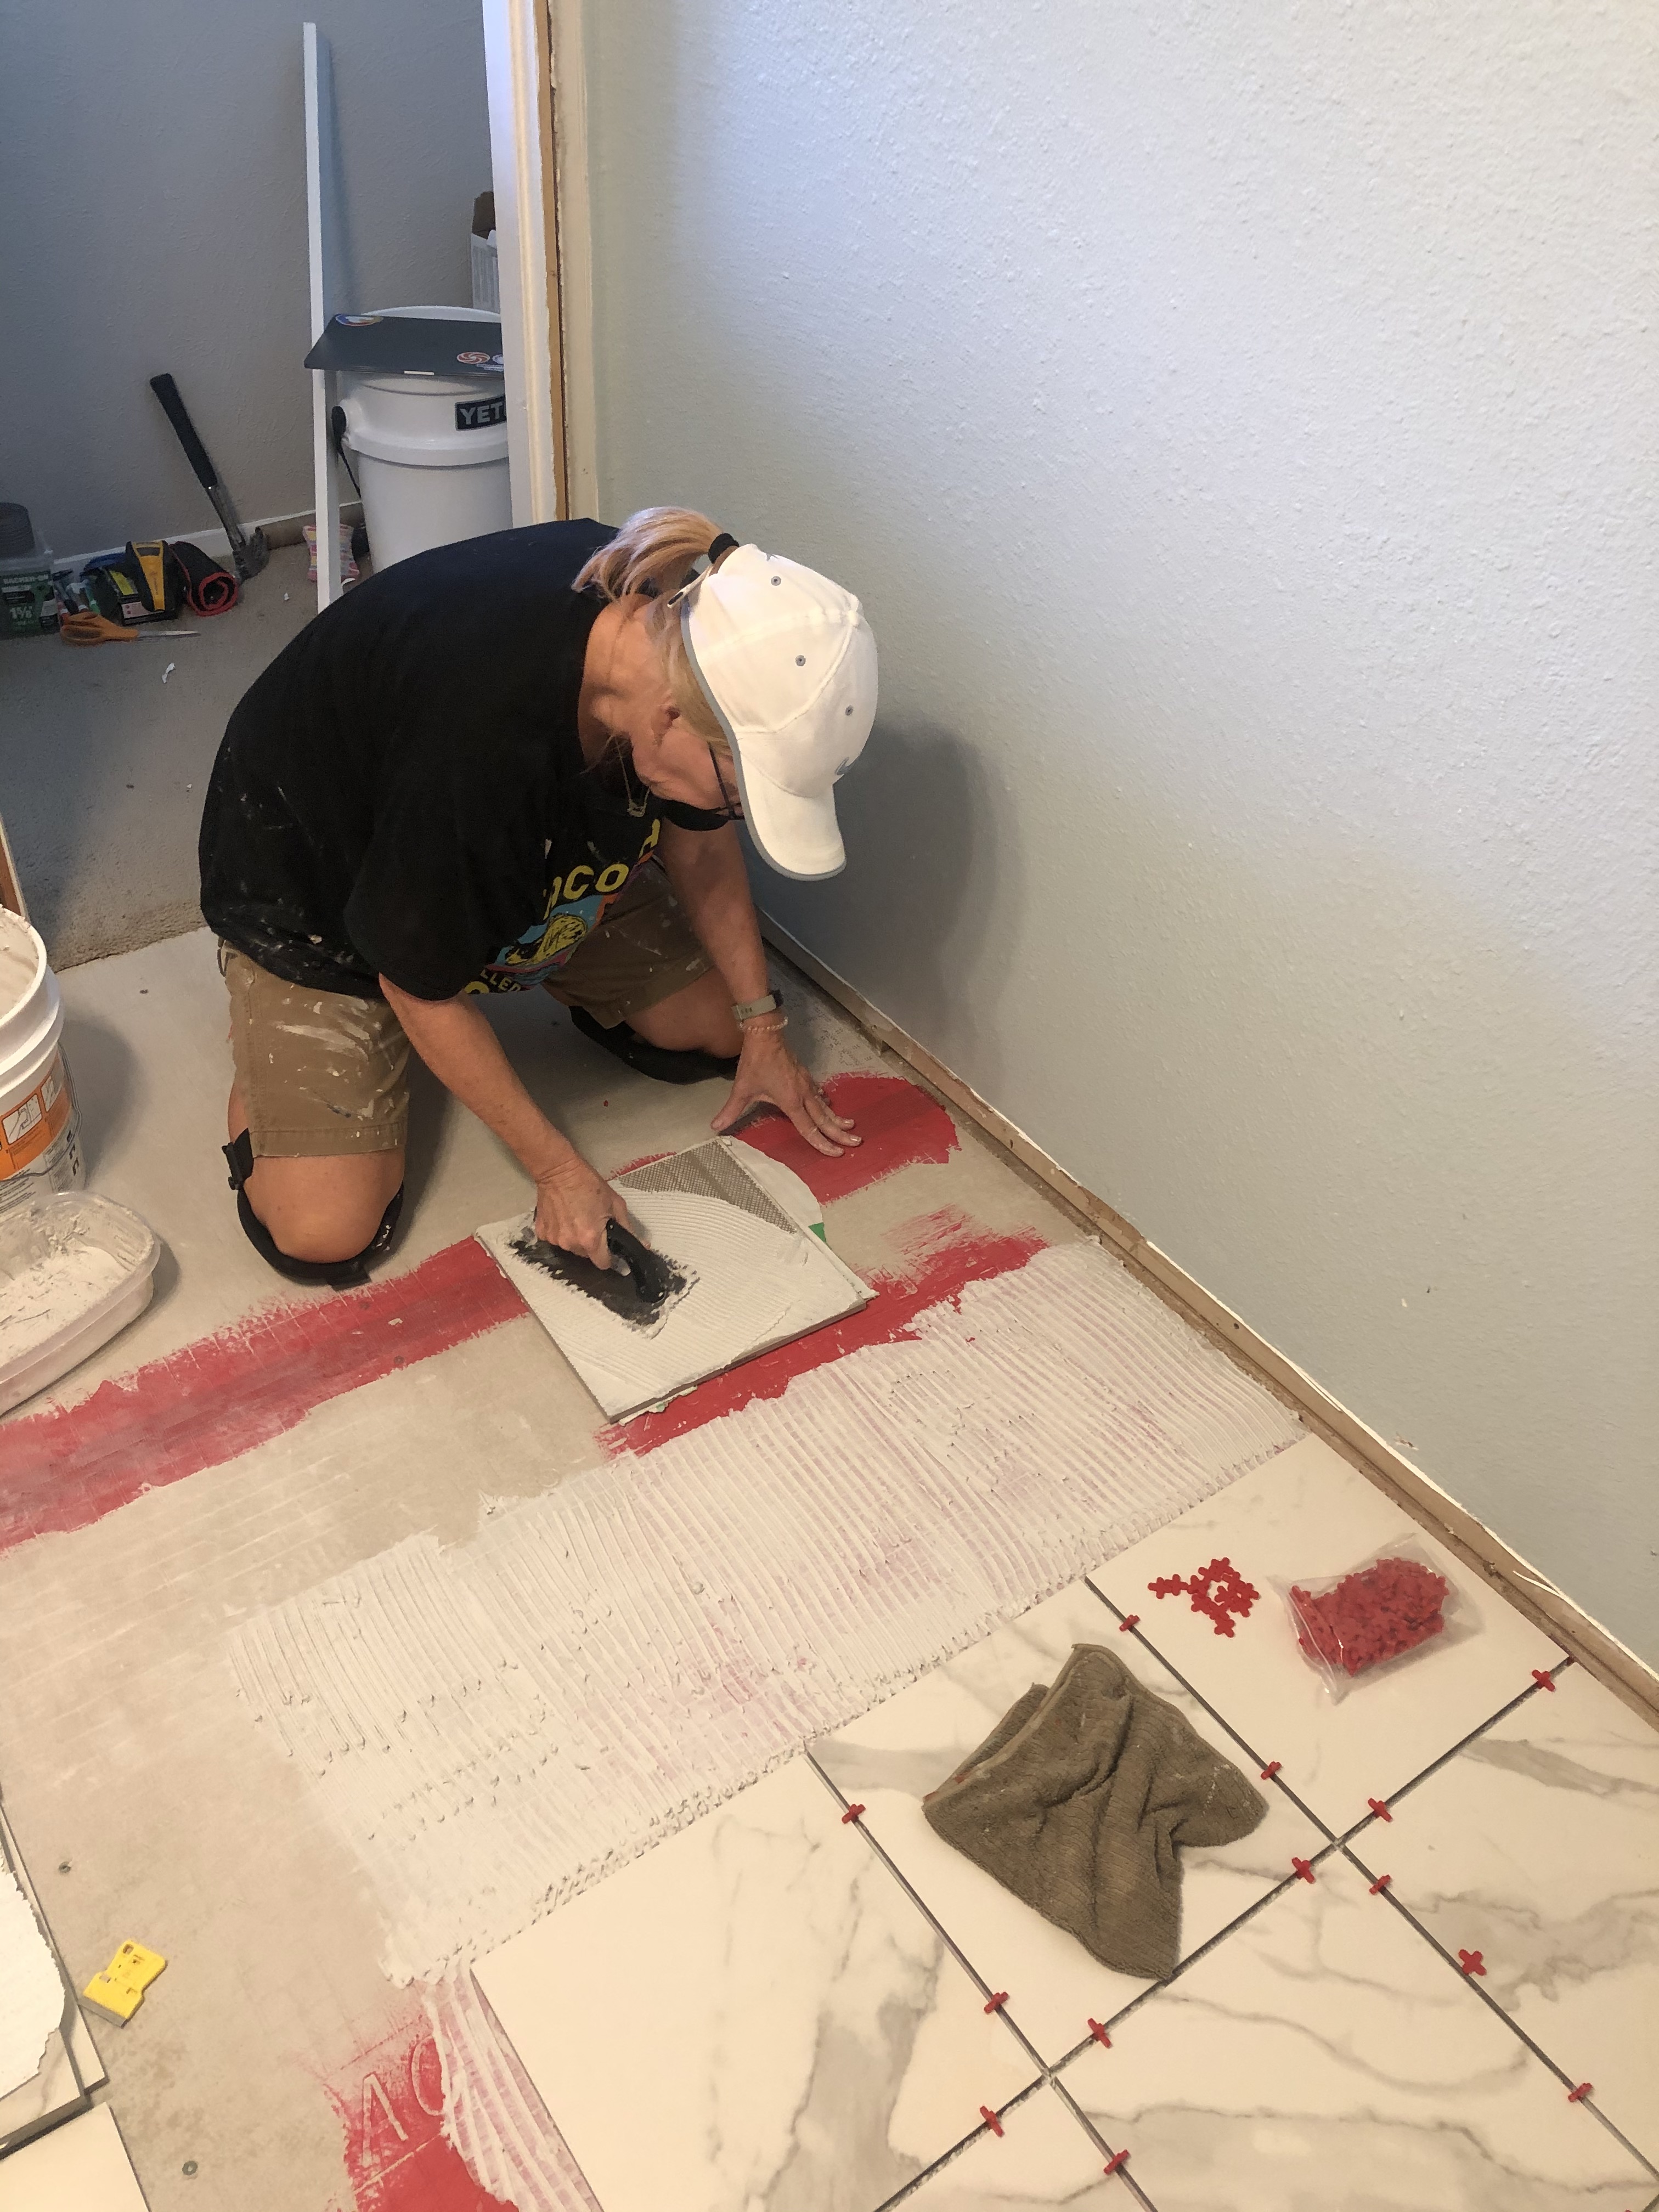
My parents also love DIY so they came to visit me once it was time to start putting the bathroom back together. My dad and I tackled the prep work and waterproofing of the shower walls and bathroom floor. My mom helped me tile.
If you’ve never worked with cement board let me tell you: it’s heavy and hard. You really have to put your weight into it when screwing through the cement board into the stud. Our family is very accident prone so of course, injuries happen. I’m left-handed and my dad is right-handed so we have matching but opposite injuries from using the power drill. Lesson learned: We will wear gloves next time.
We also had a guest appearance from my husband, Steffan. He’s our resident drywall expert. We saved ourselves thousands of dollars during the downstairs renovation by installing our own drywall.
The next step after getting the cement board in place was waterproofing. I did a lot of research for this part because I did not want to risk mildew and mold growing in the walls or water damage that could leak onto our new hardwood floors below this bathroom.
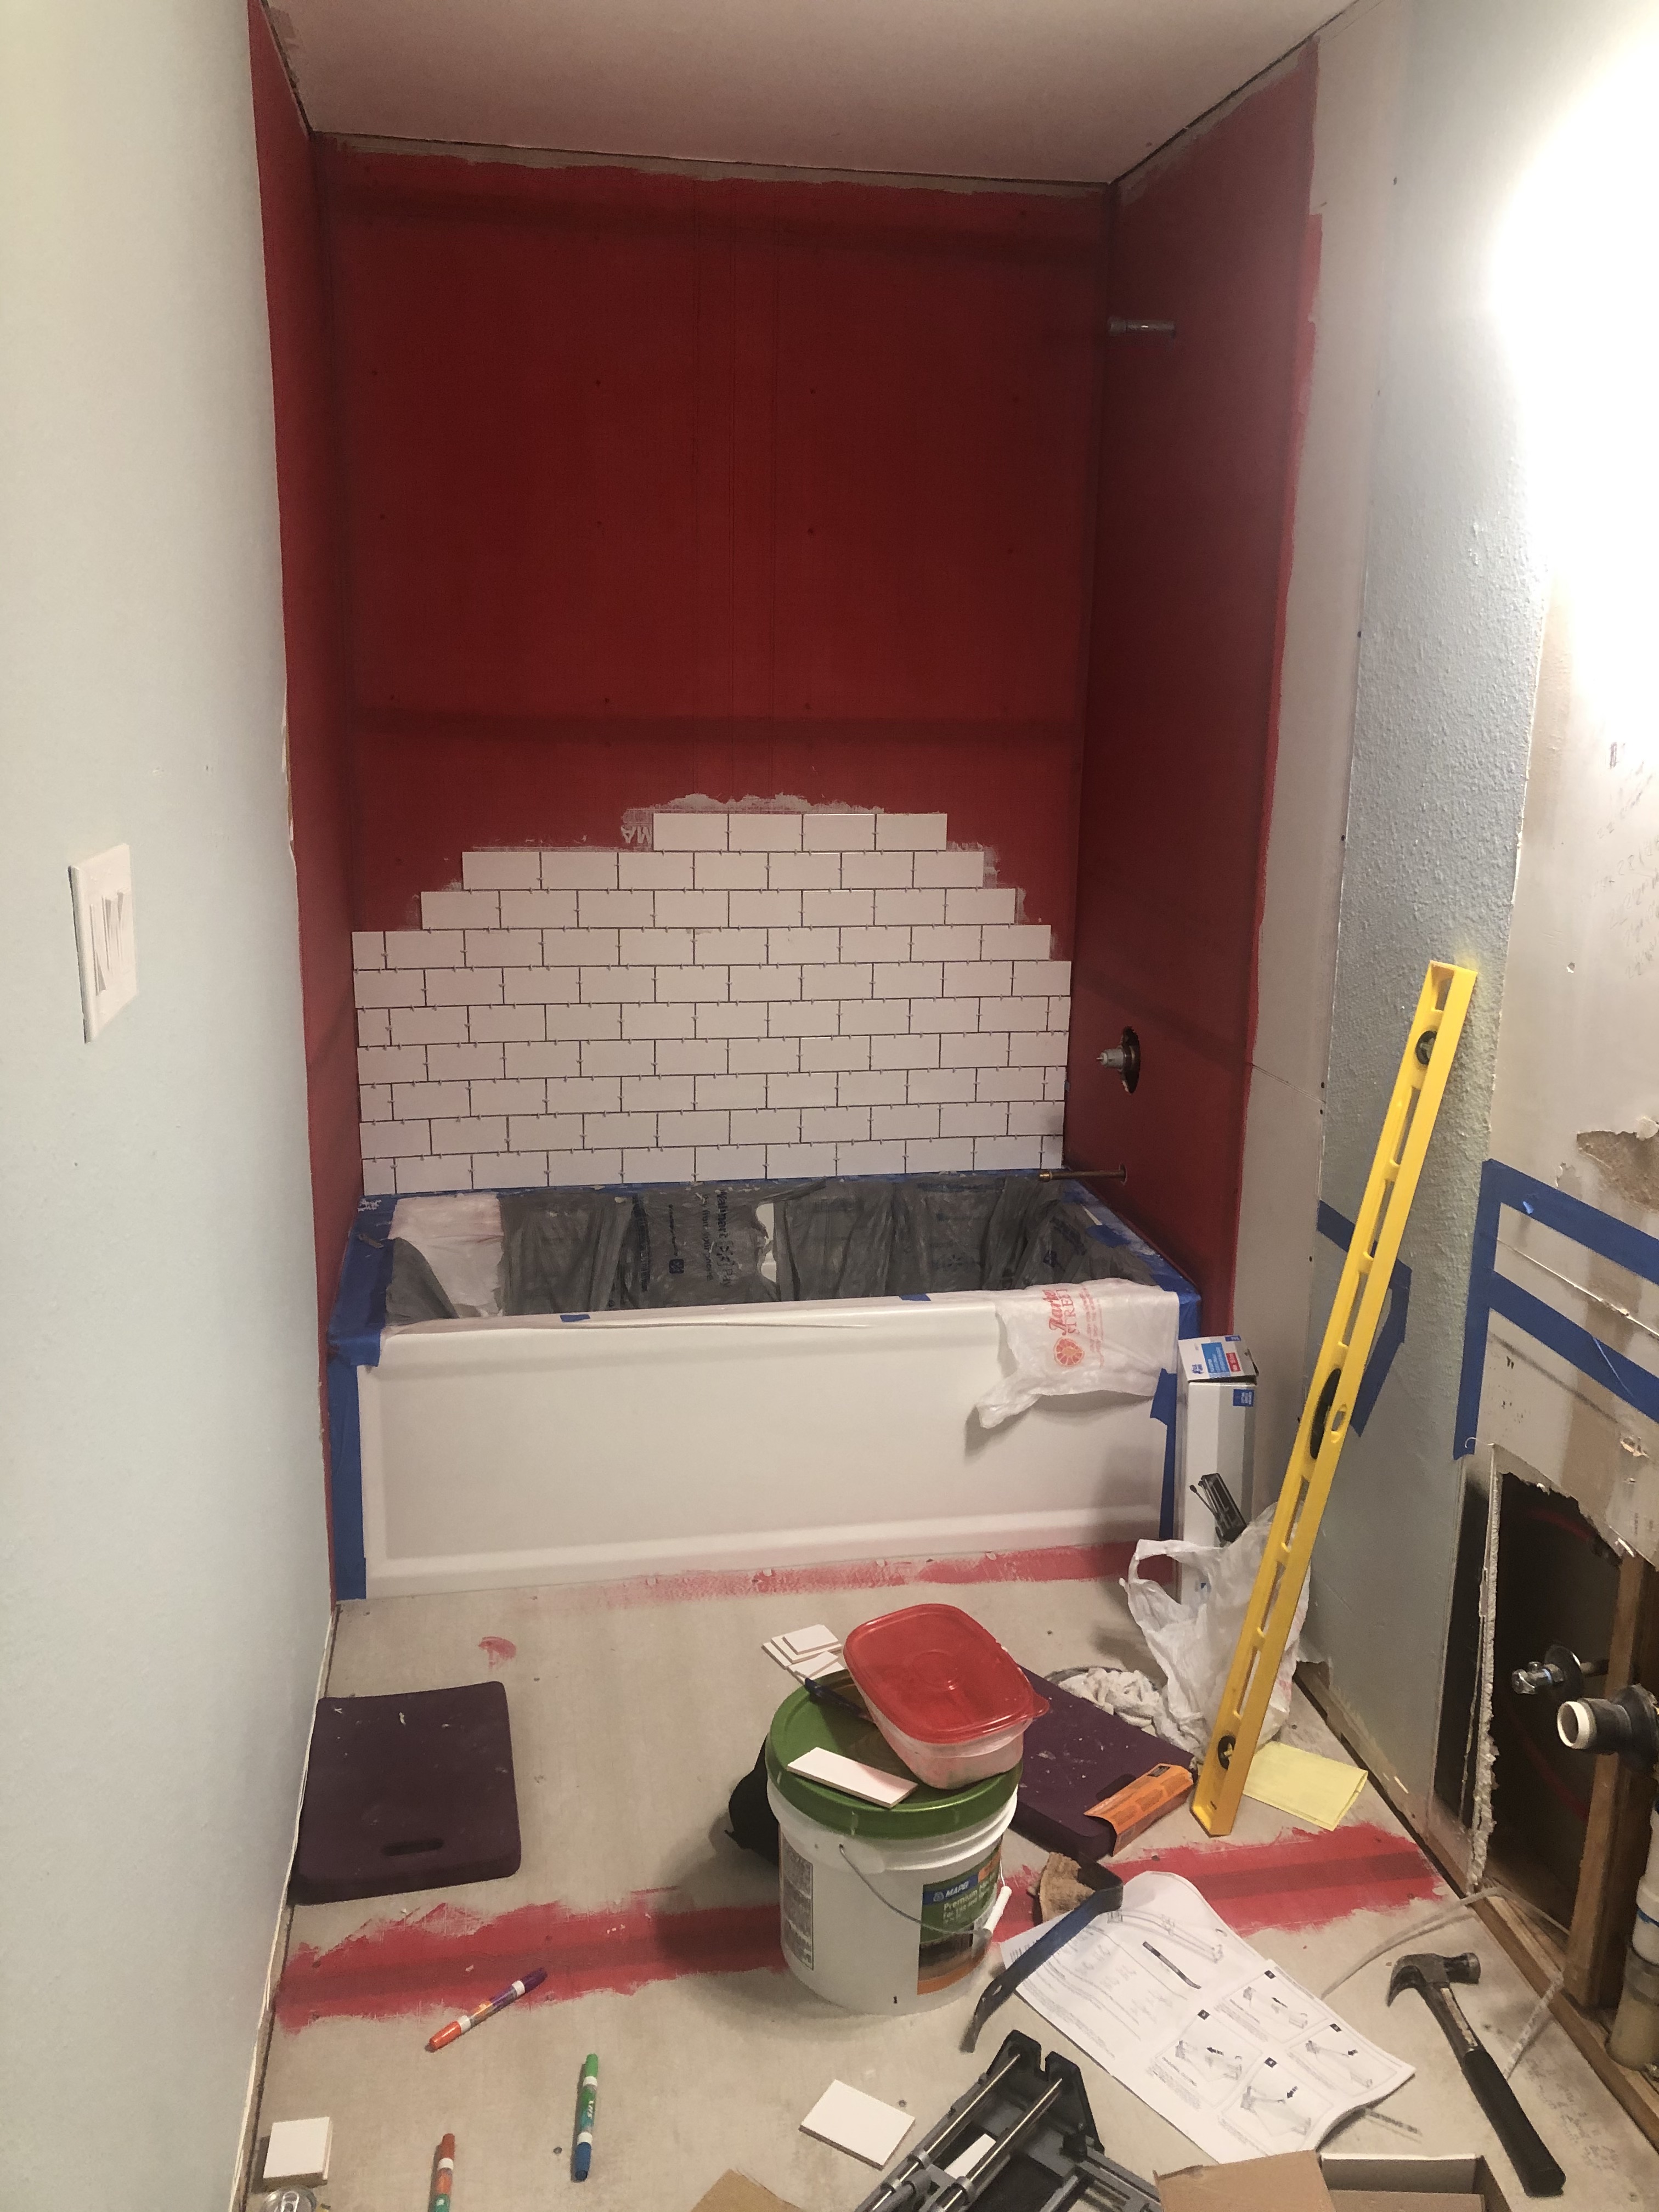
I decided to use Redgard for this step. You have to make sure you get your seams and corners really well. After that, you can simply roll it straight onto the wall. The product rolls on bright pink and turns red when dry. We did two coats on the shower just to be safe. One gallon was more than enough for this project. Since we had a little bit left over, I decided it wouldn’t hurt to also paint the floor seams and the area immediately around the tub and toilet.
Once the Redgard had dried completely, it was time to start tiling. This was my first time to ever tile walls and I was pretty nervous. Once we got in a groove, it was easy. It was awesome to have my mom helping because we were able to get this done so much faster than if I had to do this by myself.
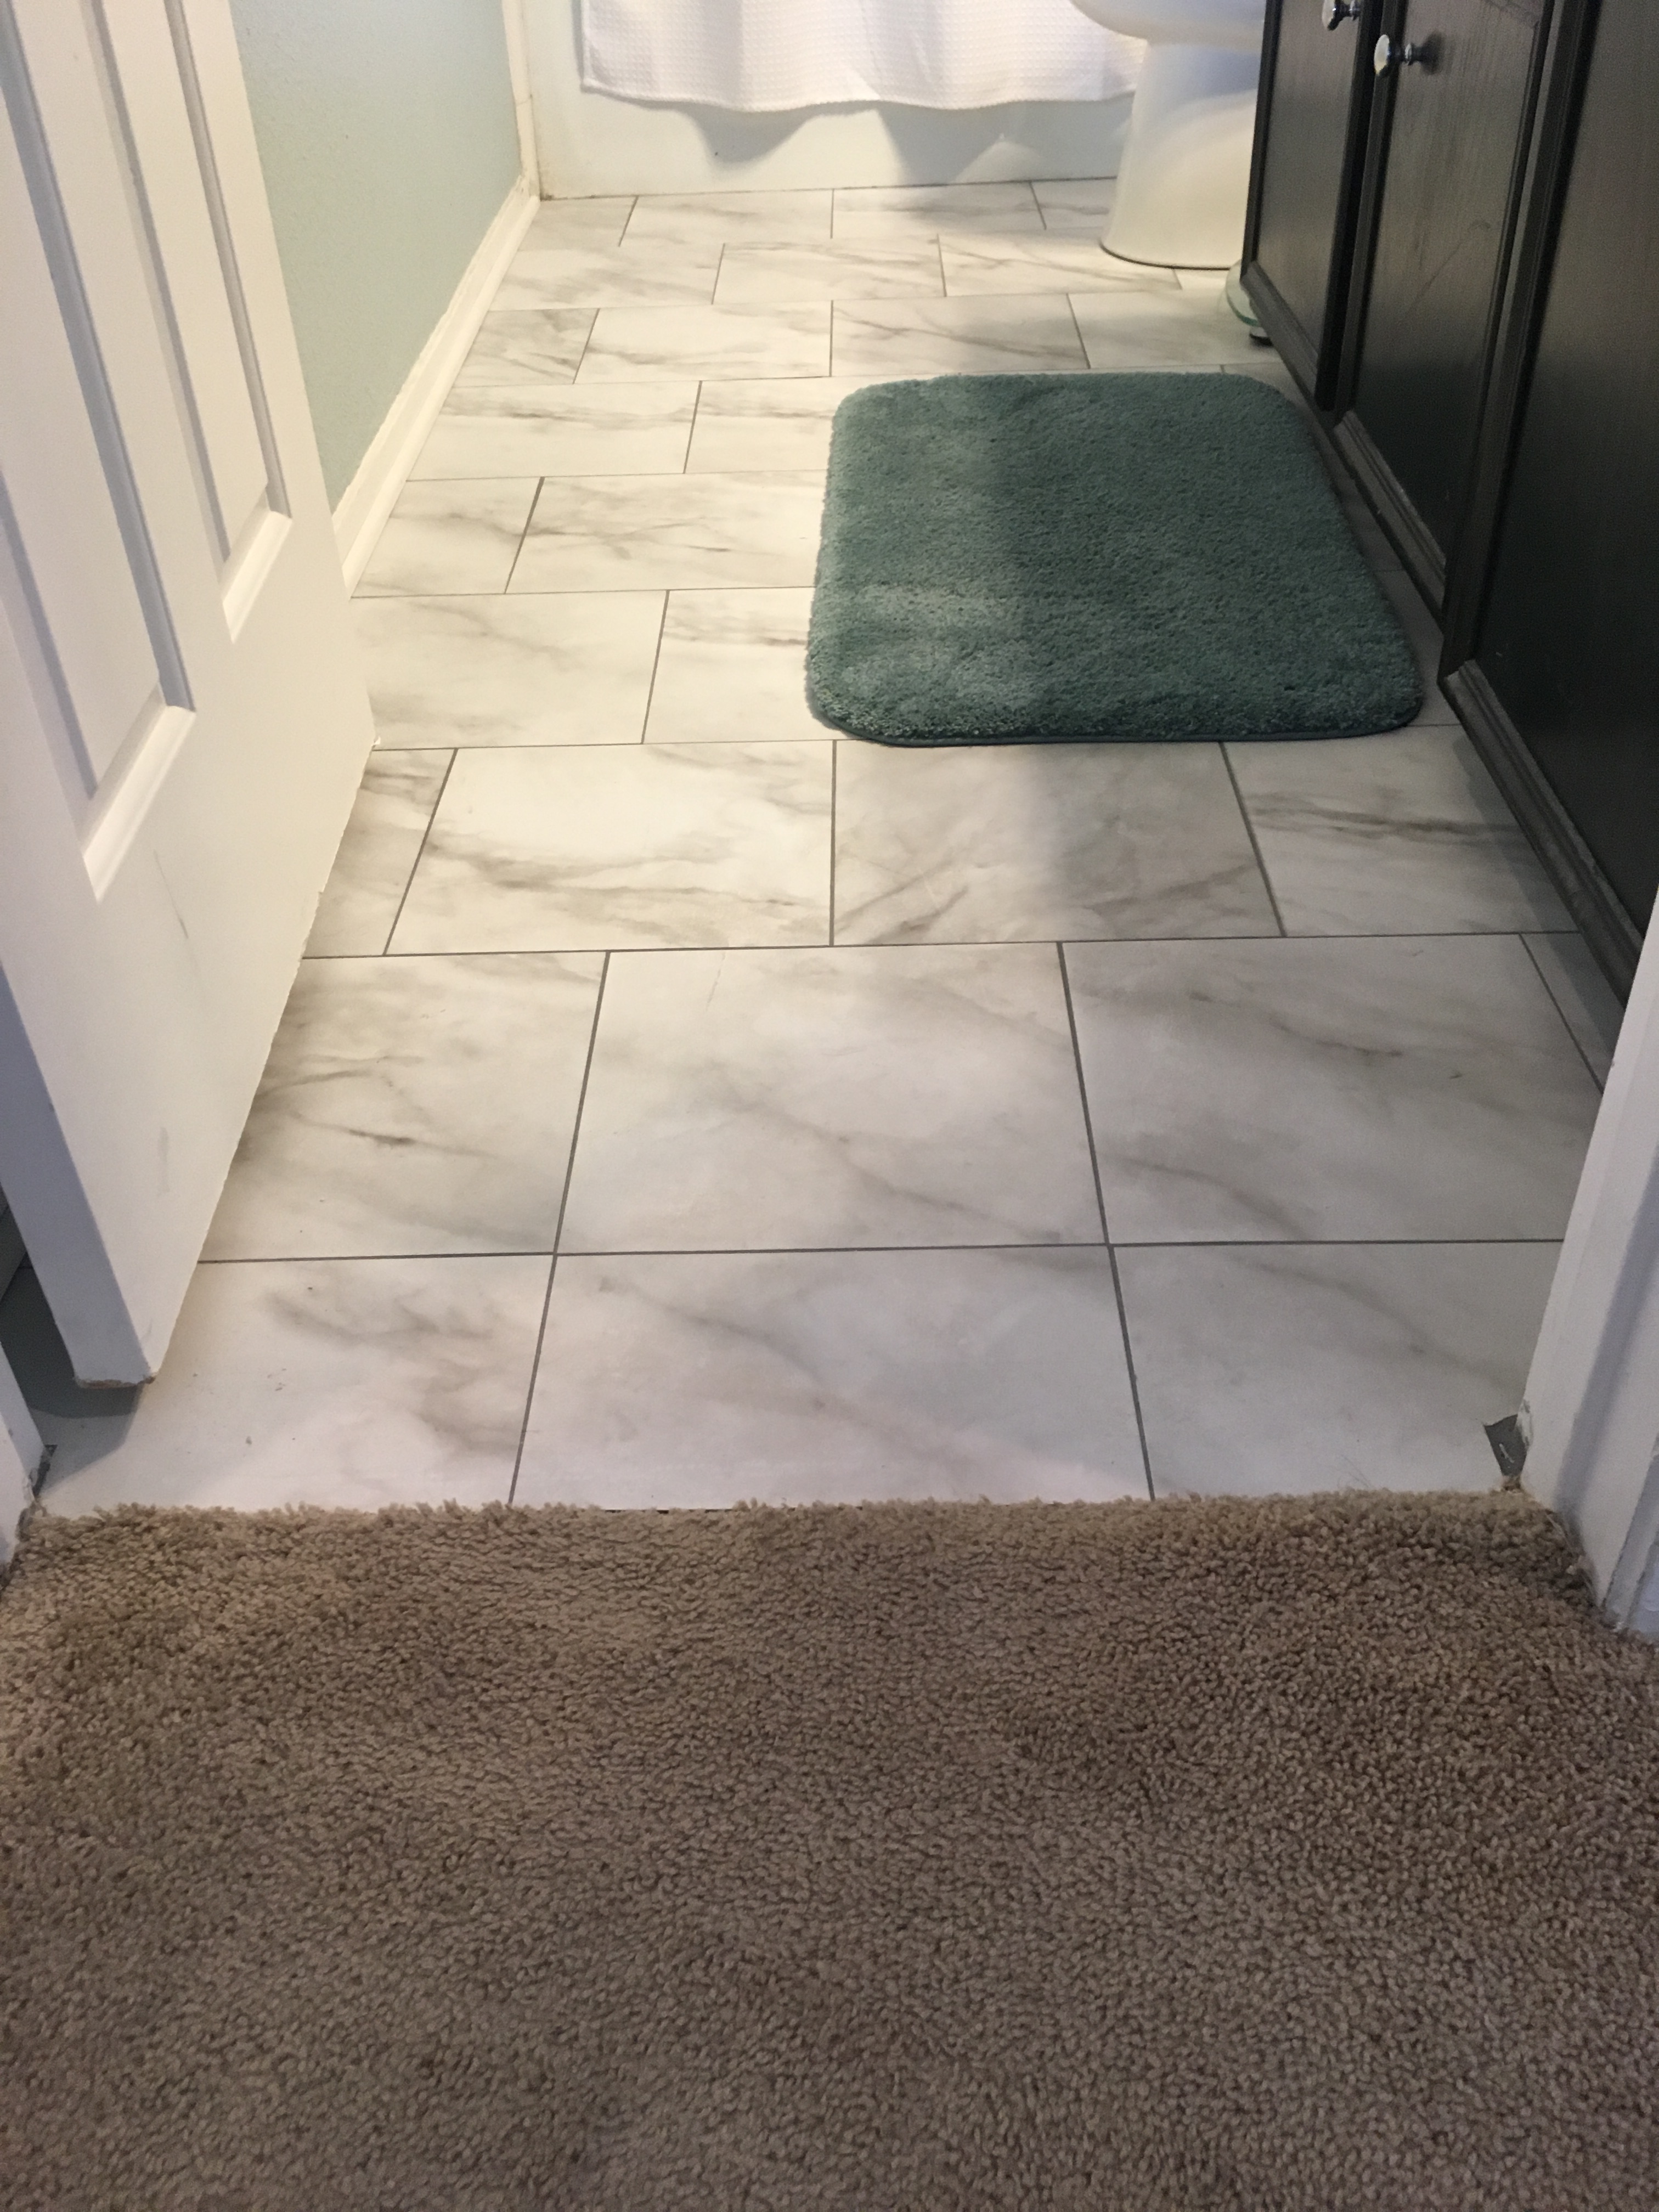
After four days my parents had to go home so I was back to finishing the floor tile on my own. I got a new wet saw that I was excited to use. I started by dry fitting all of the cut tiles to make sure everything would fit. Then I finished up mortaring the tiles to the ground.
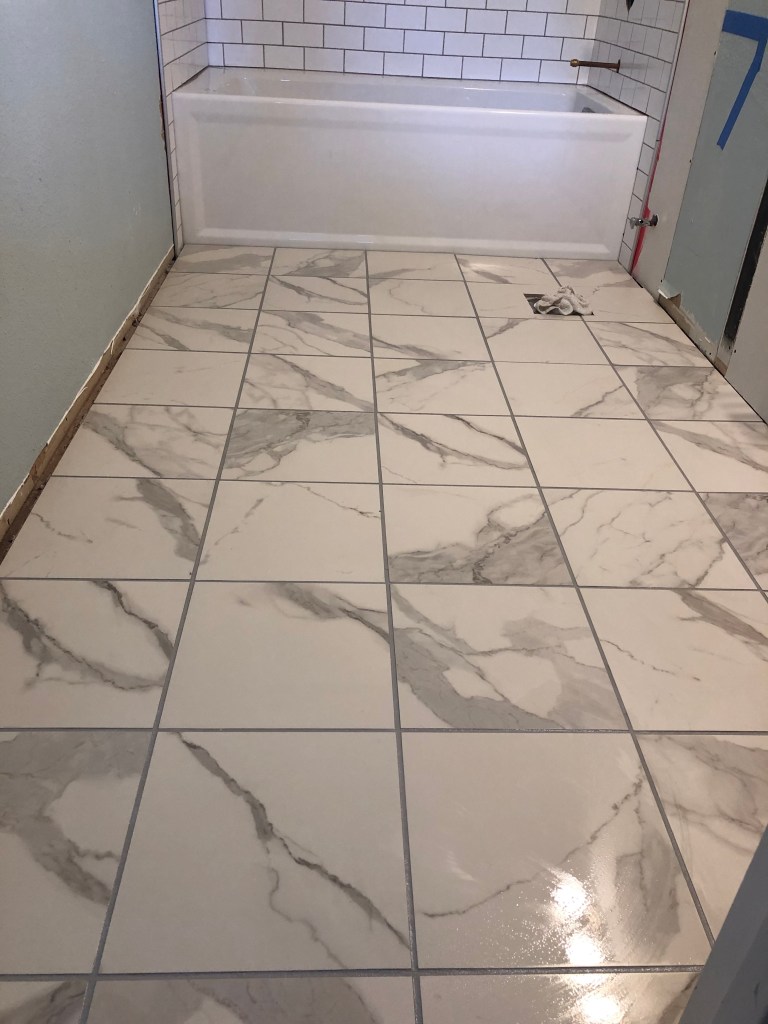
Floors after grouting was completed
After waiting 24 hours, I was able to get the tile grouted using a pre-mixed Mapei grout (in Silver). Overall, this product is very easy to use compared to regular grout since you don’t have to mix it. The only negative, it really leaves behind grout haze. I had the same problem with the shower walls.
To remove grout haze, I used this Laticrete product. Instructions were clear and it worked like a charm. One wash was all I needed for the shower walls. I did three washes on the floors before the haze was sufficiently removed.
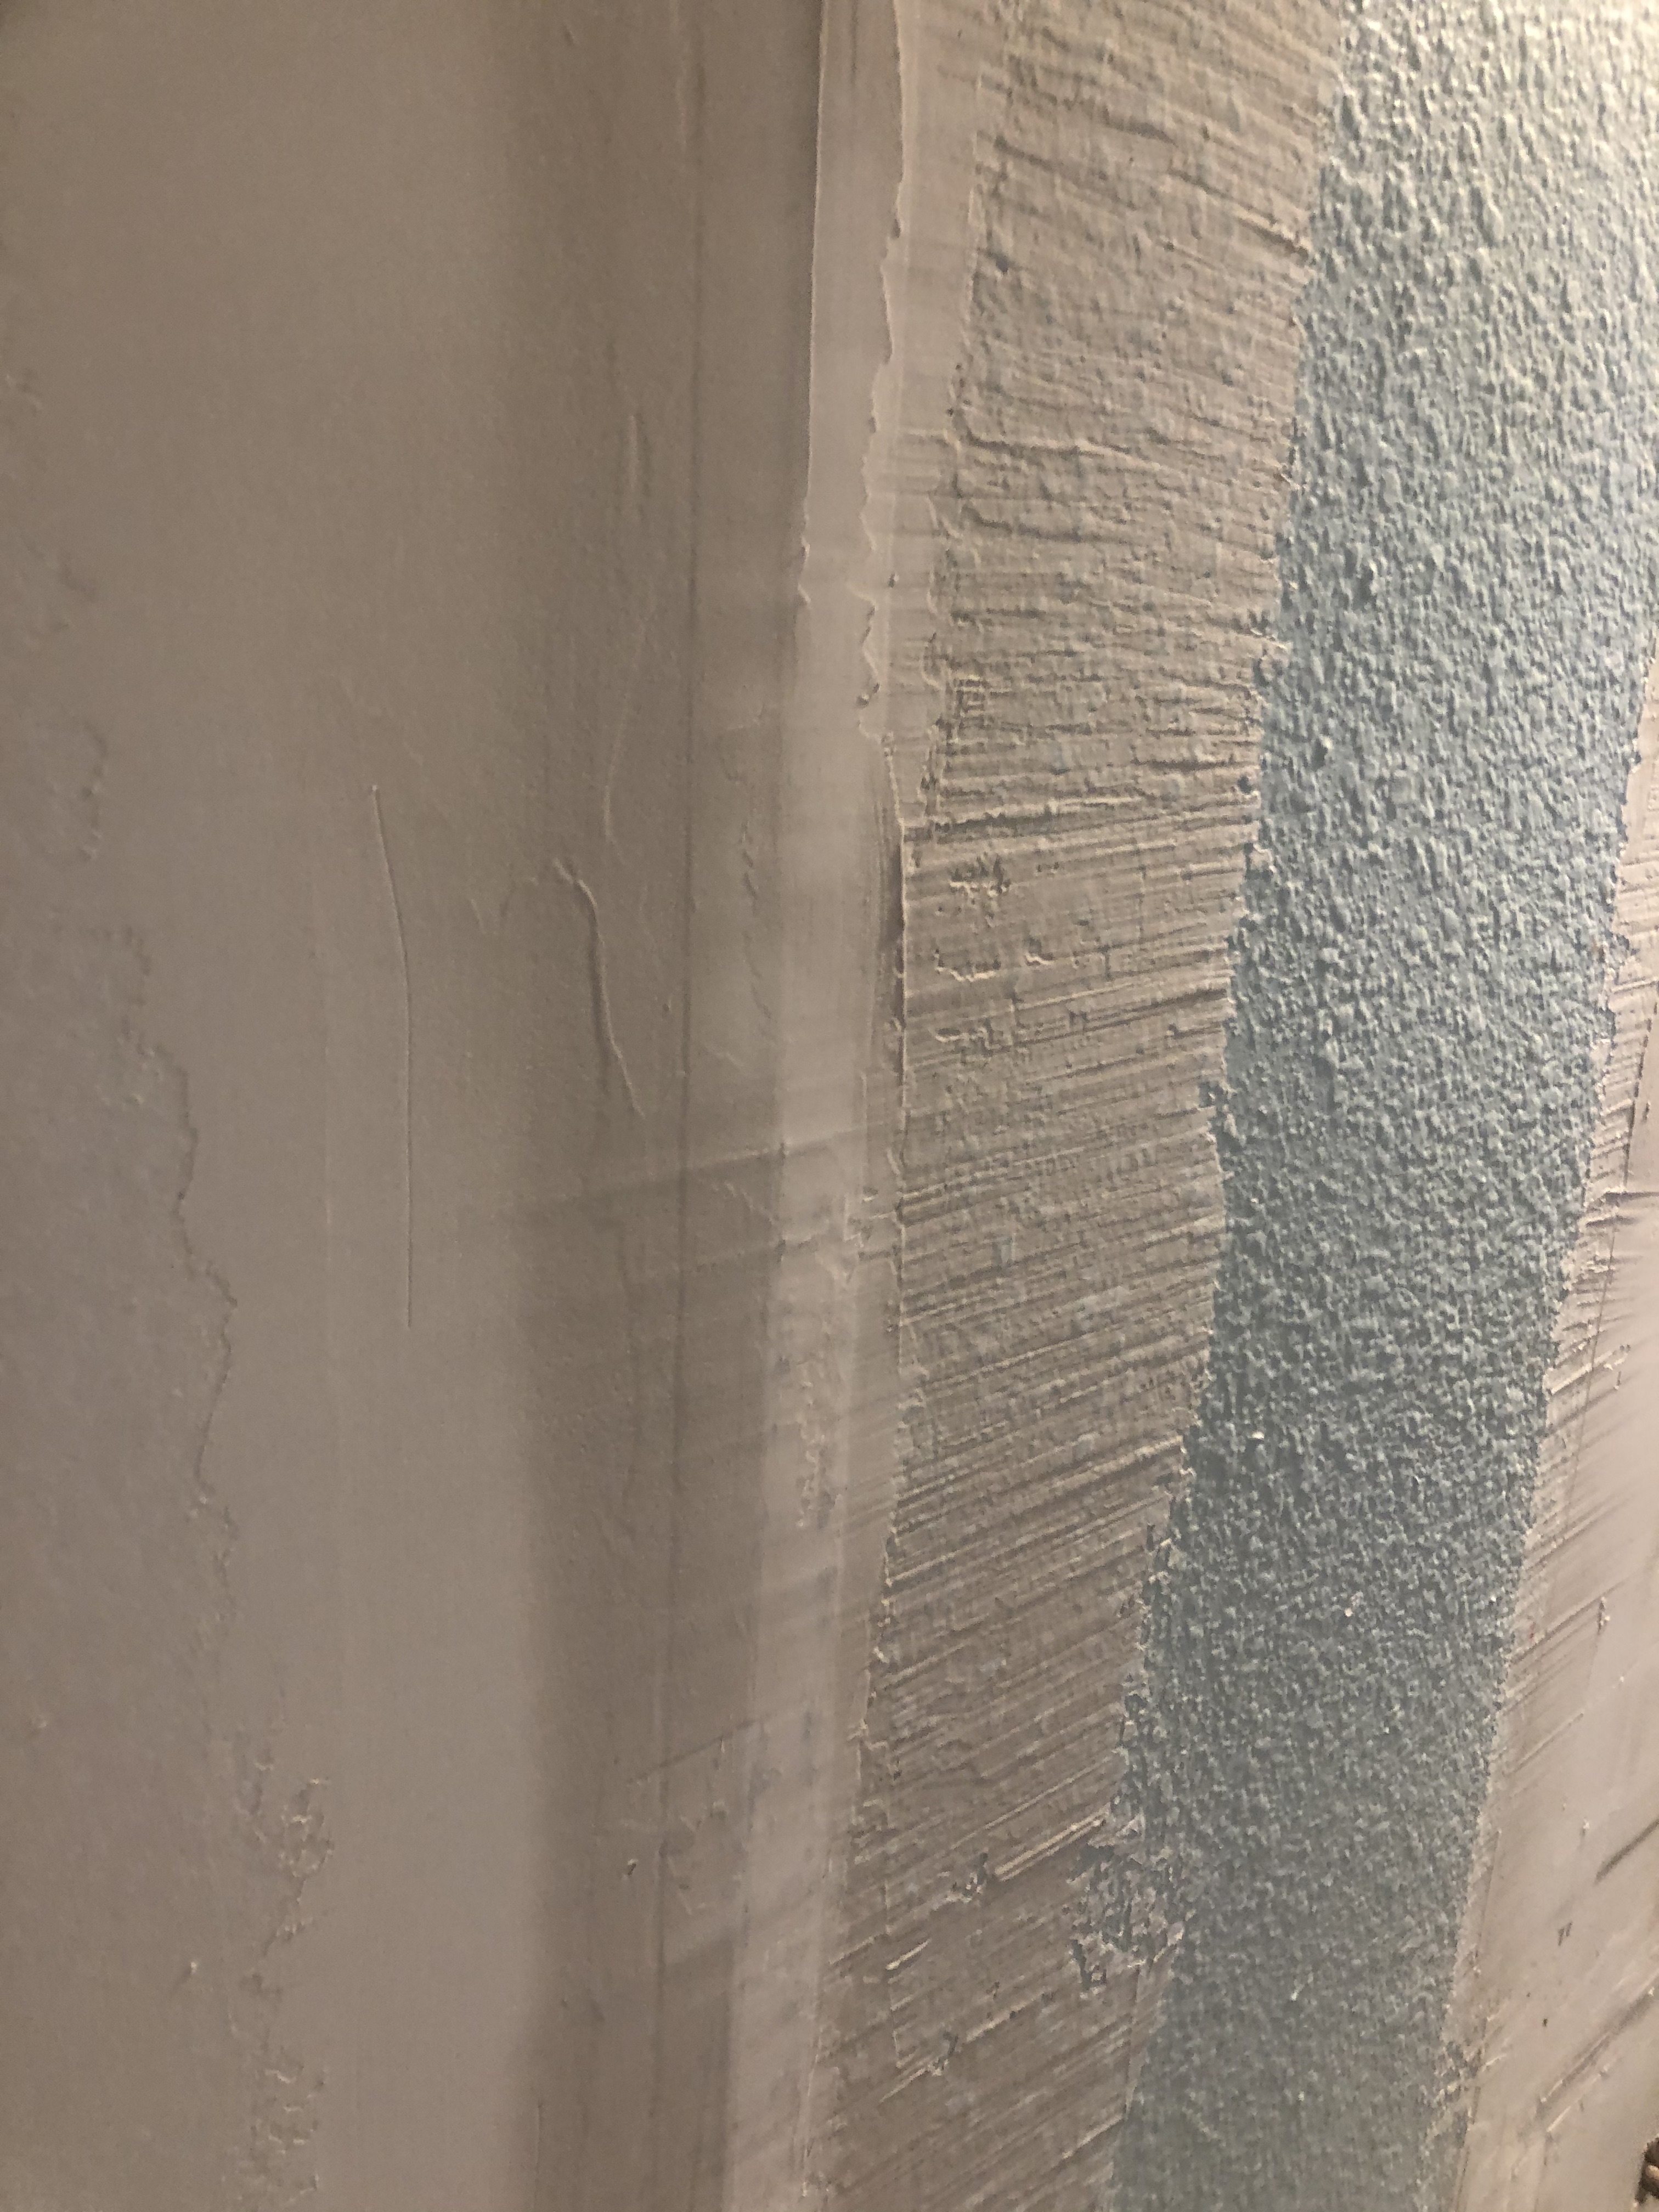
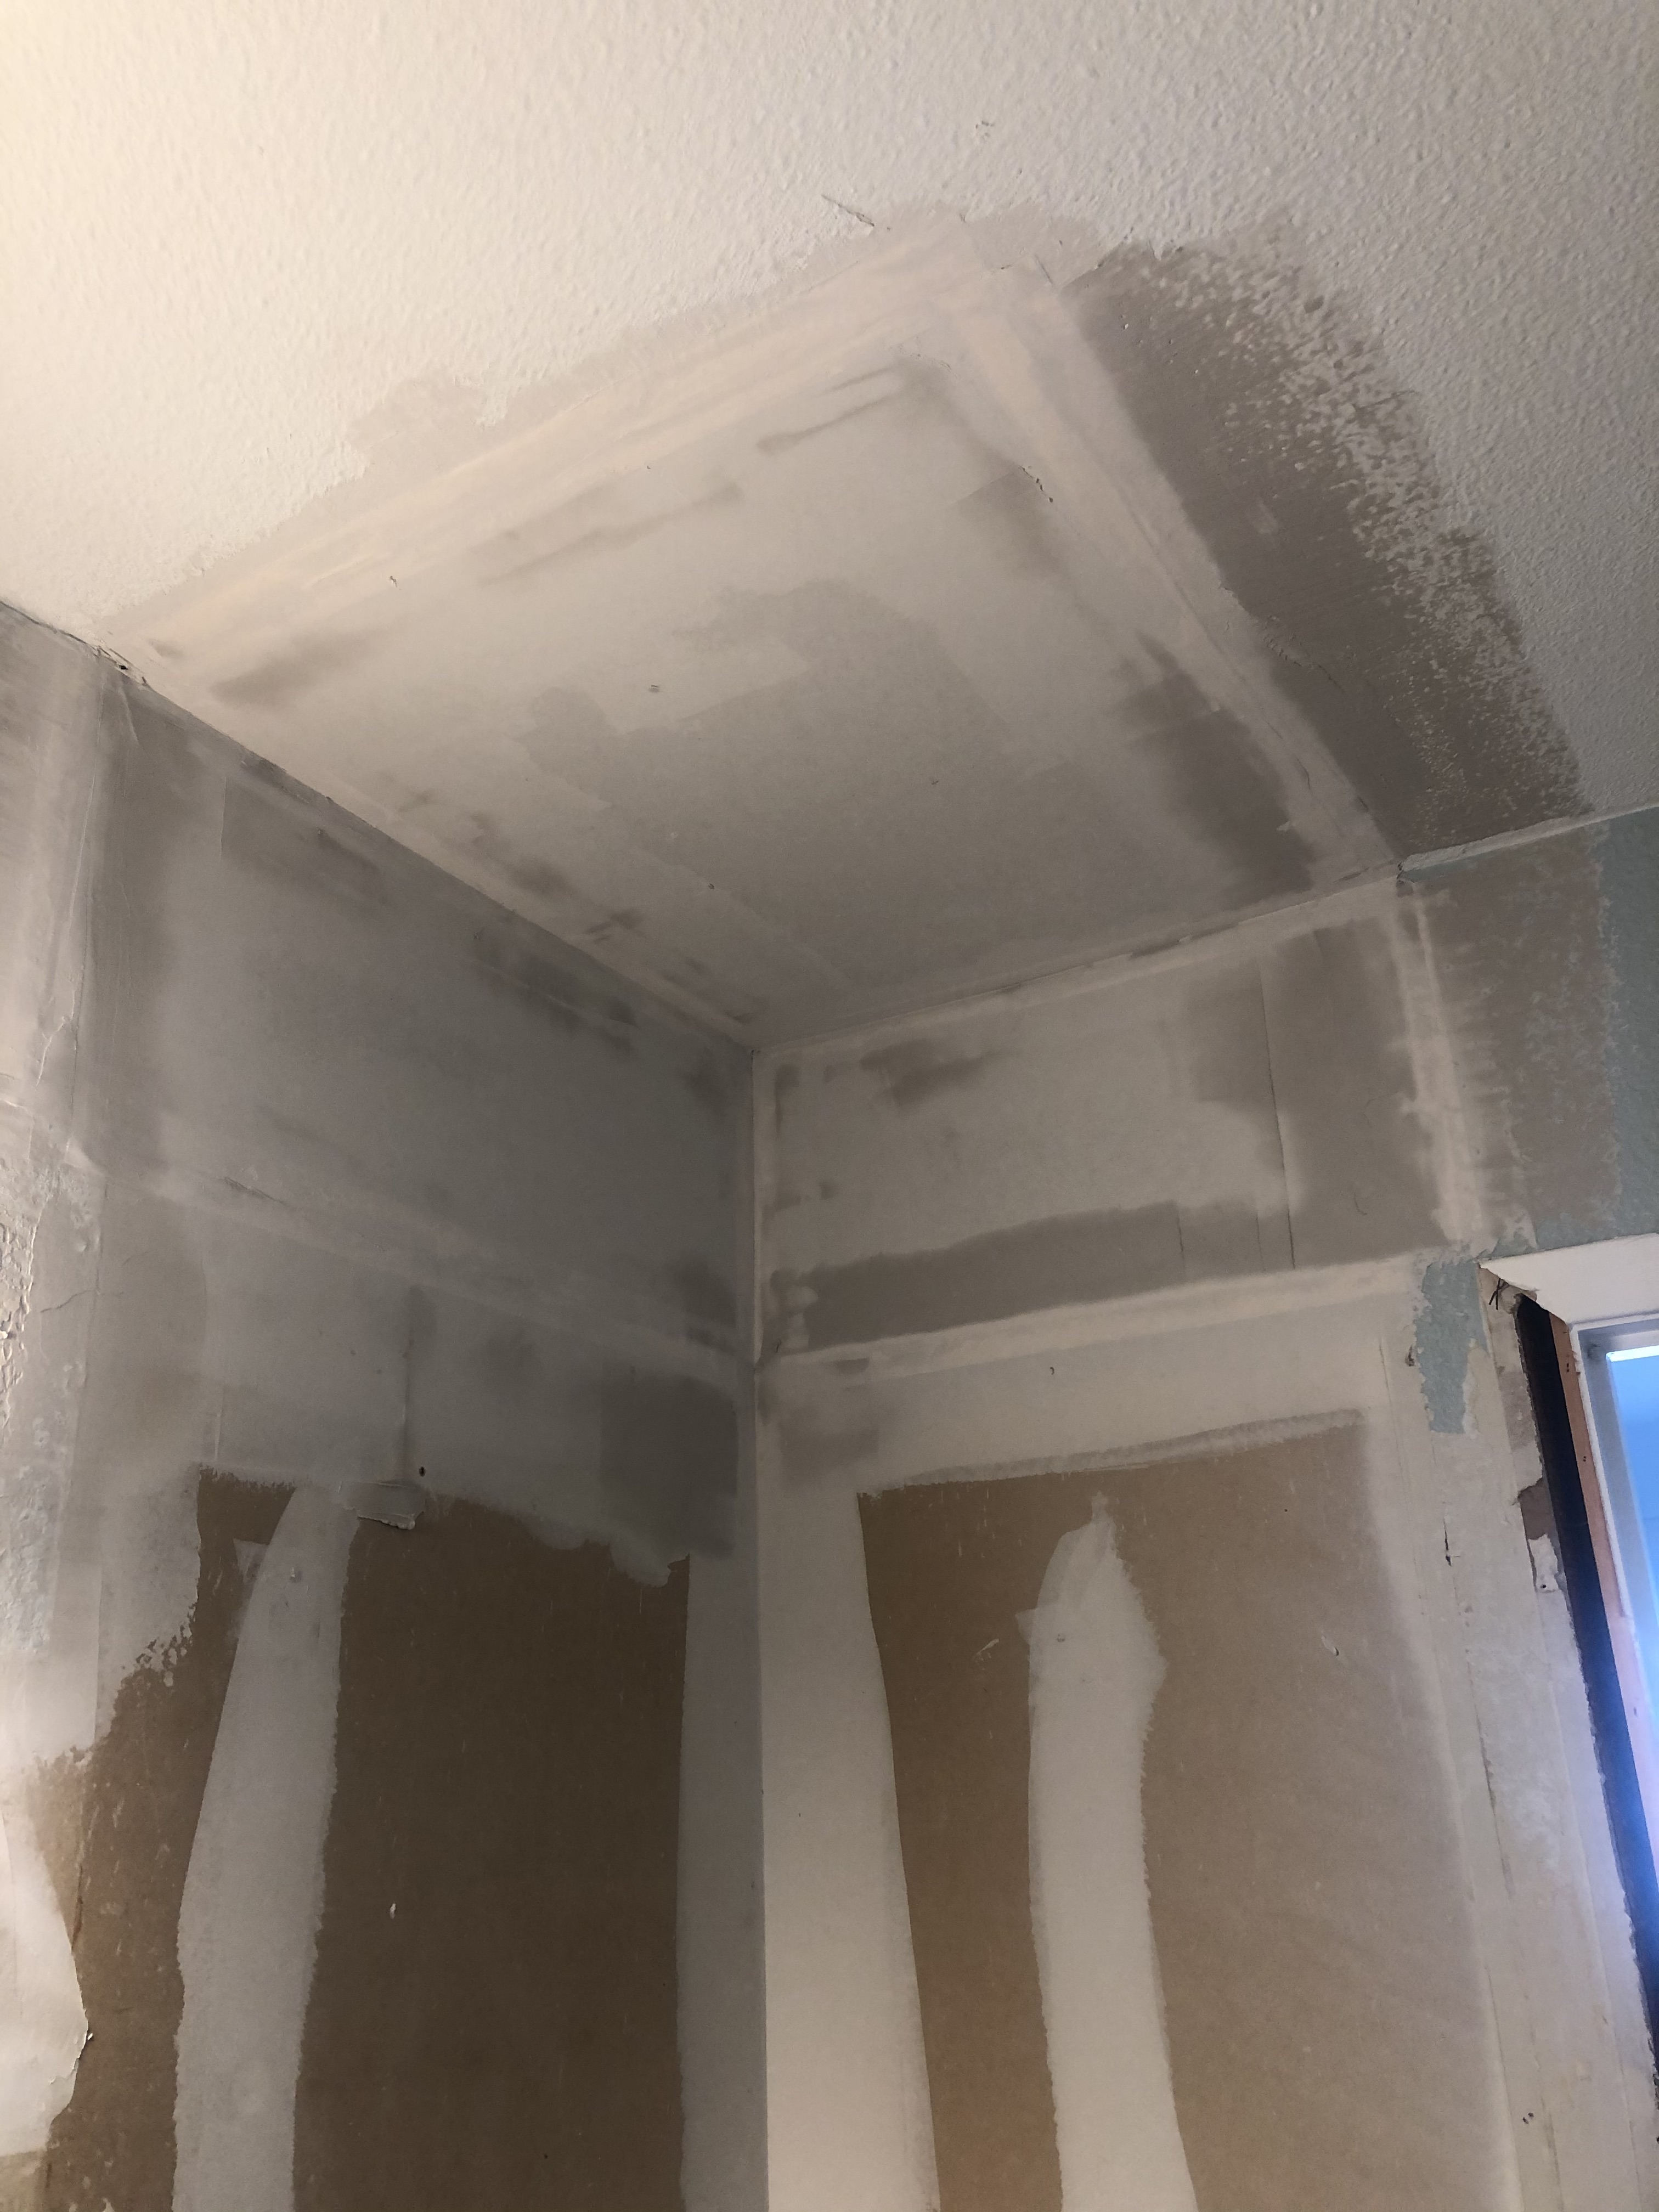
The next phase of this renovation was to fix the walls. We installed some new drywall which required taping and floating the seams and removing the large builder grade mirror left holes that needed to be patched.
I watched several YouTube videos and got started. I got the hang of taping and floating the drywall and feathering out the seams. However, there is an art to adding wall texture that is not in my skill set. DIY is great because you learn your capabilities but sometimes you also learn your limits. I needed help with this portion of the project.
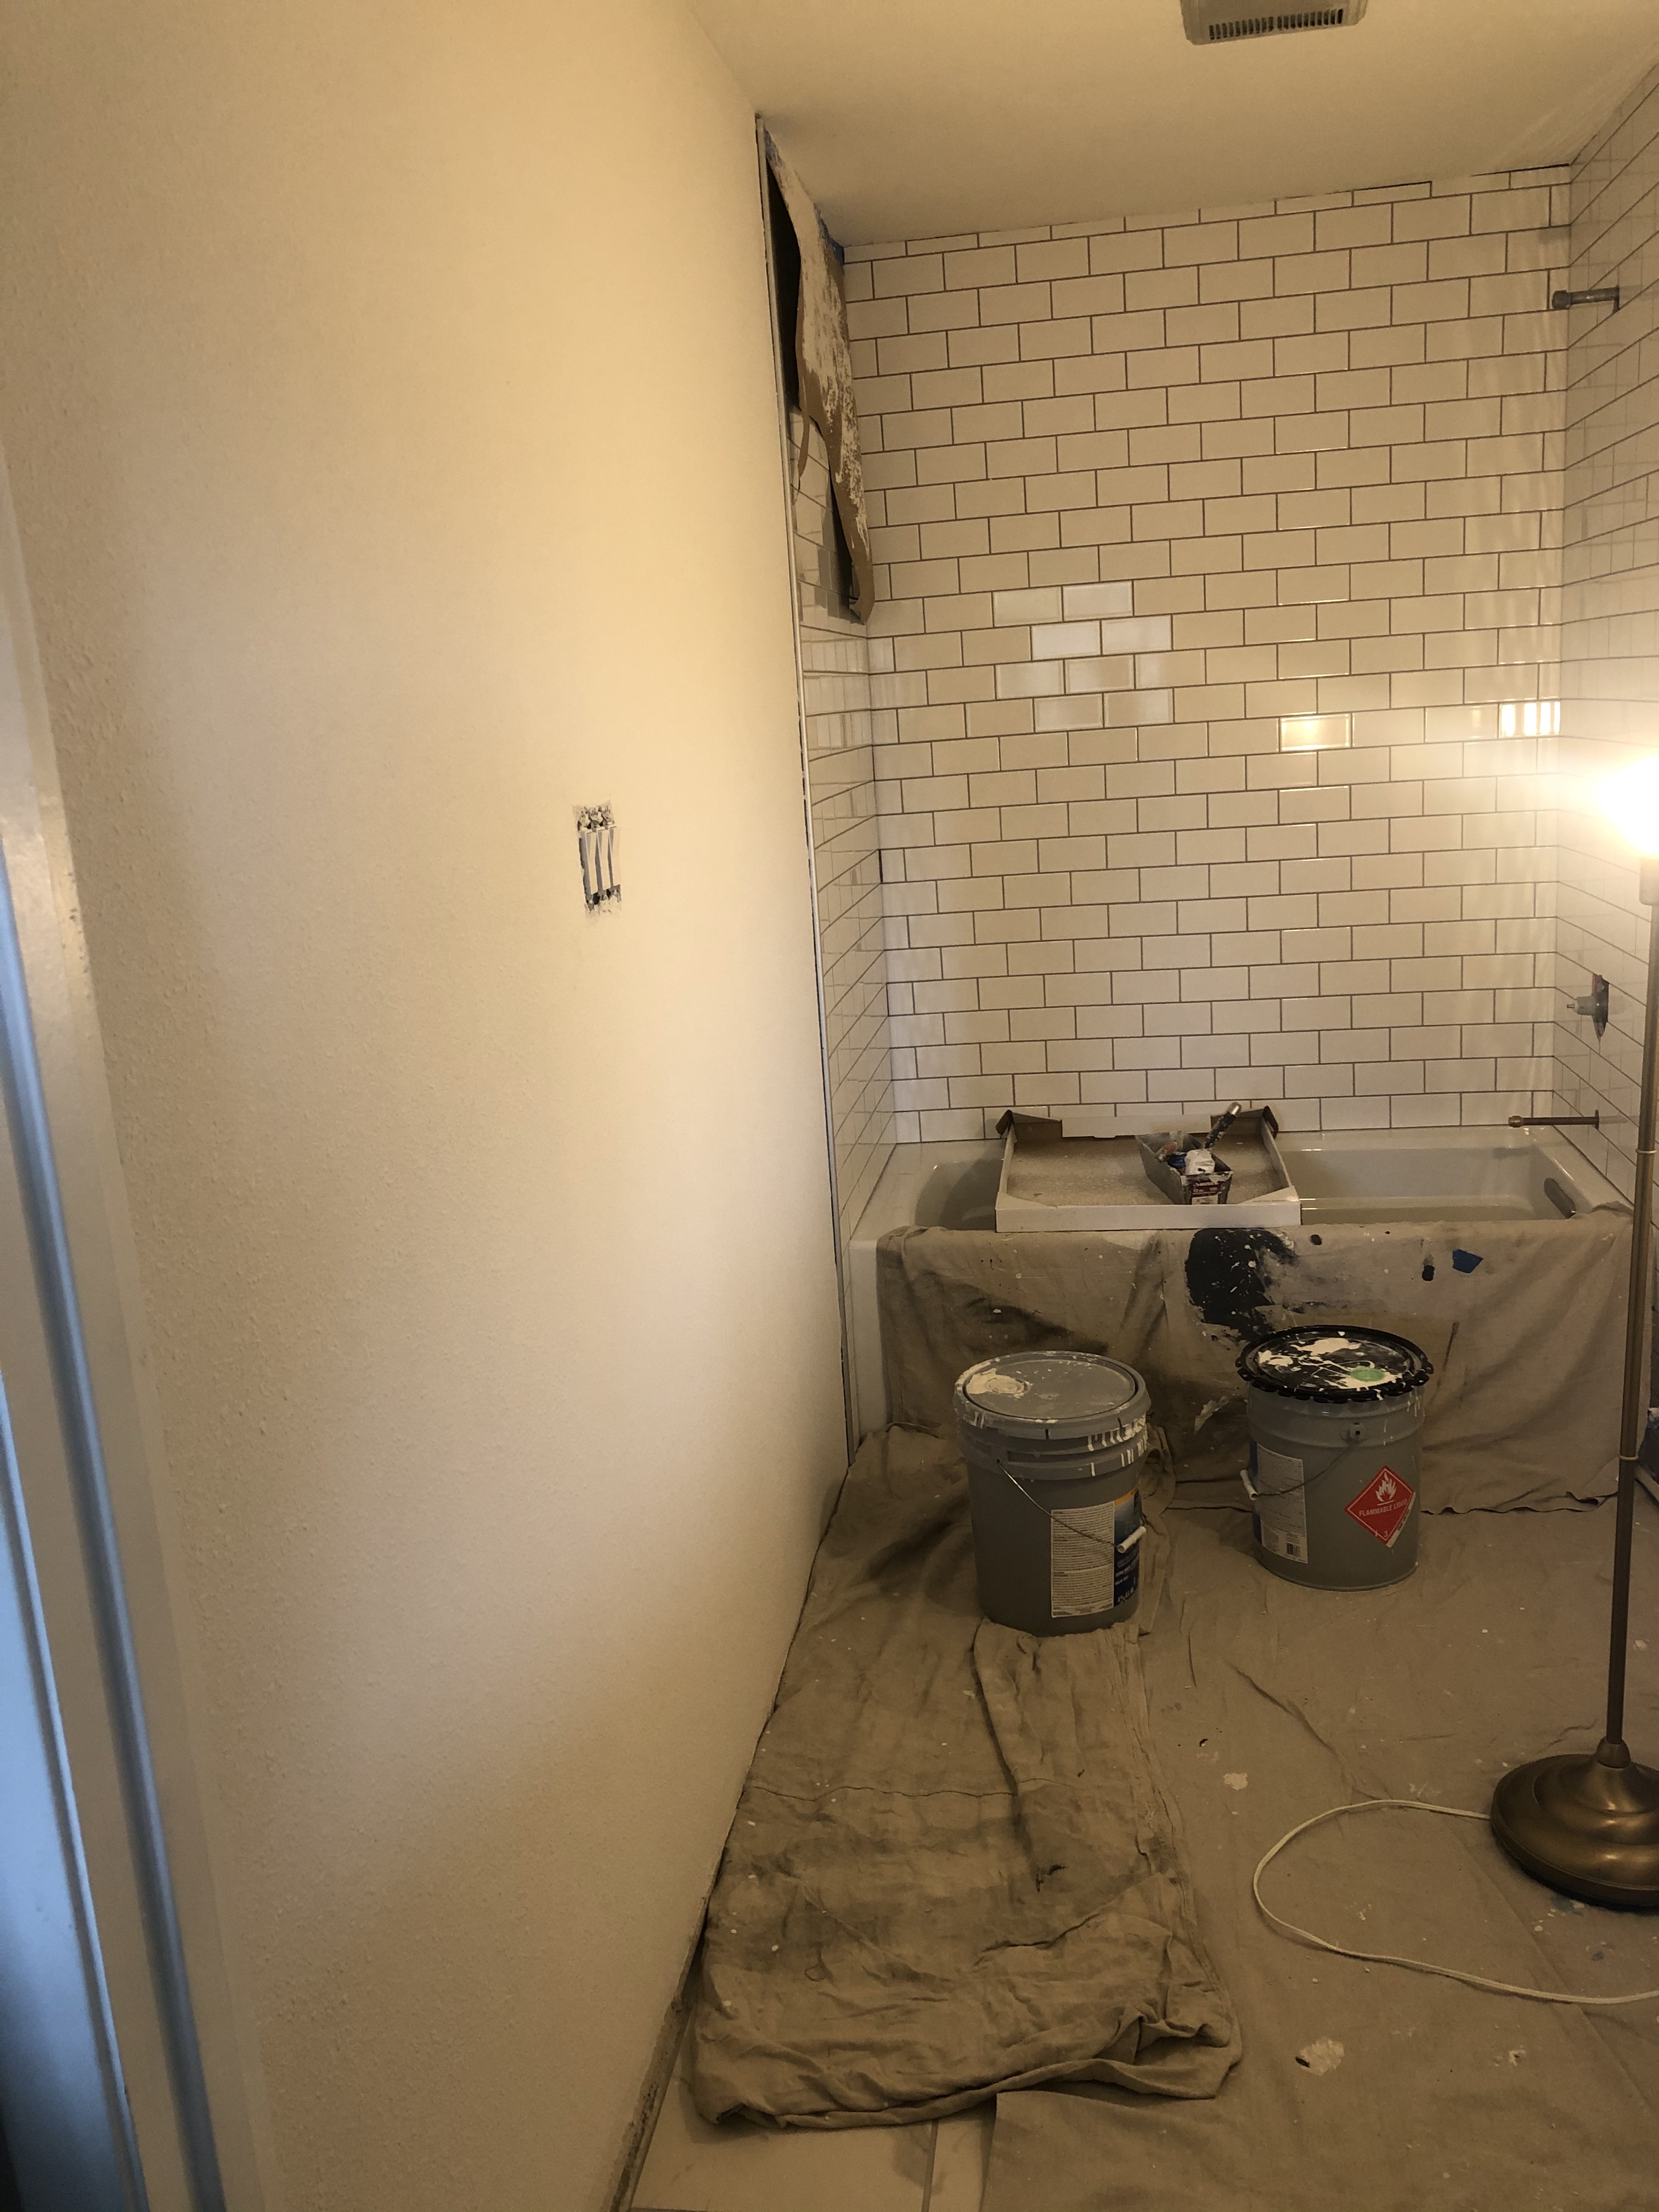
When we got all of the popcorn ceiling removed in our home, I used a local company called Tex Painting. They did a great job so that’s who we used for this project as well. They took 3 days to finish the work because of the required drying times for each step. Day one they re-mudded the walls to cover up the mess I made with my texturing attempt. Day two they added the texture. On day three they primed and painted everything. It looked so much better than what I had tried to do. (Wall paint: Sherwin Williams Snowbound)
Once the walls were complete, I was able to get the rest of the bathroom done very quickly.
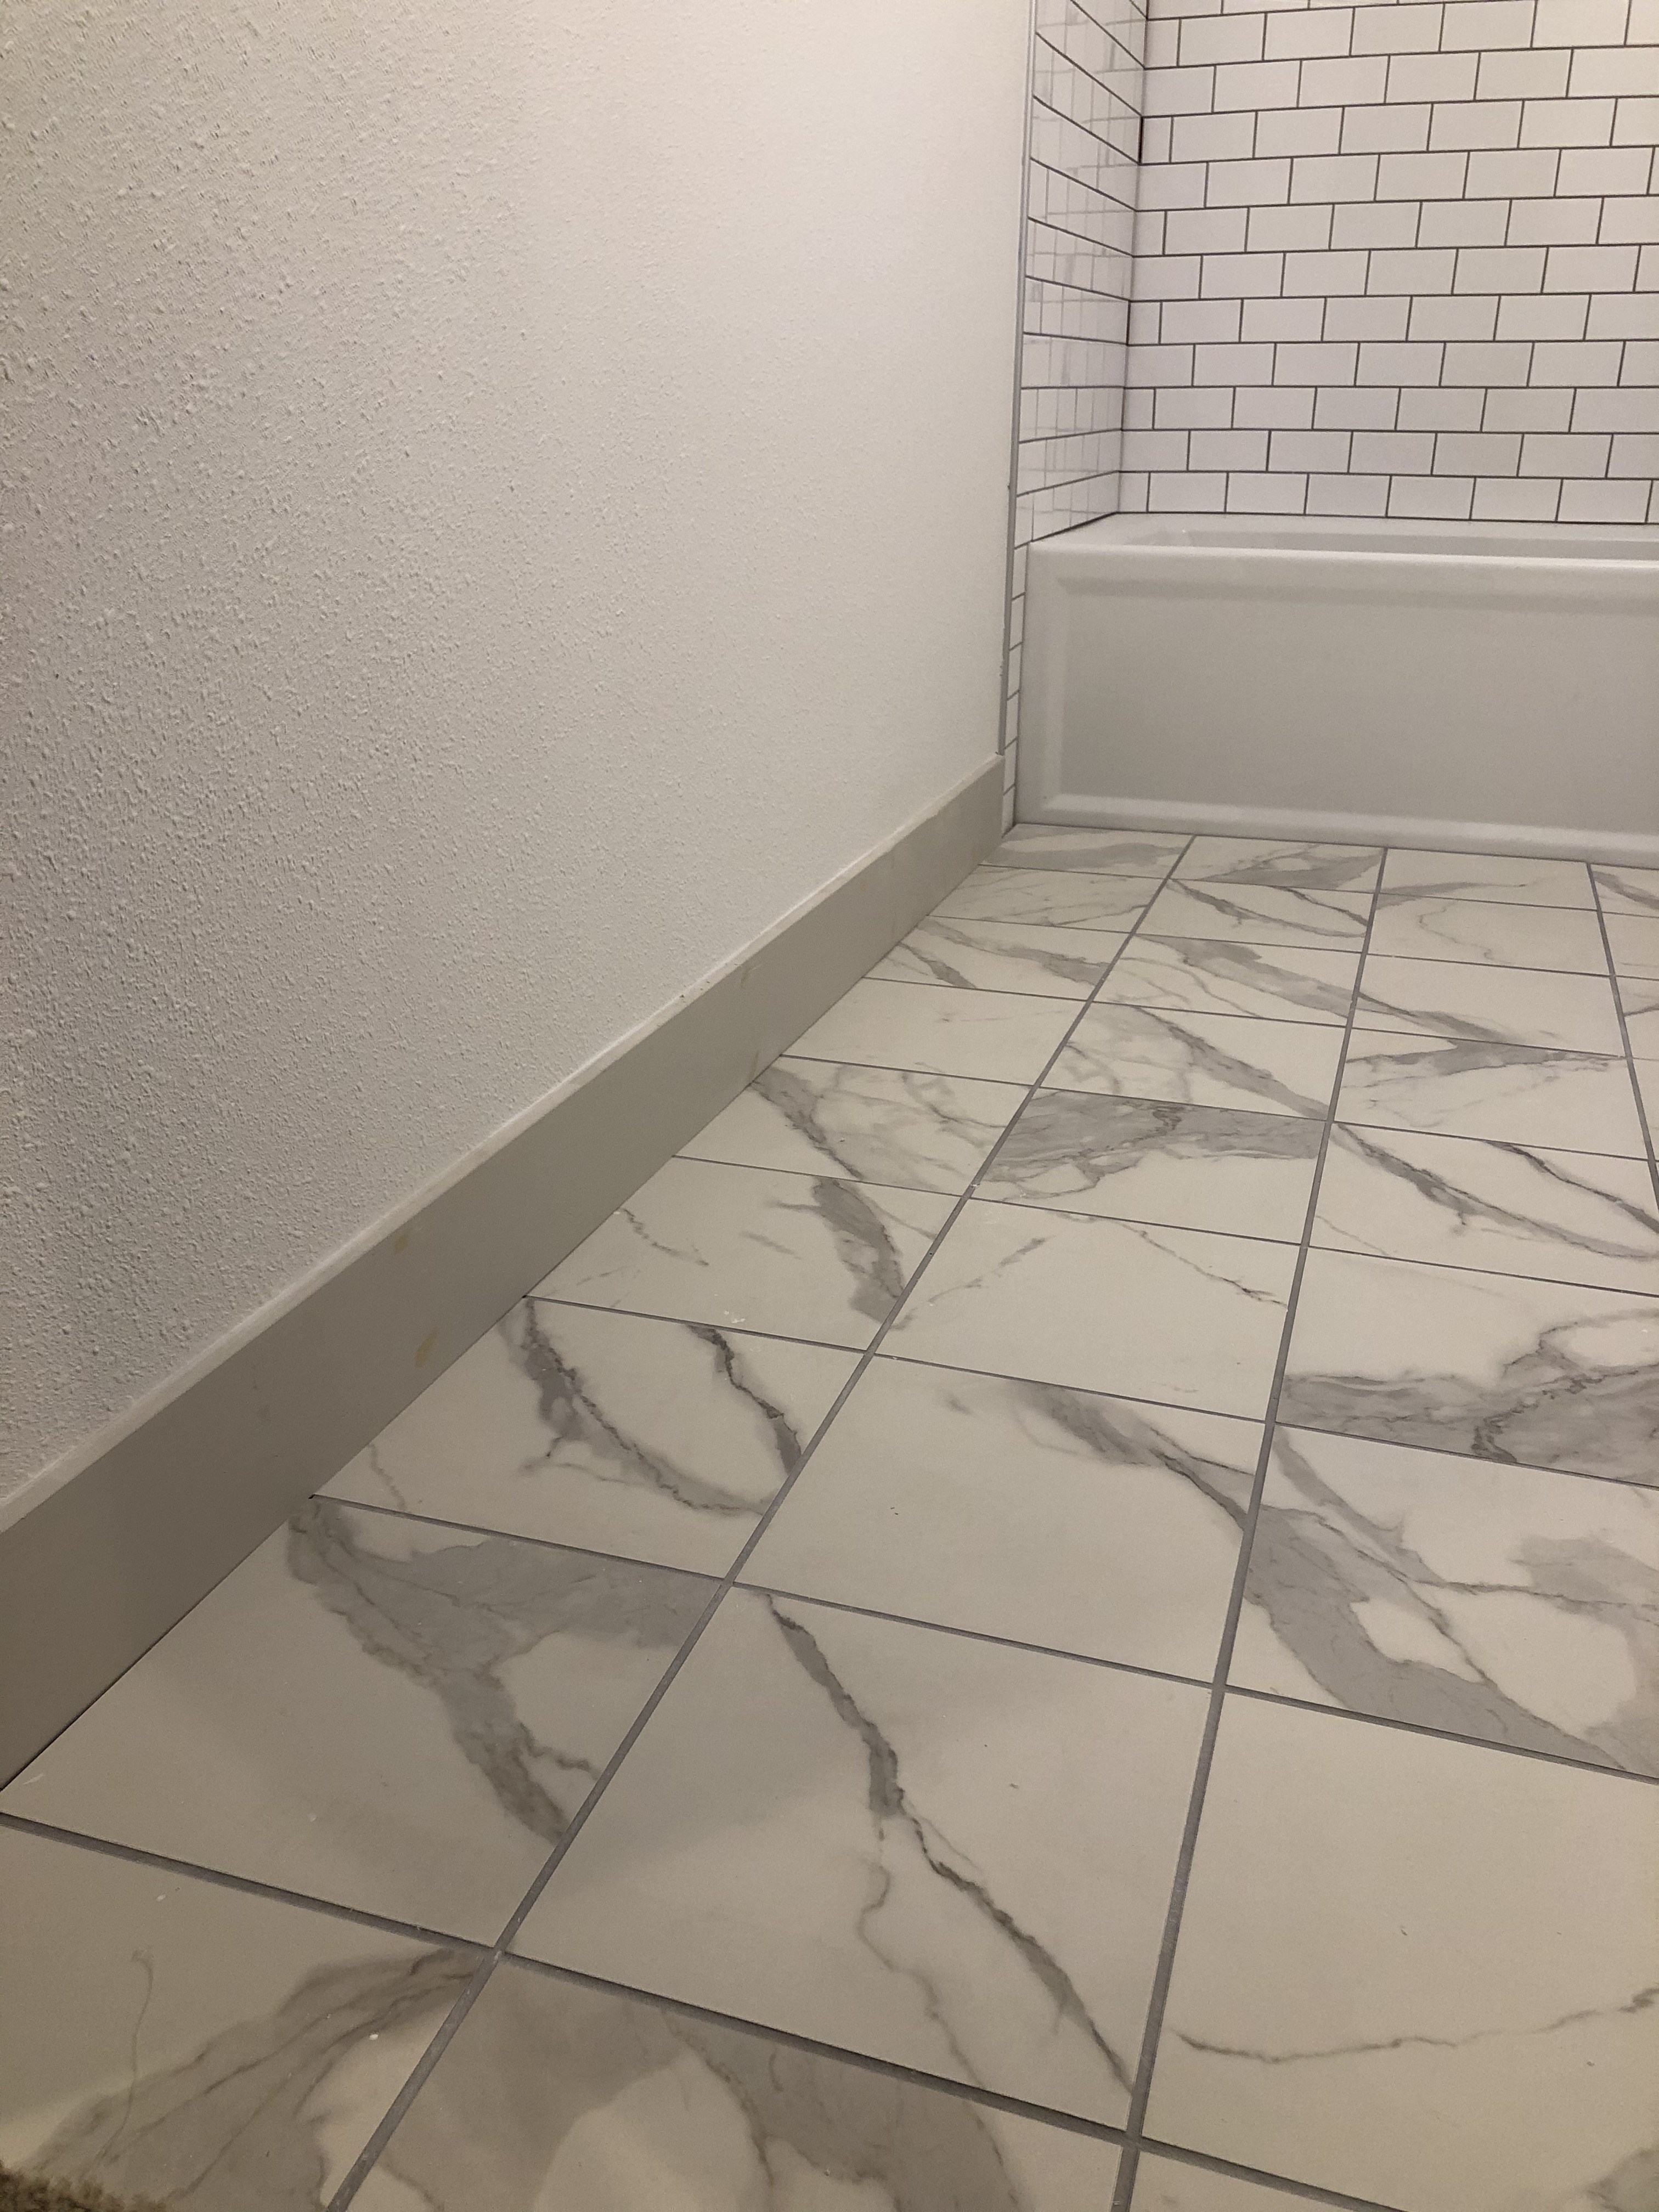
The next task was to install baseboards and trim. I used 1×6 primed pine for the baseboards and 1×4 primed pine for the door trim. You can pick these boards up at Home Depot in 8′ and 16′ lengths.
I pre-painted the boards with Sherwin Williams Agreeable Gray before cutting and installing to save time. Once the boards were cut and nailed into place, I used wood filler to hide the nail holes and caulked the edges for a smooth transition to the wall. I love the way the dark baseboards look with the white walls.
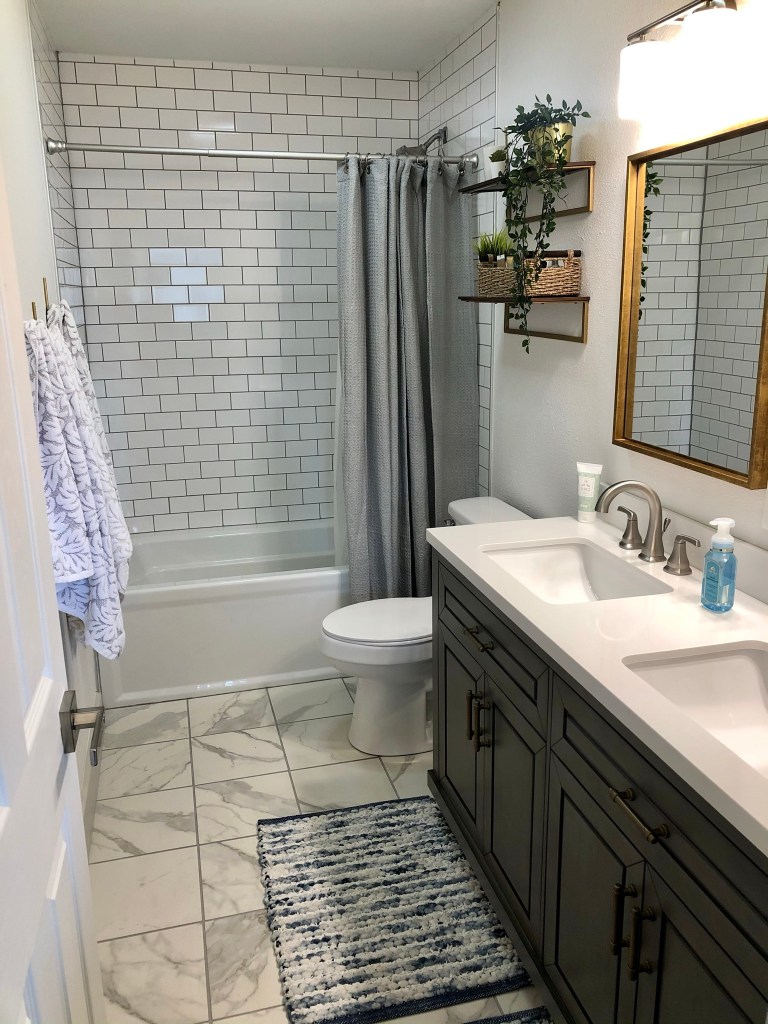
Once my husband and his buddy got the vanity in place, my plumber was able to finish out the bathroom plumbing by installing the faucets and toilet.
Cost Breakdown
Item
Cost
Notes
Tub/fixtures/vanity
$2,063
Includes tax, all from Home Depot
Plumbing
$2,250
Includes rough in and finish out (added plumbing for one sink, replaced tub, moved toilet flange, and installed all fixtures)
Junk haul off
$355
Tile and install materials
$922
Includes price for new wet saw
Texture and paint
$1,050
Cost of fixing my mistakes
Finishing touches
$204
Mirrors, vanity lights, shelves
Electrical
Add second vanity light, replace old ceiling vent, add canned light in shower
The Unicode Consortium just released the 230 new emojis to be added in 2019. I was so excited to see a flamingo (my favorite animal) as well as service dogs in the mix. Watch the video below to see all of the fun and inclusive emojis in the pipeline for 2019.