

My husband and I bought a fixer upper in June 2019. This house was a mess which means I will always have projects to work on. Yay! We wanted to get our downstairs renovated quickly so we could have somewhere to live while we slowly worked on the upstairs.
I wanted to share a full breakdown of my journey with this upstairs guest bathroom. It’s been a doozy.

Phase I
When we bought this house, there was carpet everywhere. Including the bathrooms. Phase I of this renovation was to get rid of the carpet, replace the 1970s toilet and faucet, and freshen up the paint.

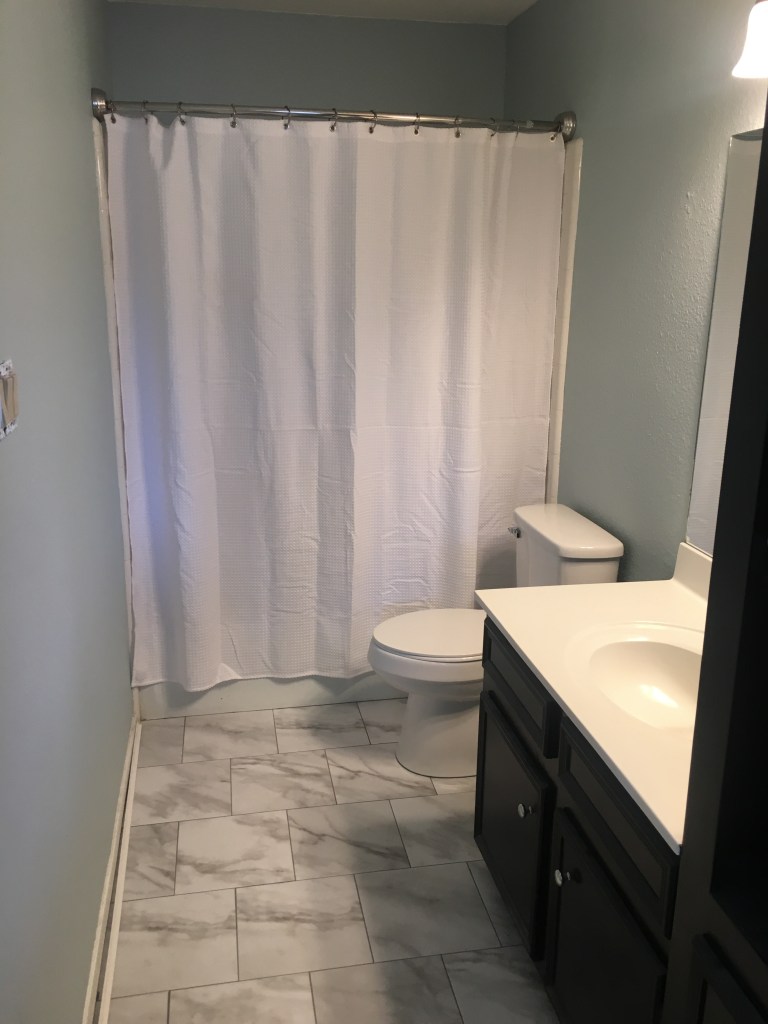
I painted the walls, removed the nasty carpet and toilet, added a peel-and-stick vinyl tile, and a shower curtain. This quick make over cost less than $500 and gave us a working bathroom while we focused on getting downstairs completed. We also took the existing faucet out of the master bathroom and repurposed it here.
Phase II
I knew Phase II of the bathroom renovation wouldn’t be far away because we removed the bathtub in the master bathroom downstairs in favor of a walk in shower. I love my epsom salt baths and needed to get a new tub in here. The original tub was not cutting it for a 5’10” gal like myself.
Because we were all in lock down due to COVID-19, I really wanted to do as much of this project on our own as possible. I knew I would need to bring in a plumber for moving around water lines and such but thought I’d be able to handle the rest. Shout out to Jeff for providing detailed step-by-step instructions for all things DIY. I watched hours and hours of YouTube videos on how to do this properly and Jeff’s Home RenoVision channel is by far the most helpful.
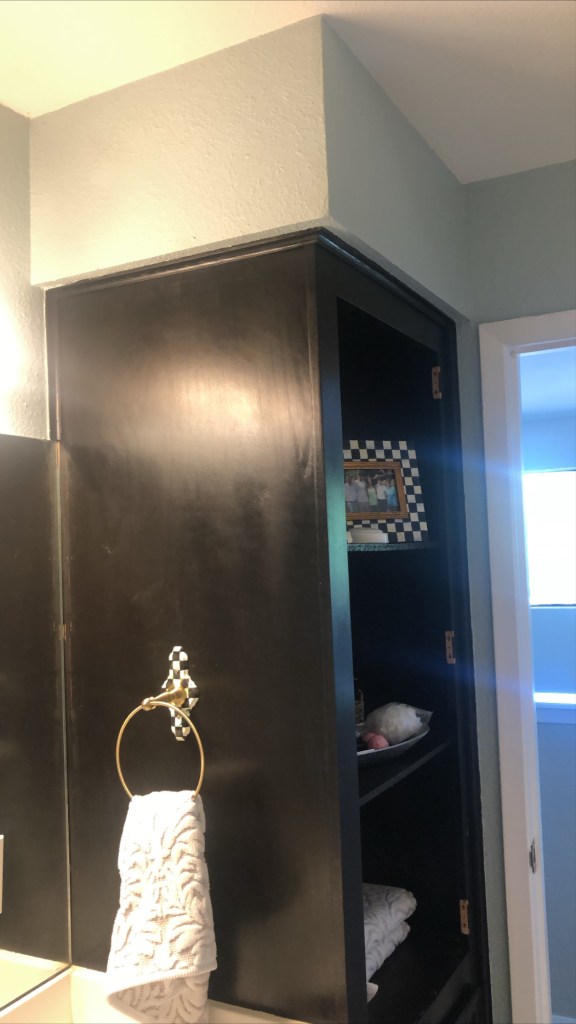
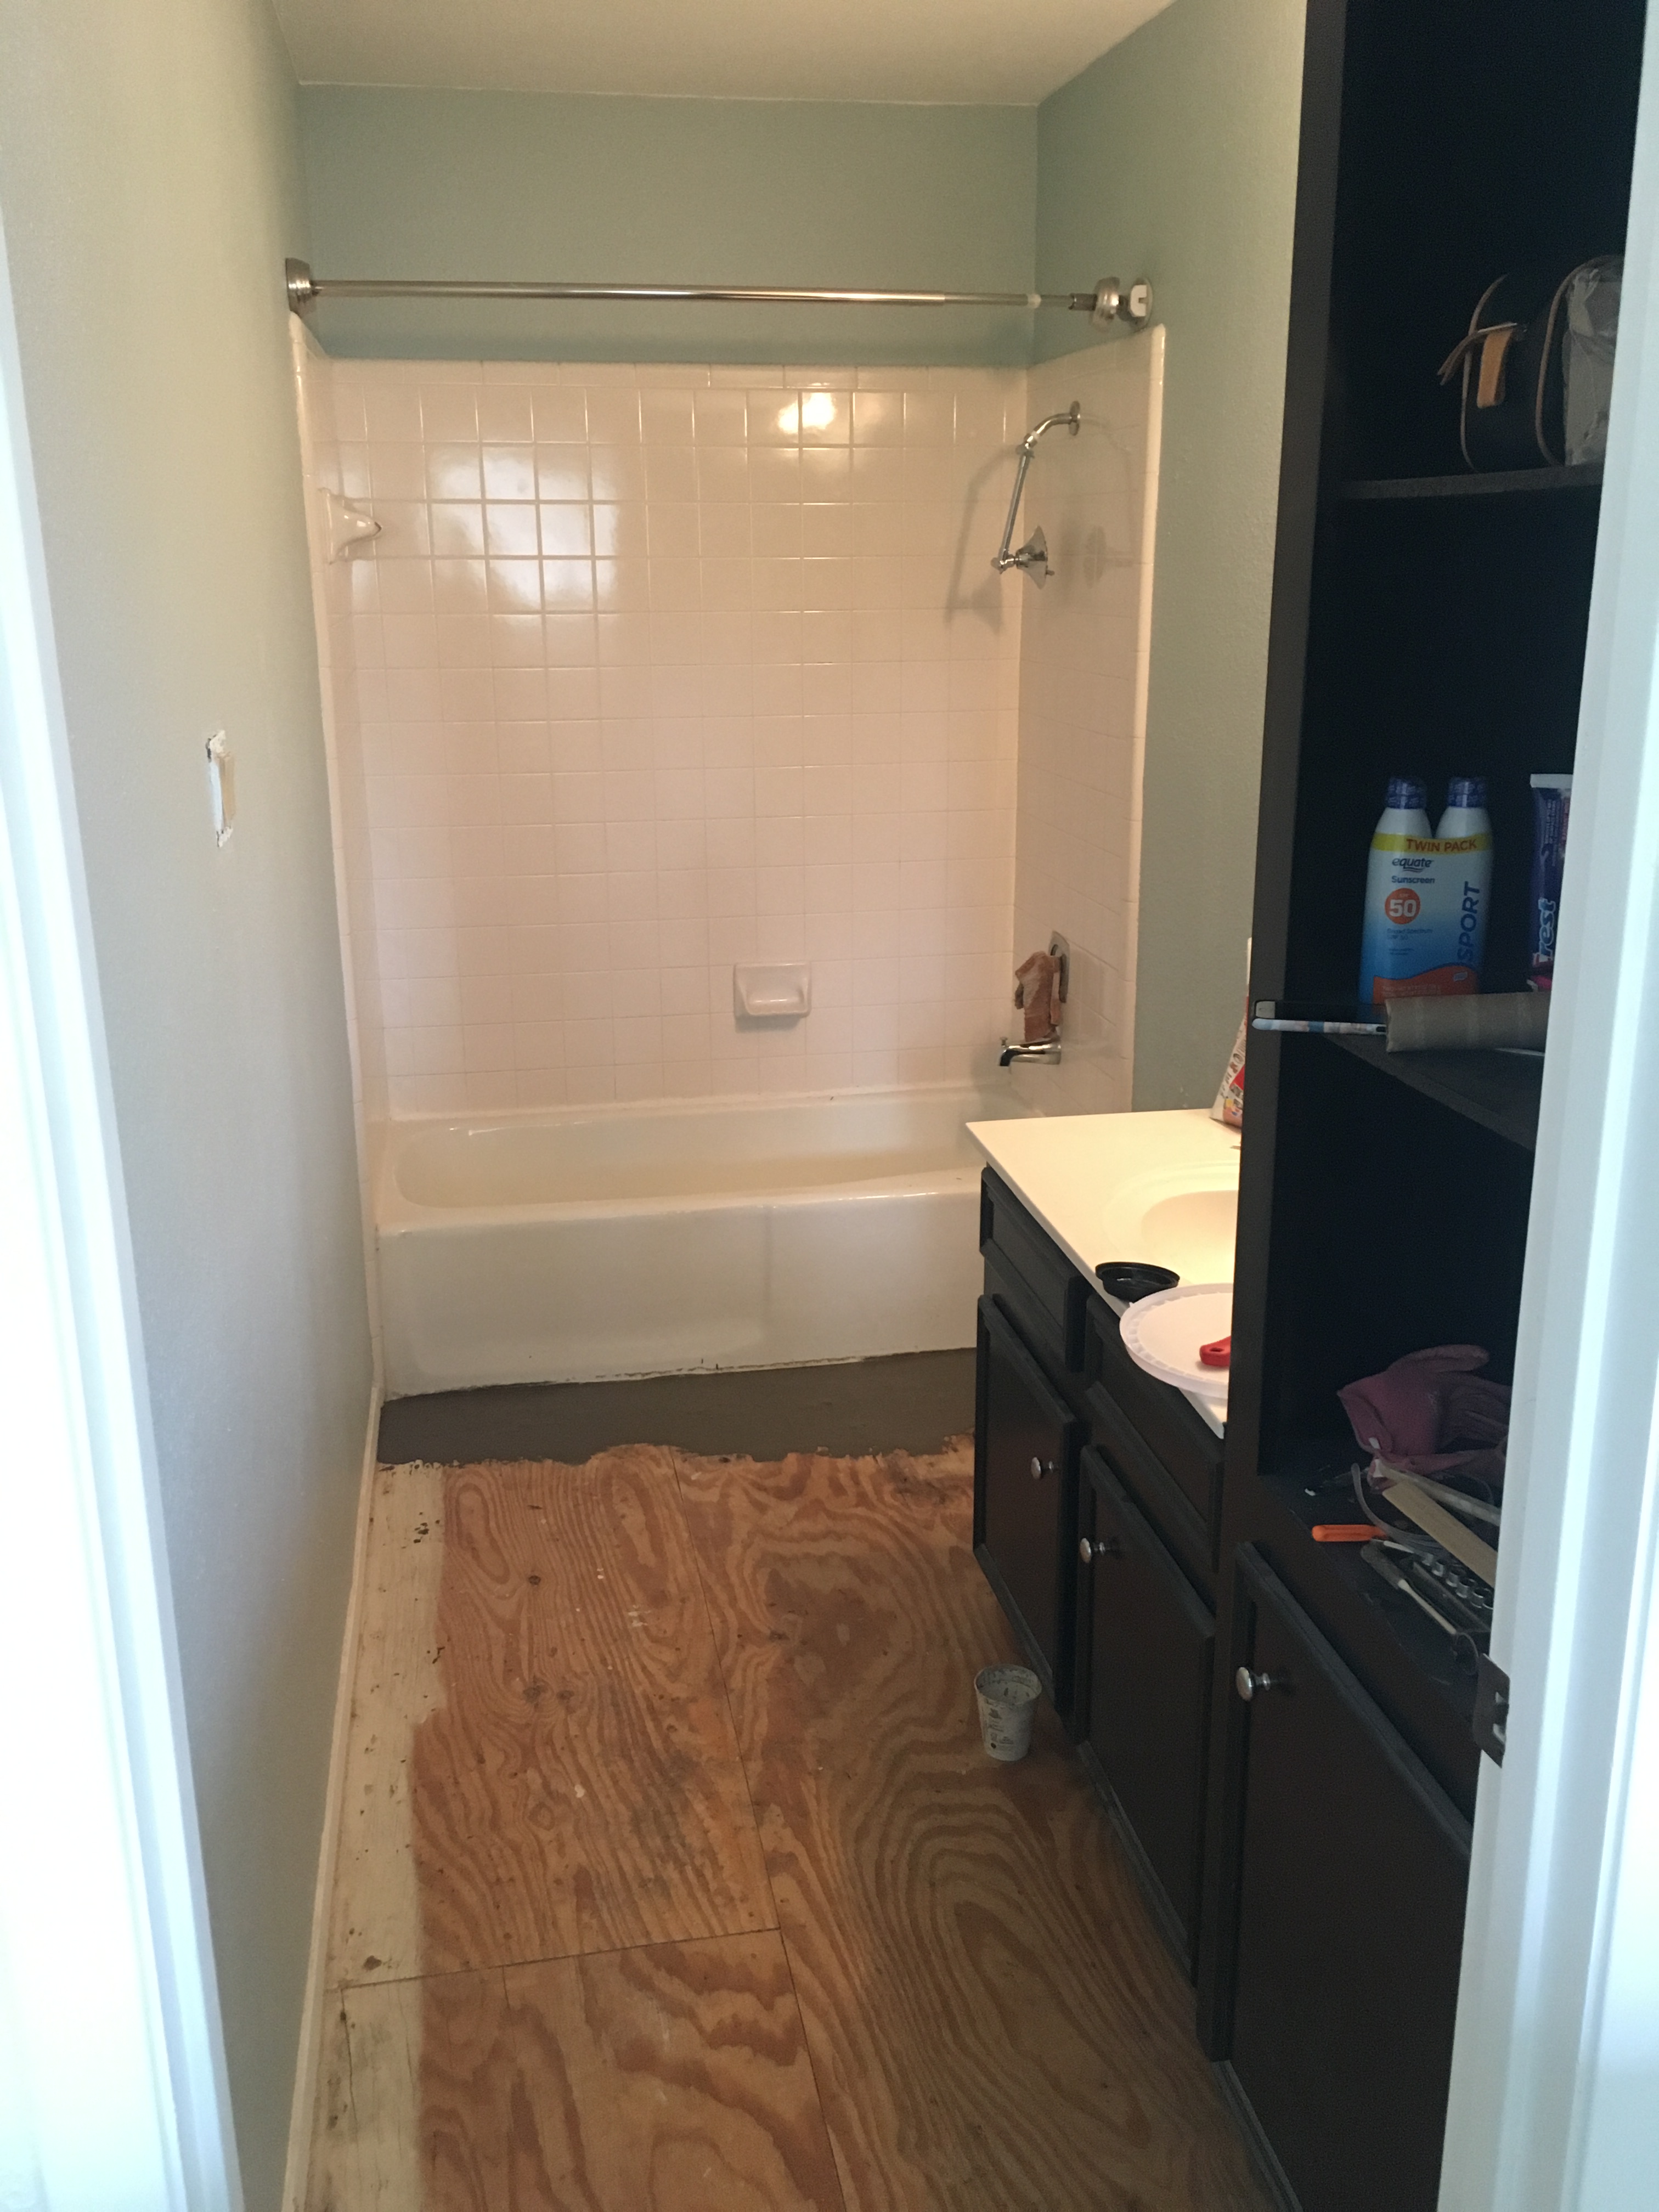
First order of business was to remove the vanity, tall cabinet, and soffit. I wanted to be able to accommodate a double vanity in this space.


From here, I removed the toilet and got to work on the floors and shower surround tile.

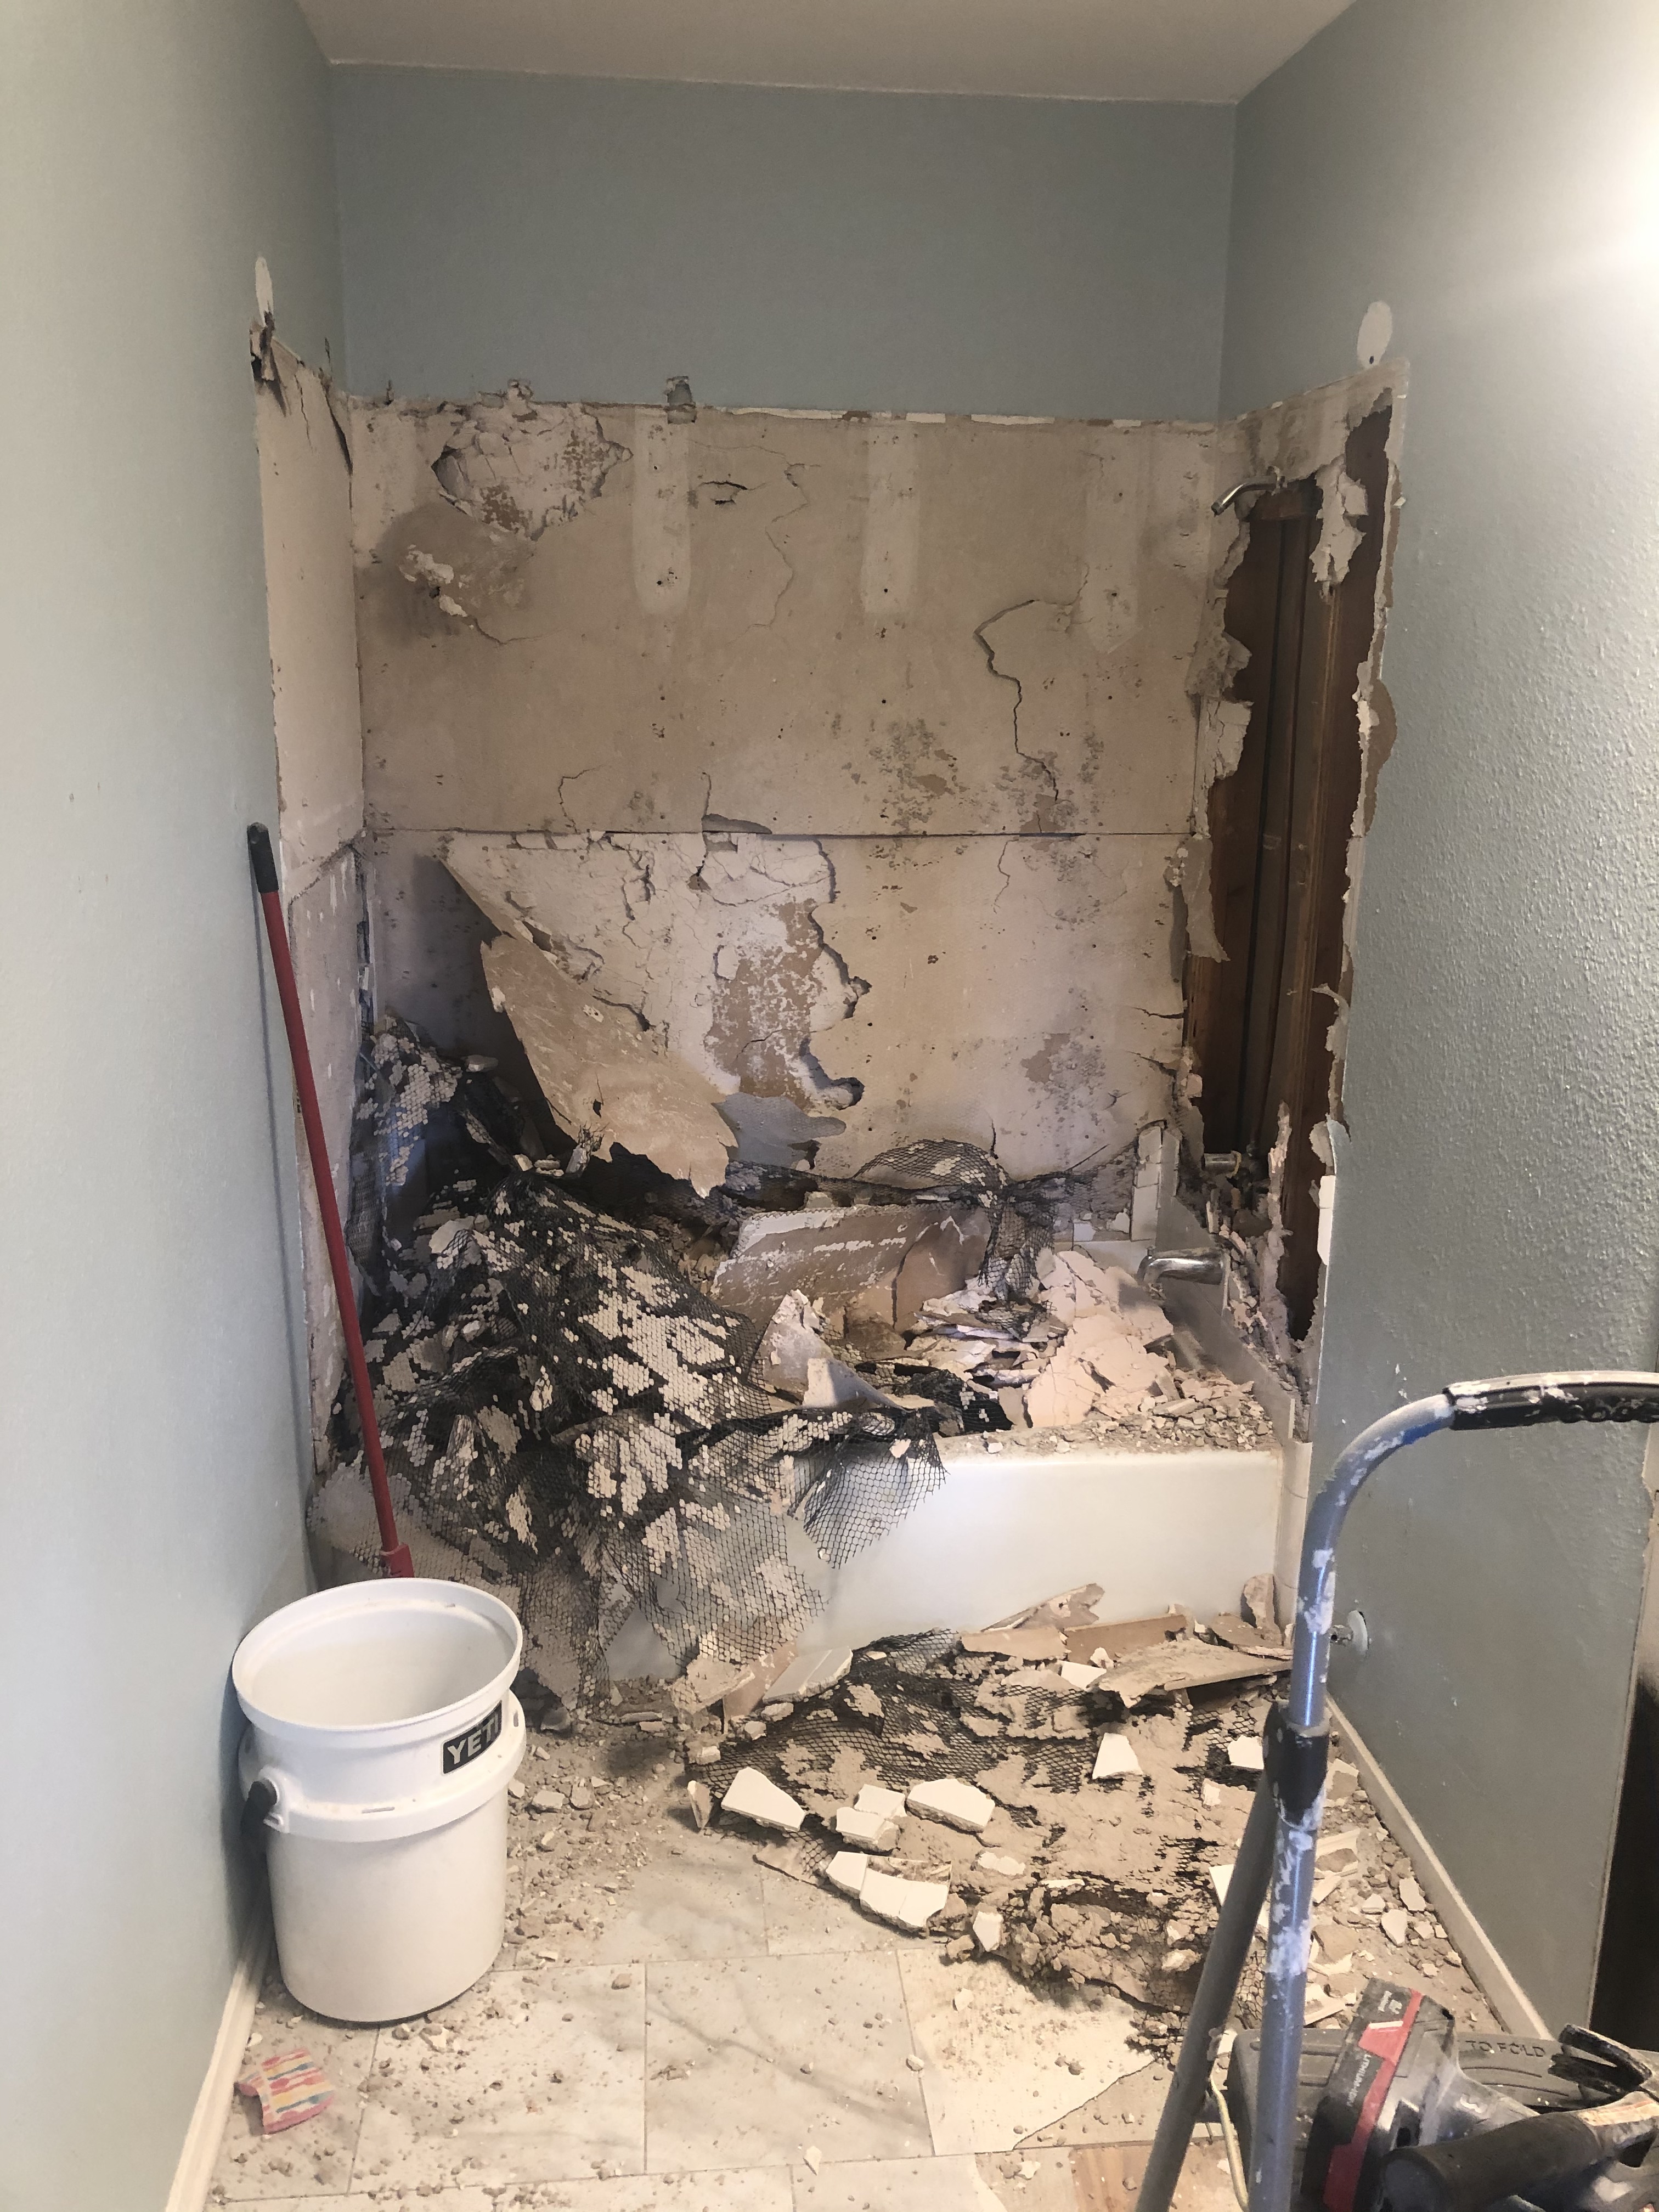


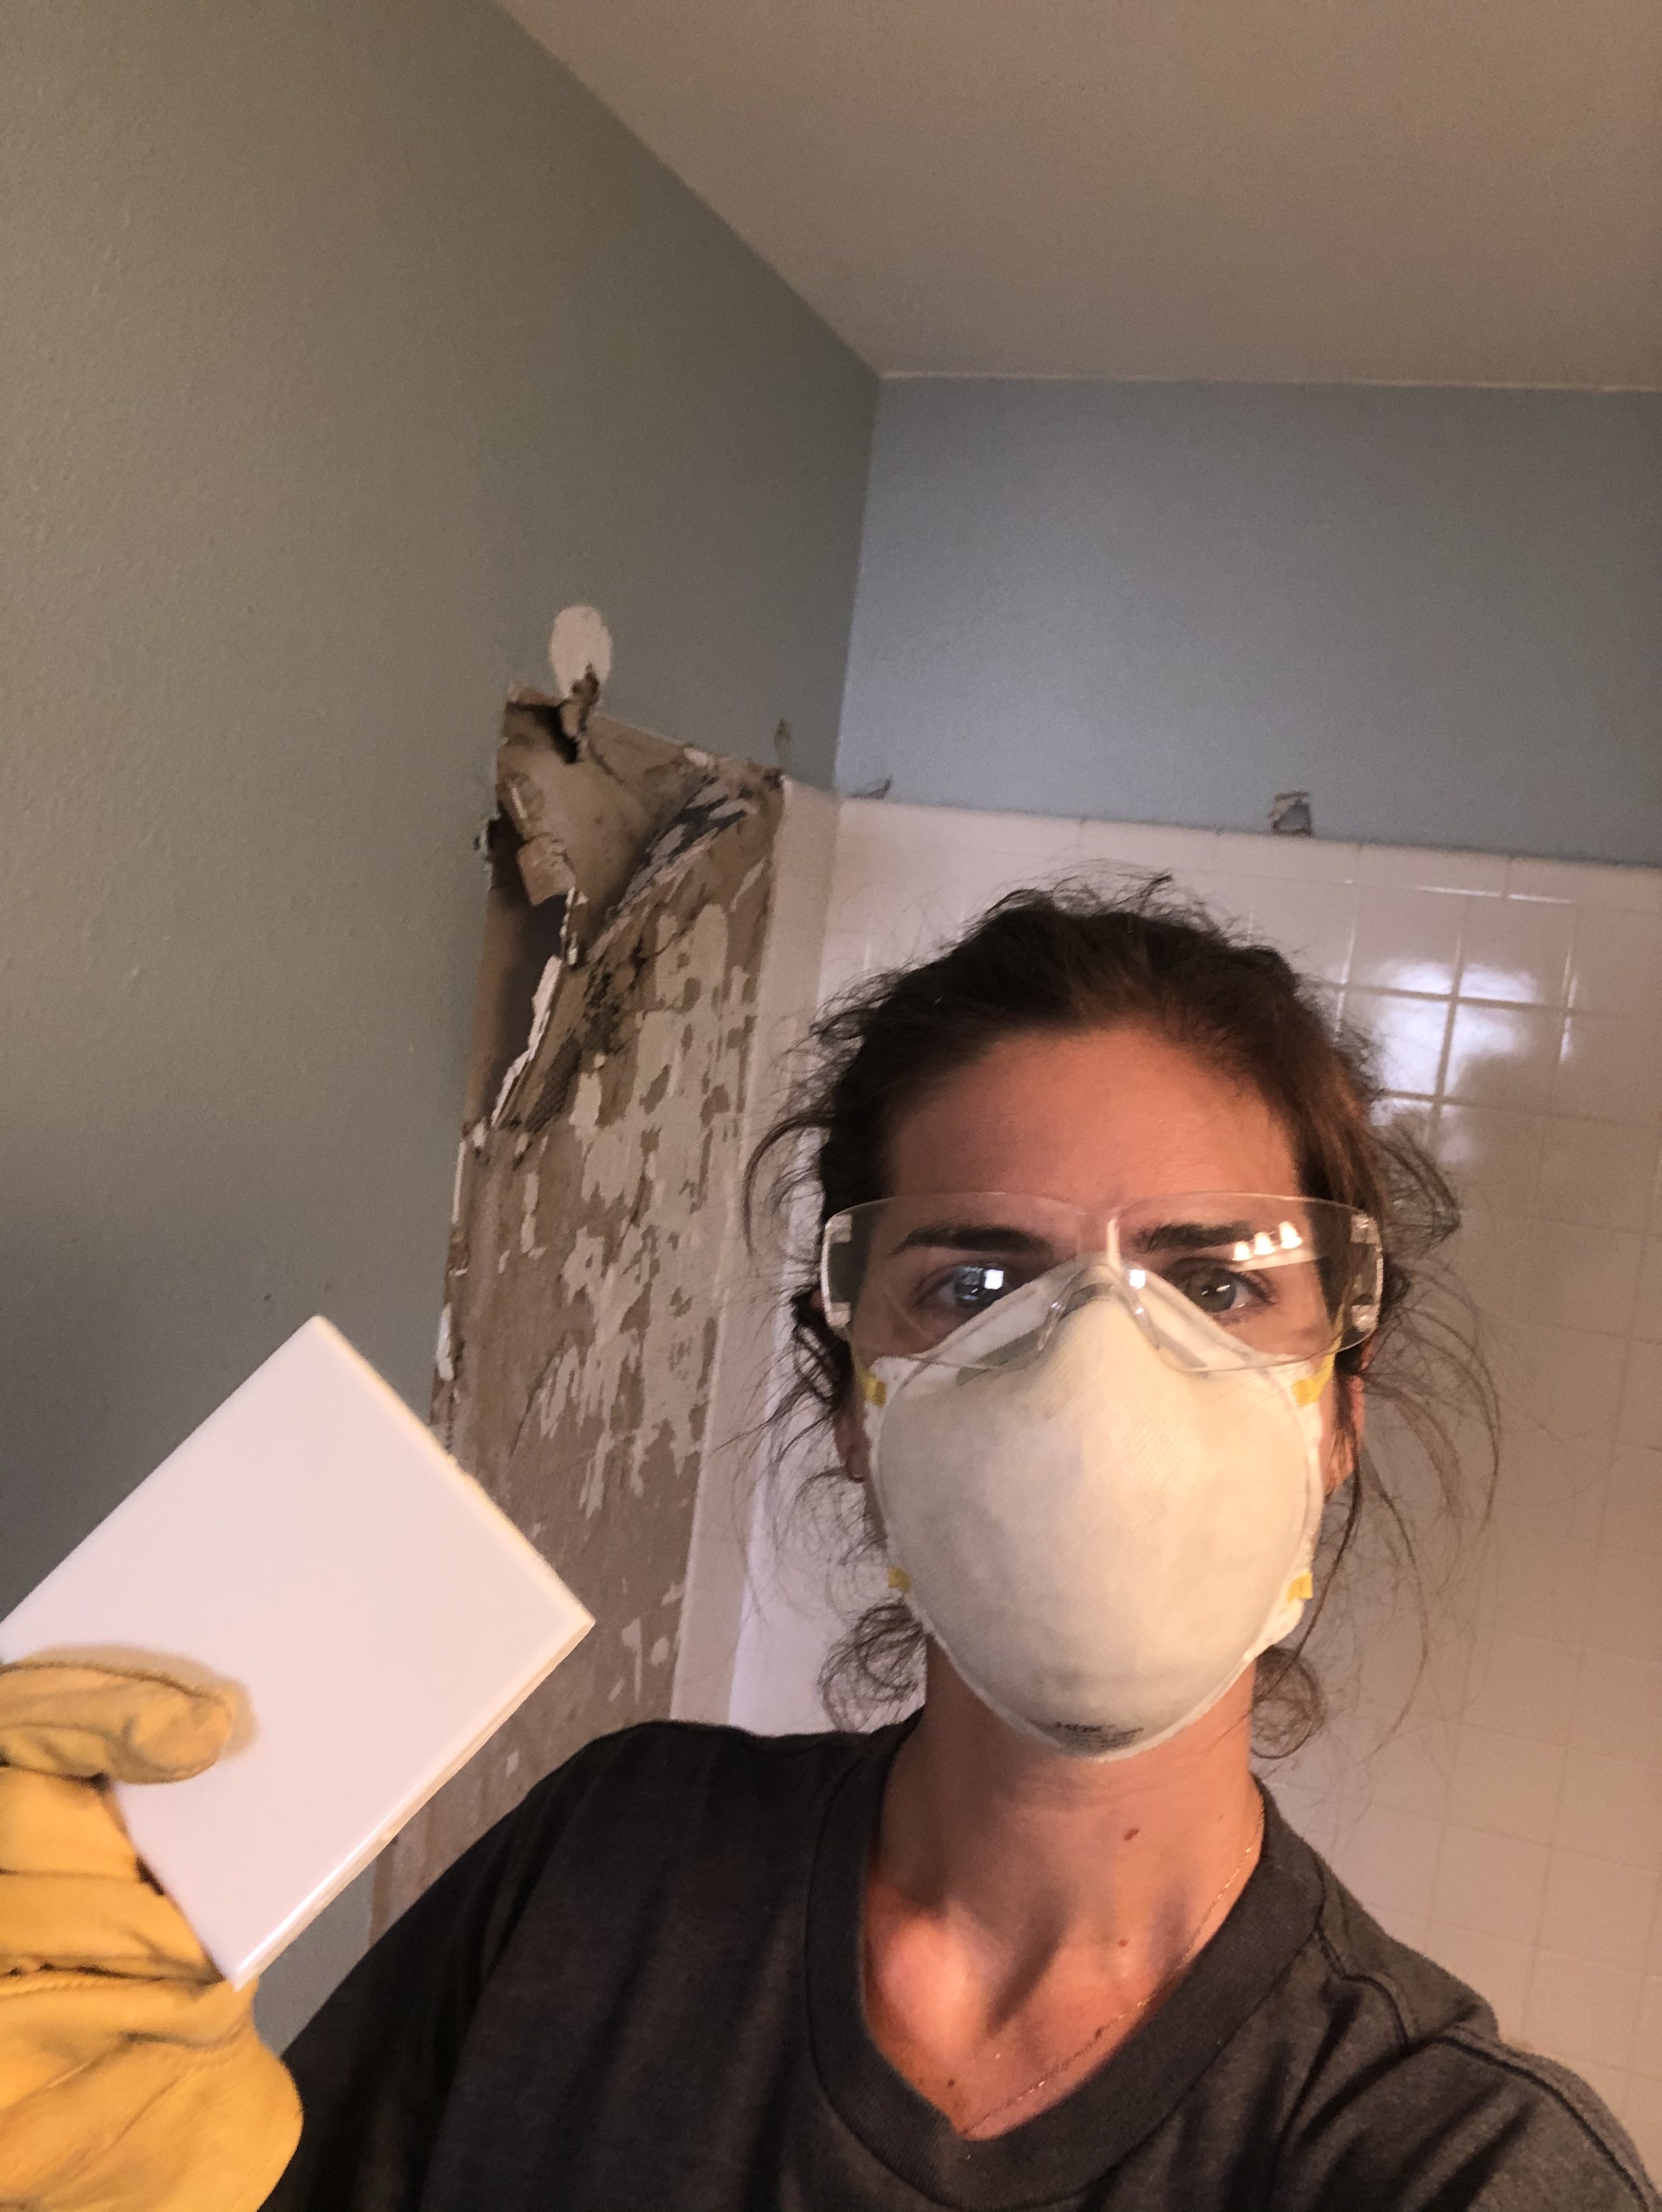
With DIY, you are constantly learning. I learned a hard lesson while removing the shower wall tile. I knew you should always wear eye protection, gloves, and a mask (as seen in the photo above) but hadn’t considered the need to cover my legs. The lesson: wear long sleeves and pants when demo-ing tile. I had a very sharp piece fall from the wall and catch my shin. Ouch. Luckily, it wasn’t deep enough to need stitches but has left a pretty nasty scar.


For the tub removal, I had to hire someone. Cast iron tubs weigh 100s of pounds and no matter how hard I tried, I could not get that thing to break up so I could carry it out myself in pieces. After doing some research online, I found JDog Junk Removal. They hire veterans and had great reviews online.
They brought in a sledgehammer and broke up that bathtub in no time. It was a little scary because the walls were shaking with every swing. These guys are strong! I was very pleased with their professionalism and would use them again for junk removal. They hauled off the bathtub, vanity, and broken tiles in under an hour plus got our new two sink vanity up the stairs for us.
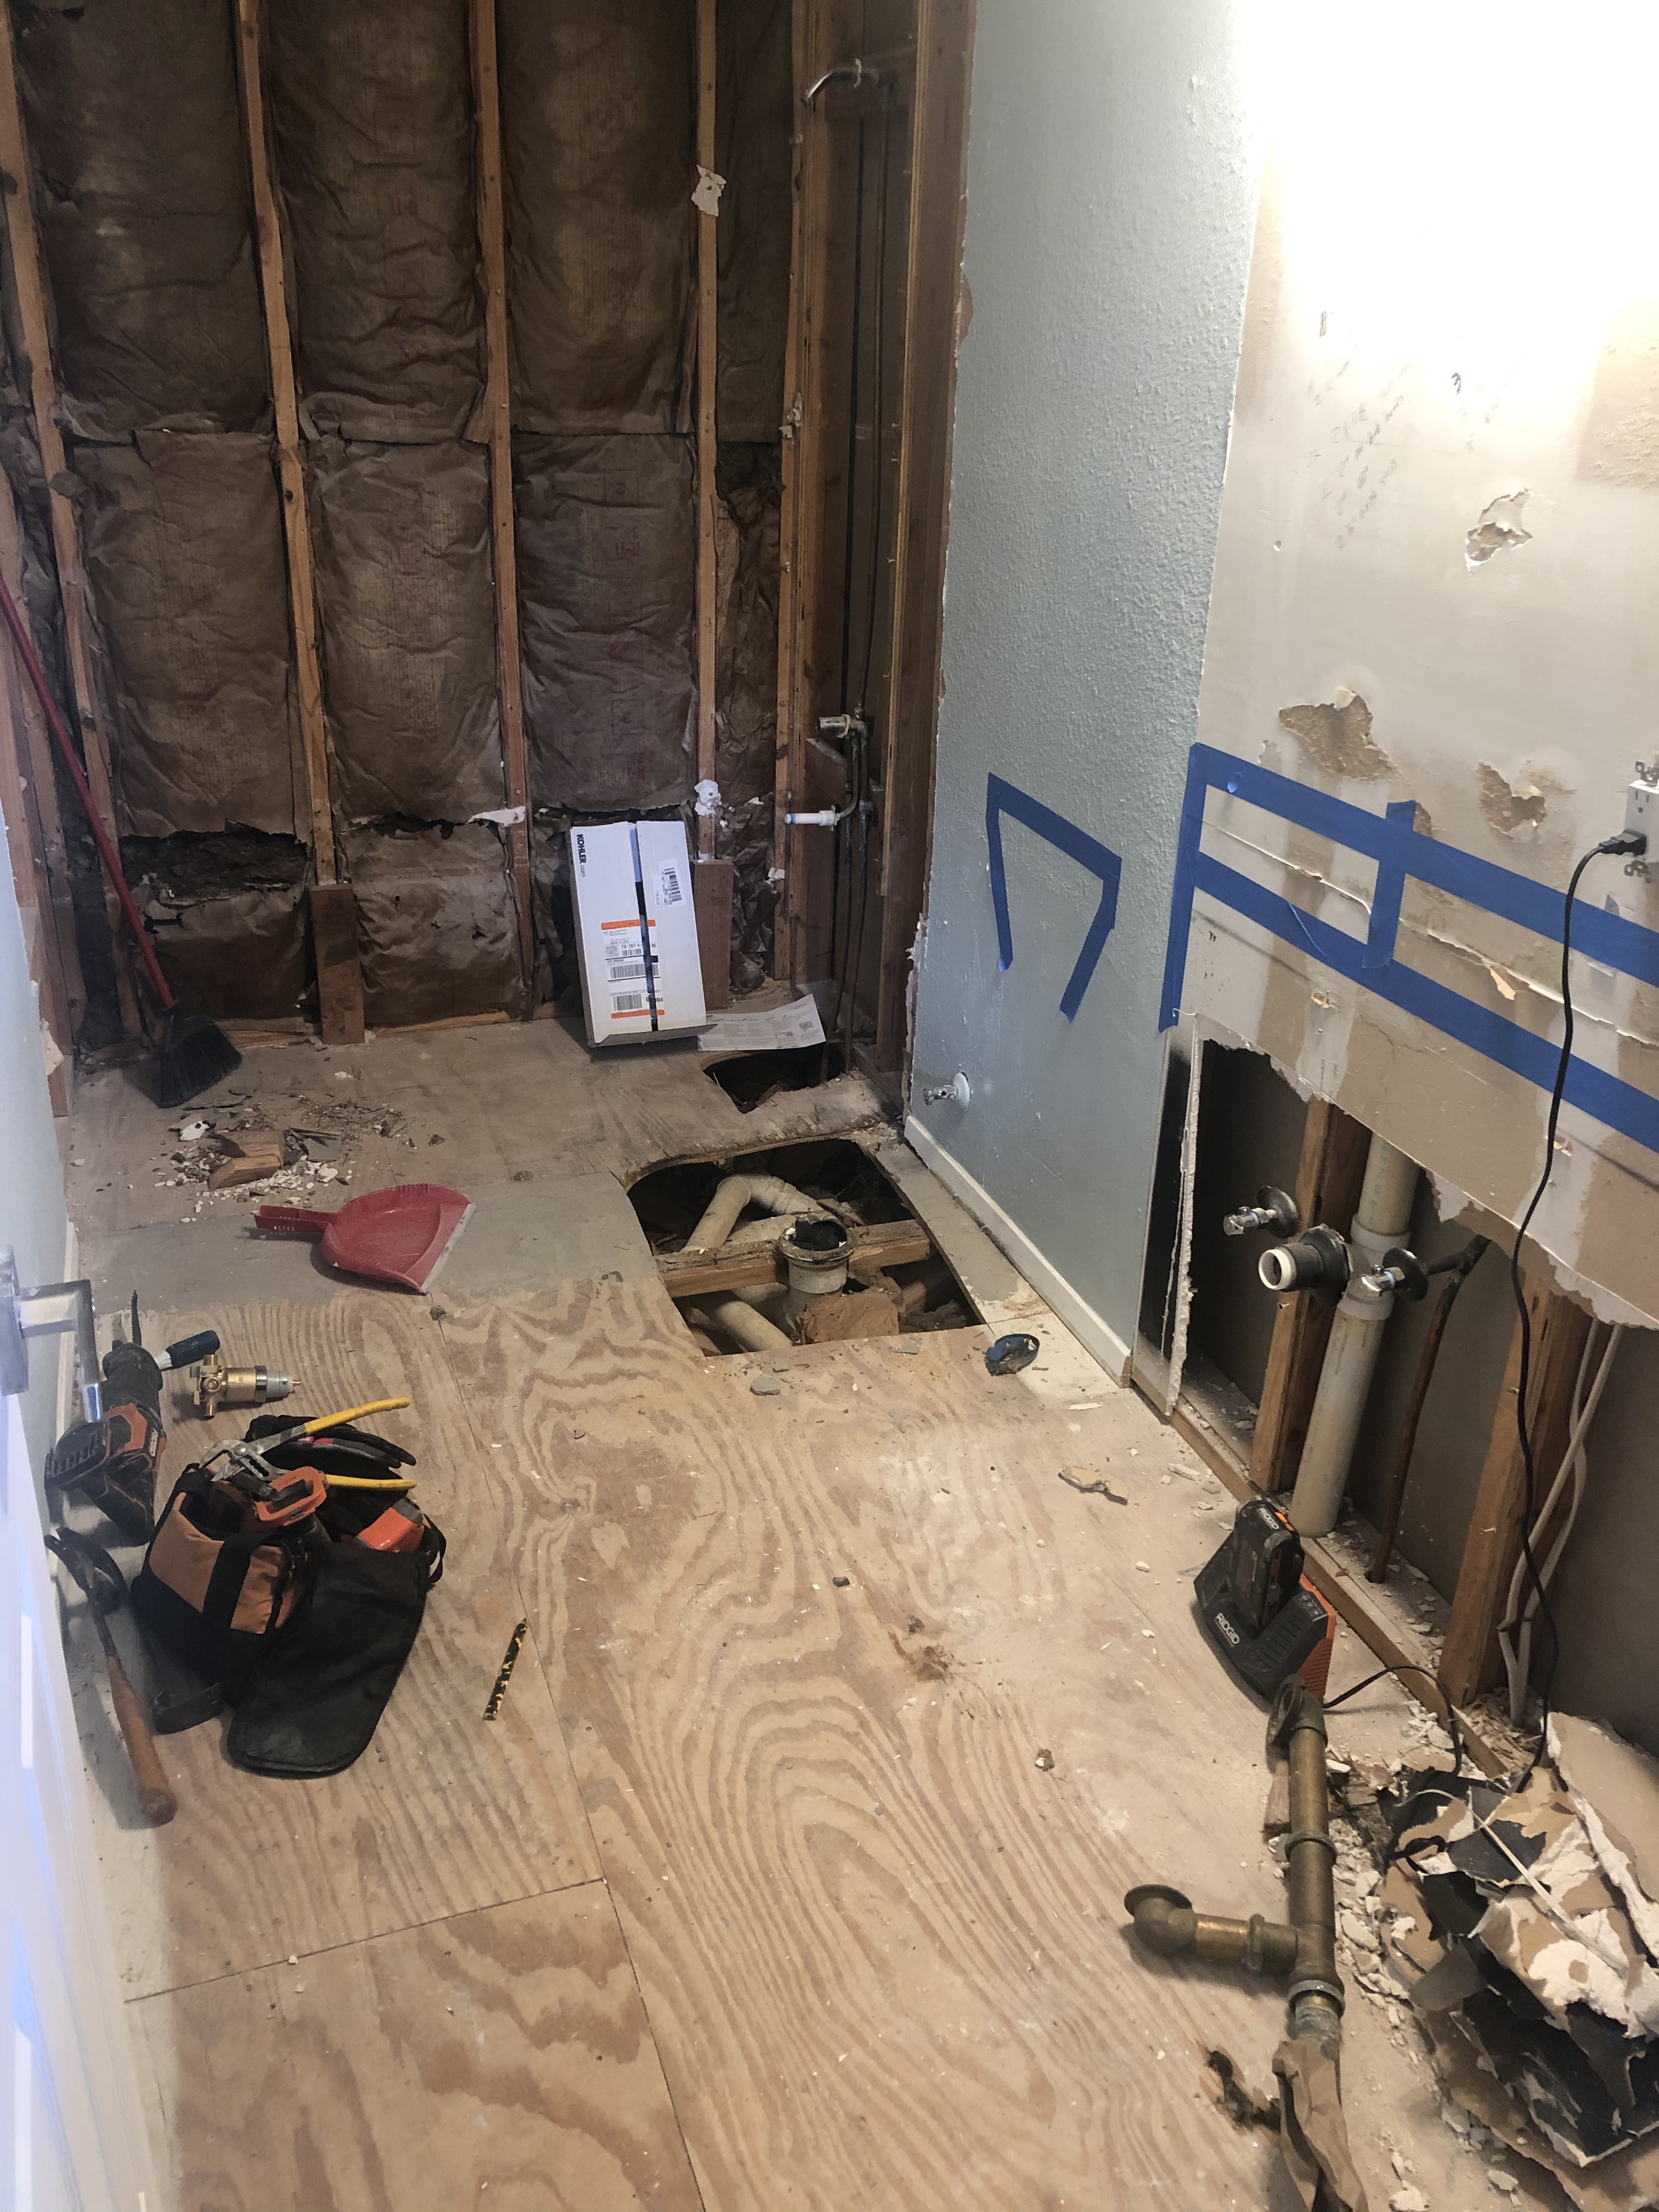

I also hired a plumber for this portion of the renovation. I am so glad to have a great plumber. Tim Stevens with 1 of a Kind Plumbing has my business for life. He did so much work for us on the downstairs renovation: new hot water heater, gas line movement, removal of an old wet bar, and remodel of the master bathroom. Tim’s the best – I can’t recommend him enough if you are in the Austin area.
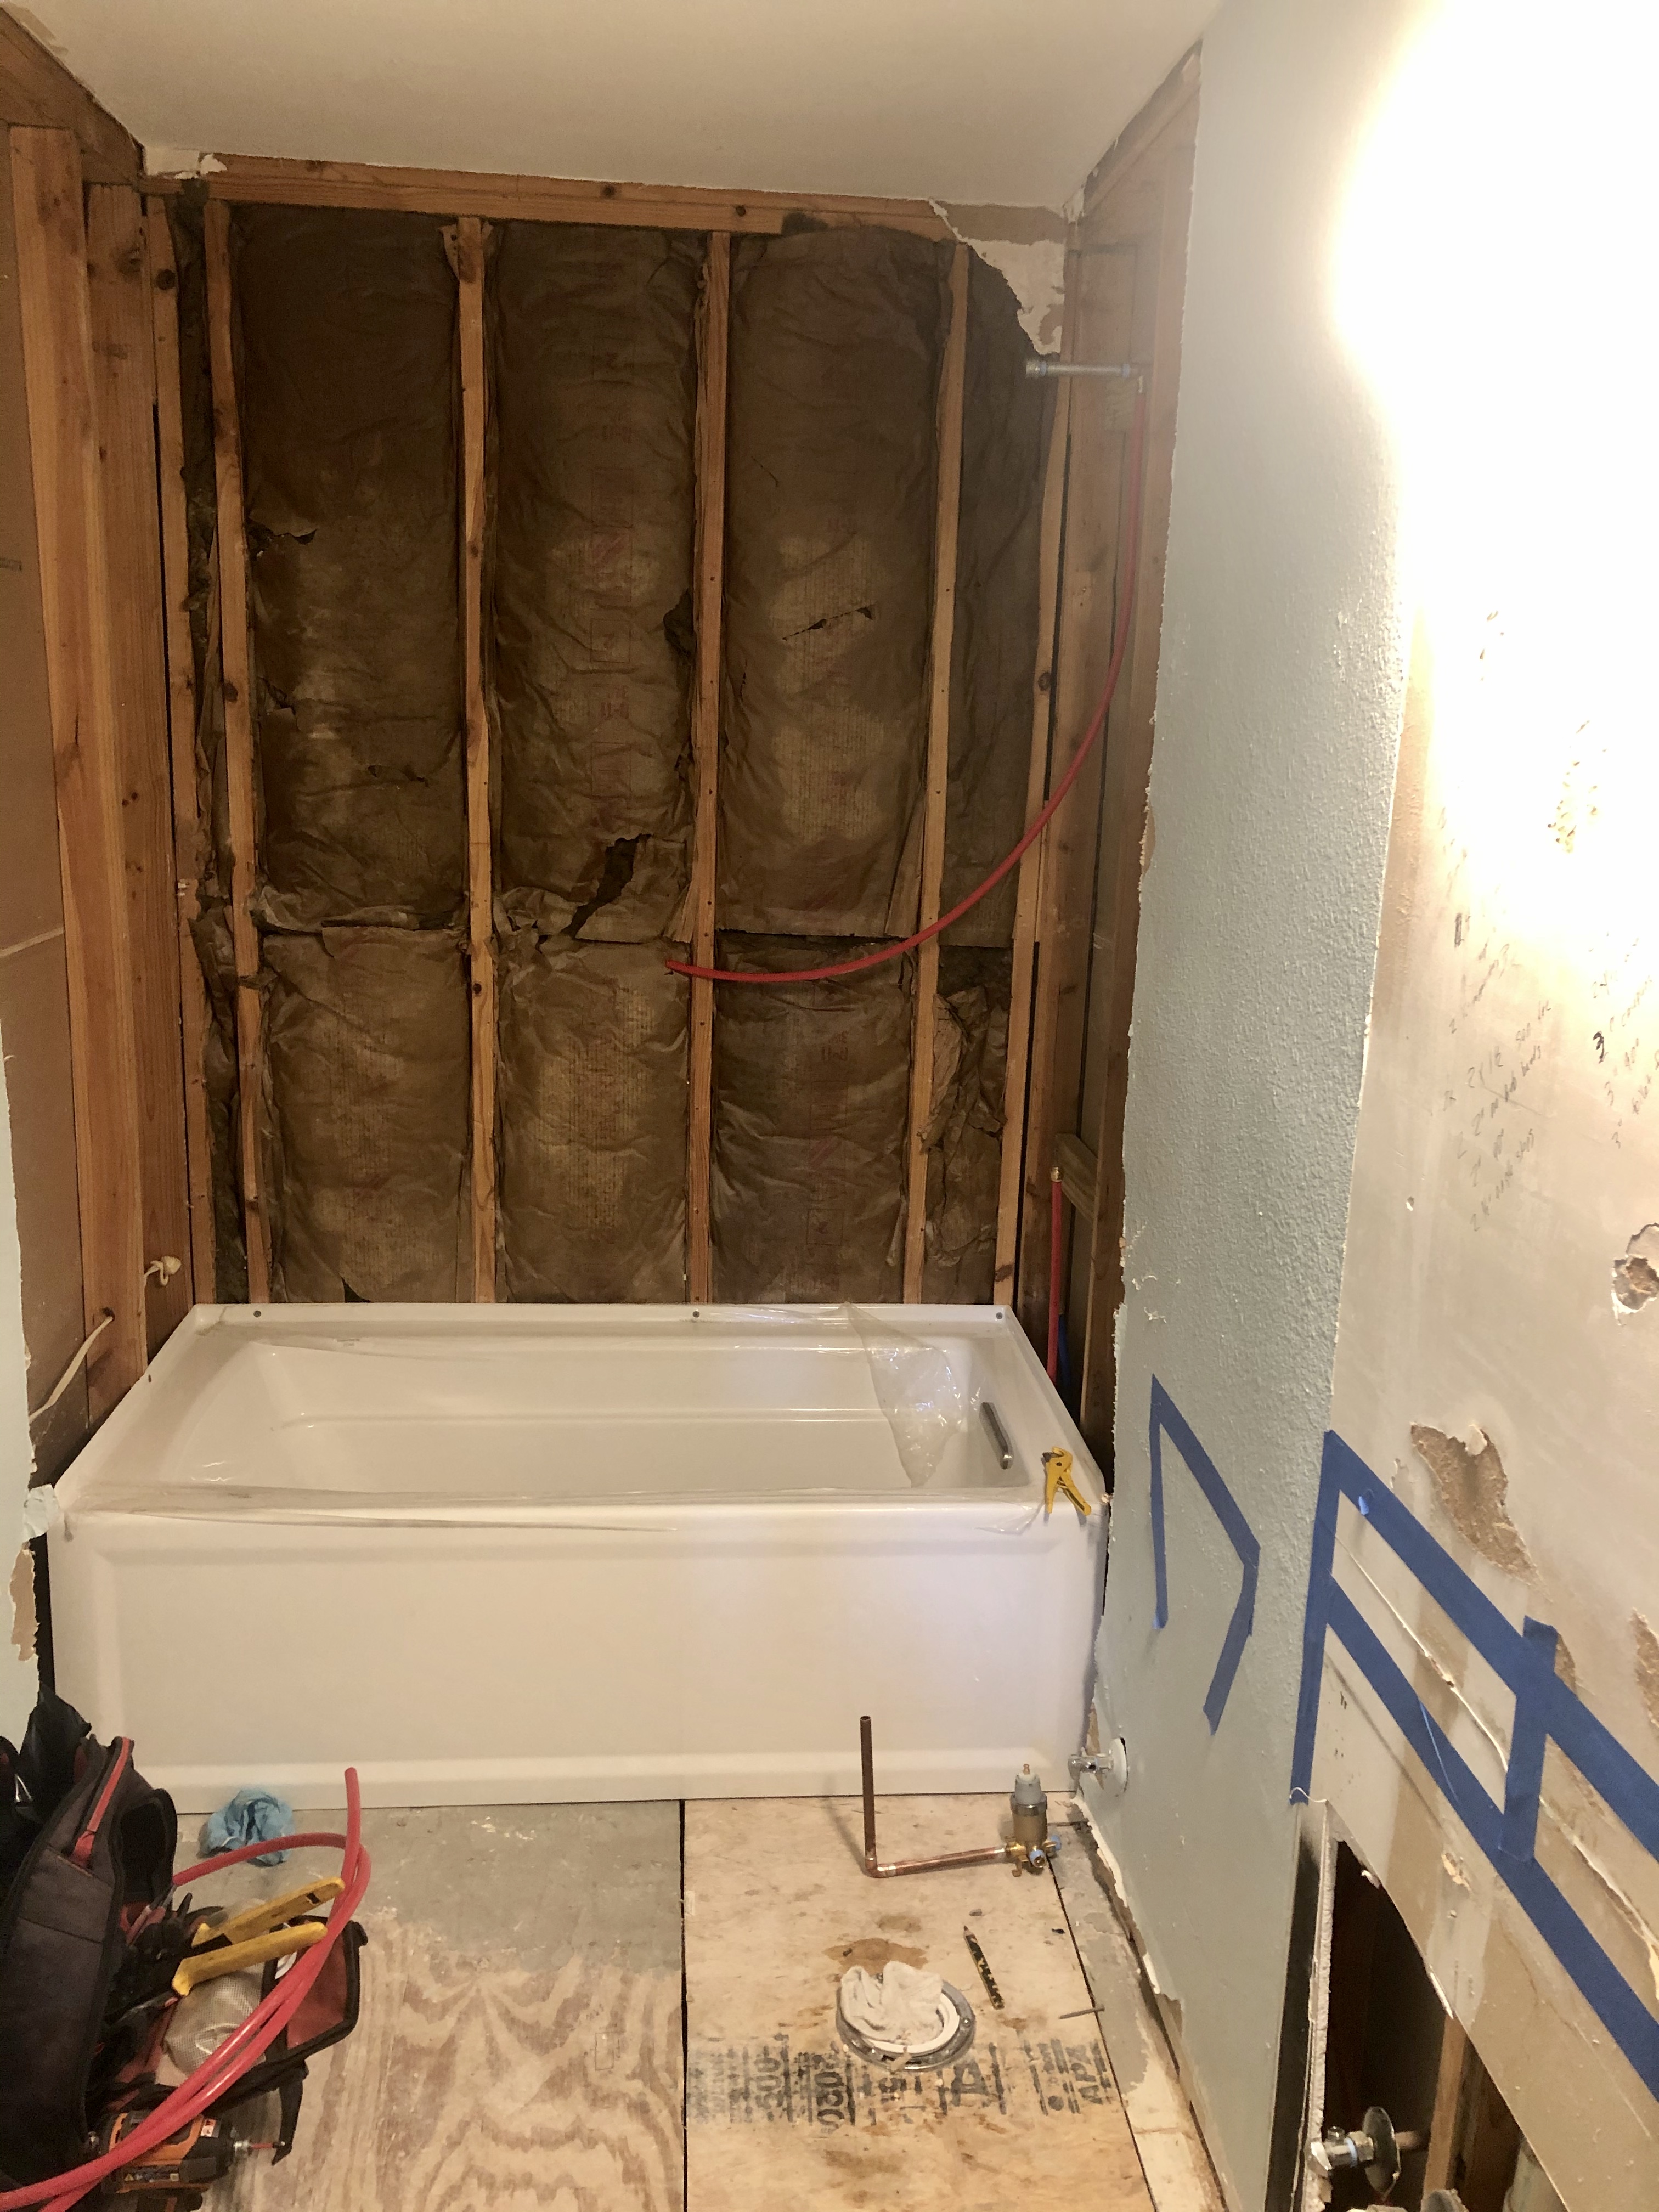
For this bathroom, Tim added water lines to accommodate the second sink, shifted over the toilet, and installed our new bathtub.

My parents also love DIY so they came to visit me once it was time to start putting the bathroom back together. My dad and I tackled the prep work and waterproofing of the shower walls and bathroom floor. My mom helped me tile.
If you’ve never worked with cement board let me tell you: it’s heavy and hard. You really have to put your weight into it when screwing through the cement board into the stud. Our family is very accident prone so of course, injuries happen. I’m left-handed and my dad is right-handed so we have matching but opposite injuries from using the power drill. Lesson learned: We will wear gloves next time.

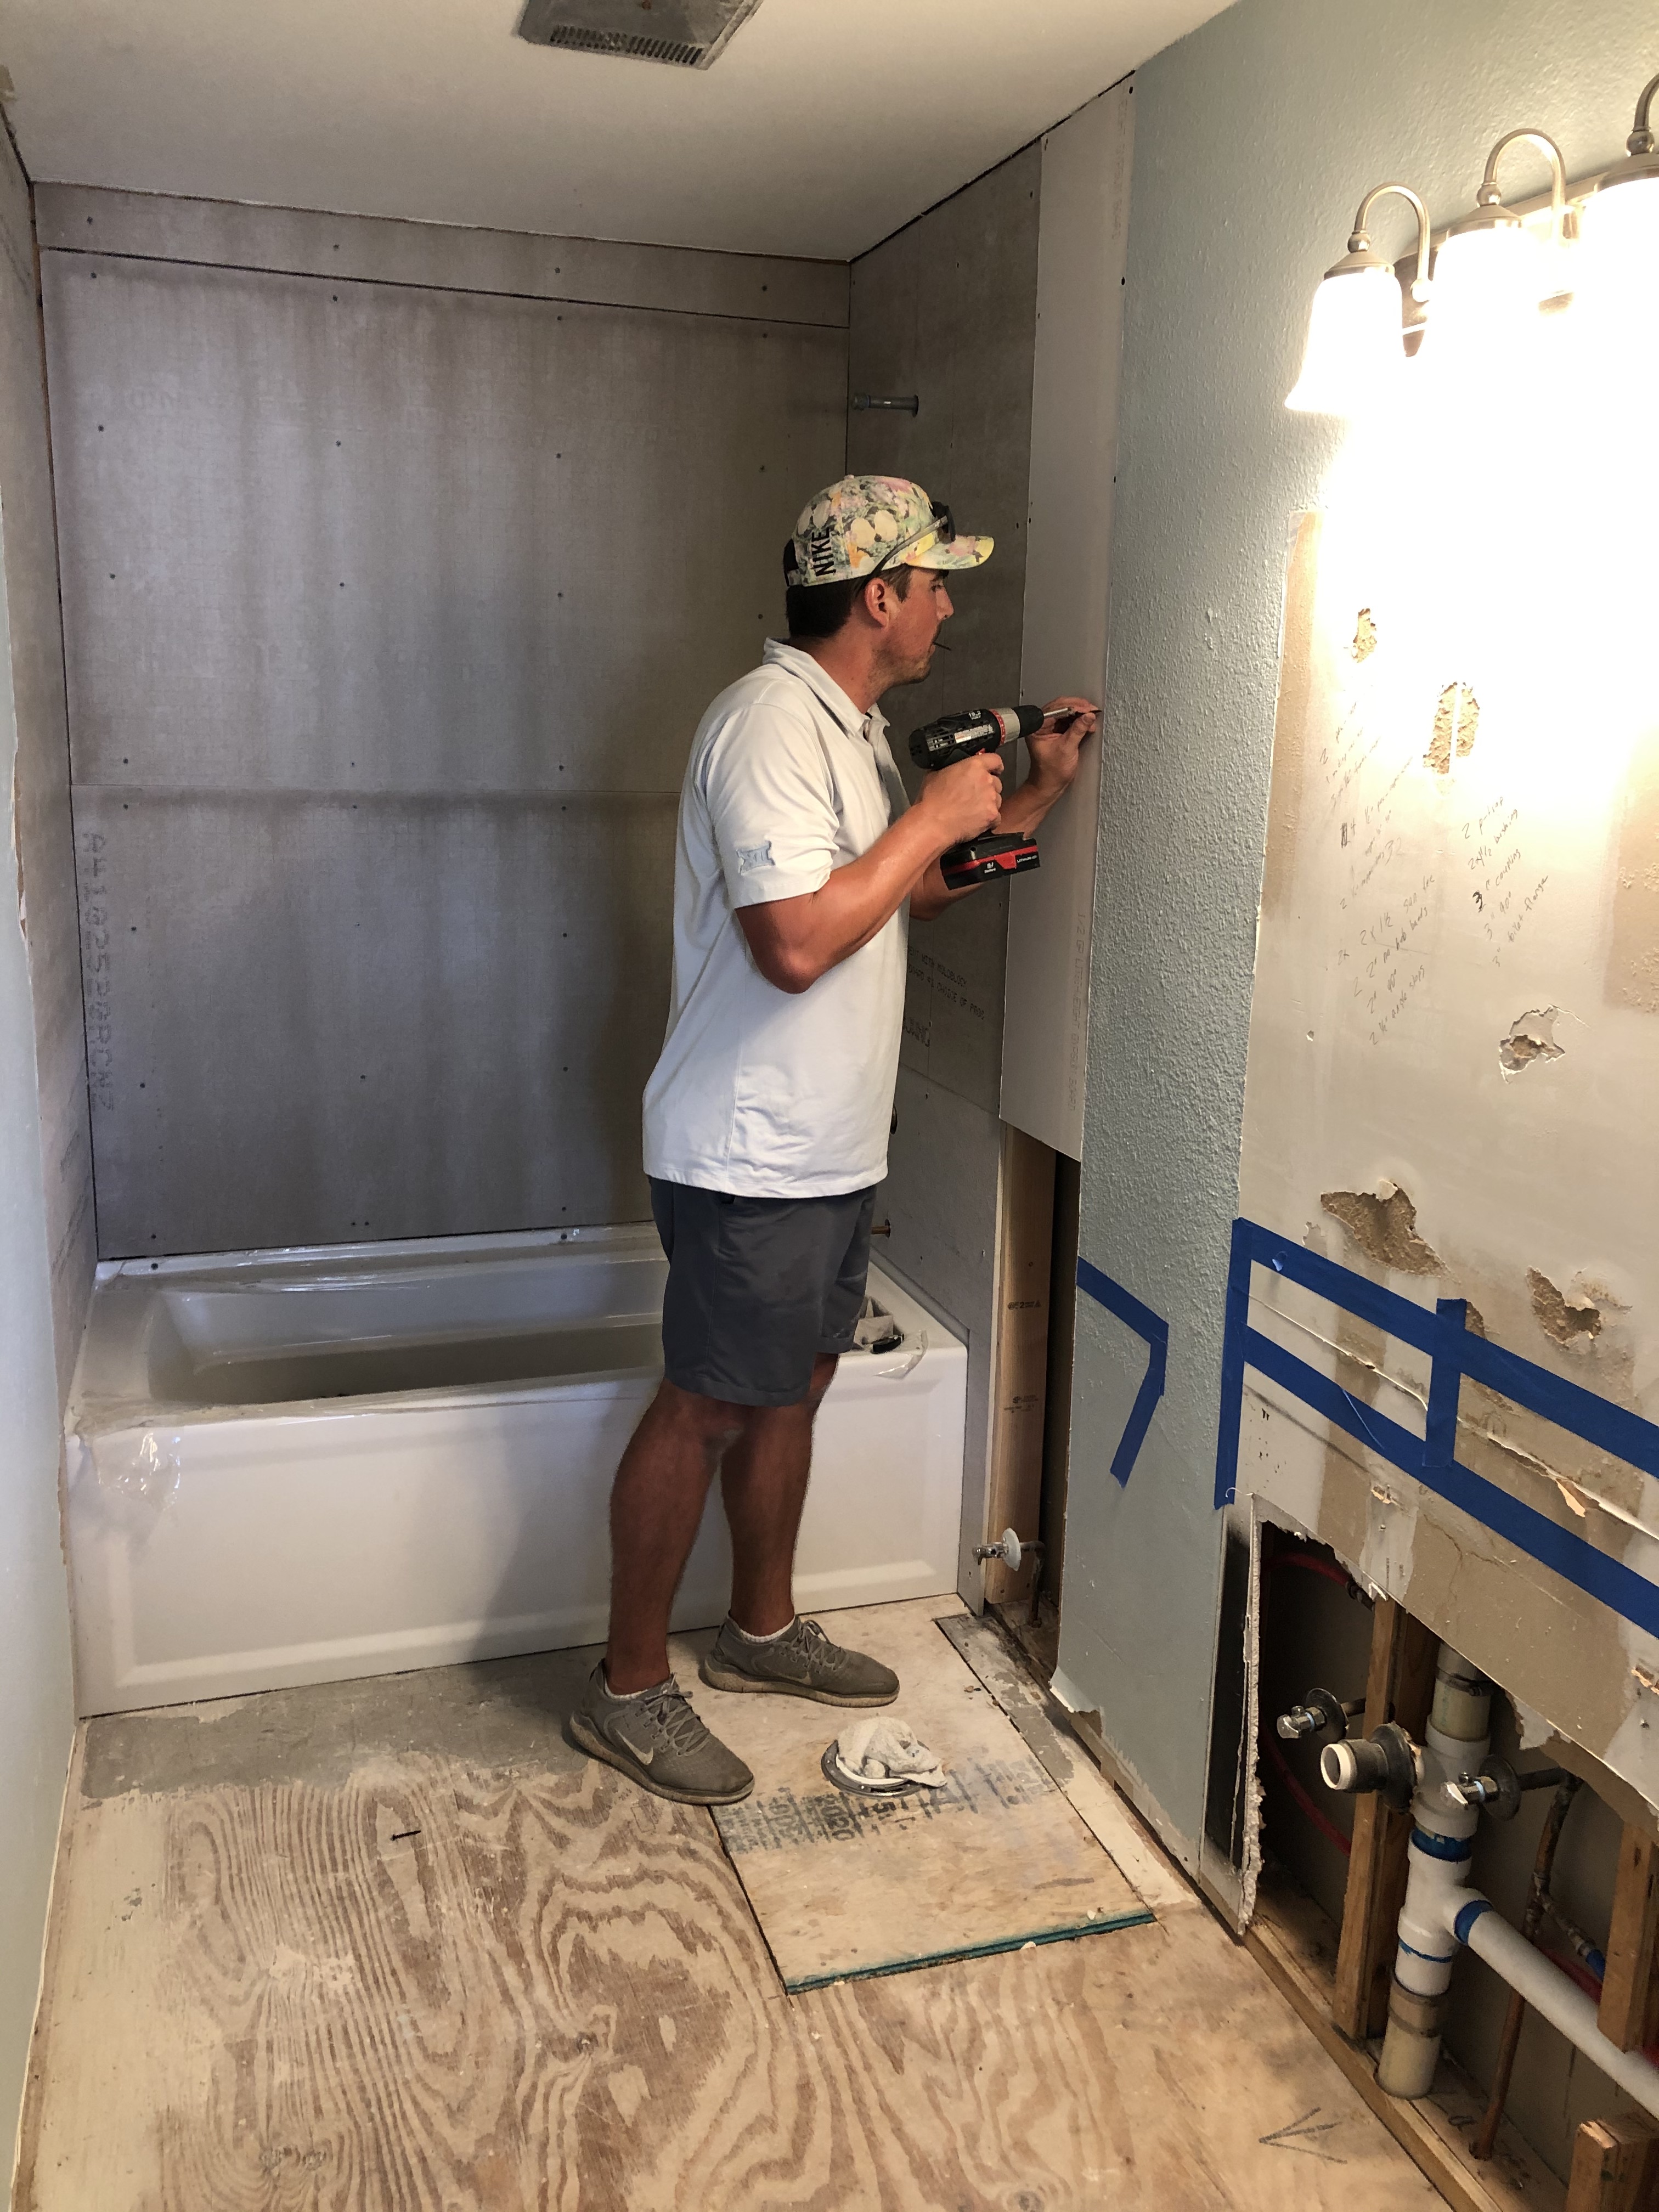
We also had a guest appearance from my husband, Steffan. He’s our resident drywall expert. We saved ourselves thousands of dollars during the downstairs renovation by installing our own drywall.


The next step after getting the cement board in place was waterproofing. I did a lot of research for this part because I did not want to risk mildew and mold growing in the walls or water damage that could leak onto our new hardwood floors below this bathroom.
I decided to use Redgard for this step. You have to make sure you get your seams and corners really well. After that, you can simply roll it straight onto the wall. The product rolls on bright pink and turns red when dry. We did two coats on the shower just to be safe. One gallon was more than enough for this project. Since we had a little bit left over, I decided it wouldn’t hurt to also paint the floor seams and the area immediately around the tub and toilet.
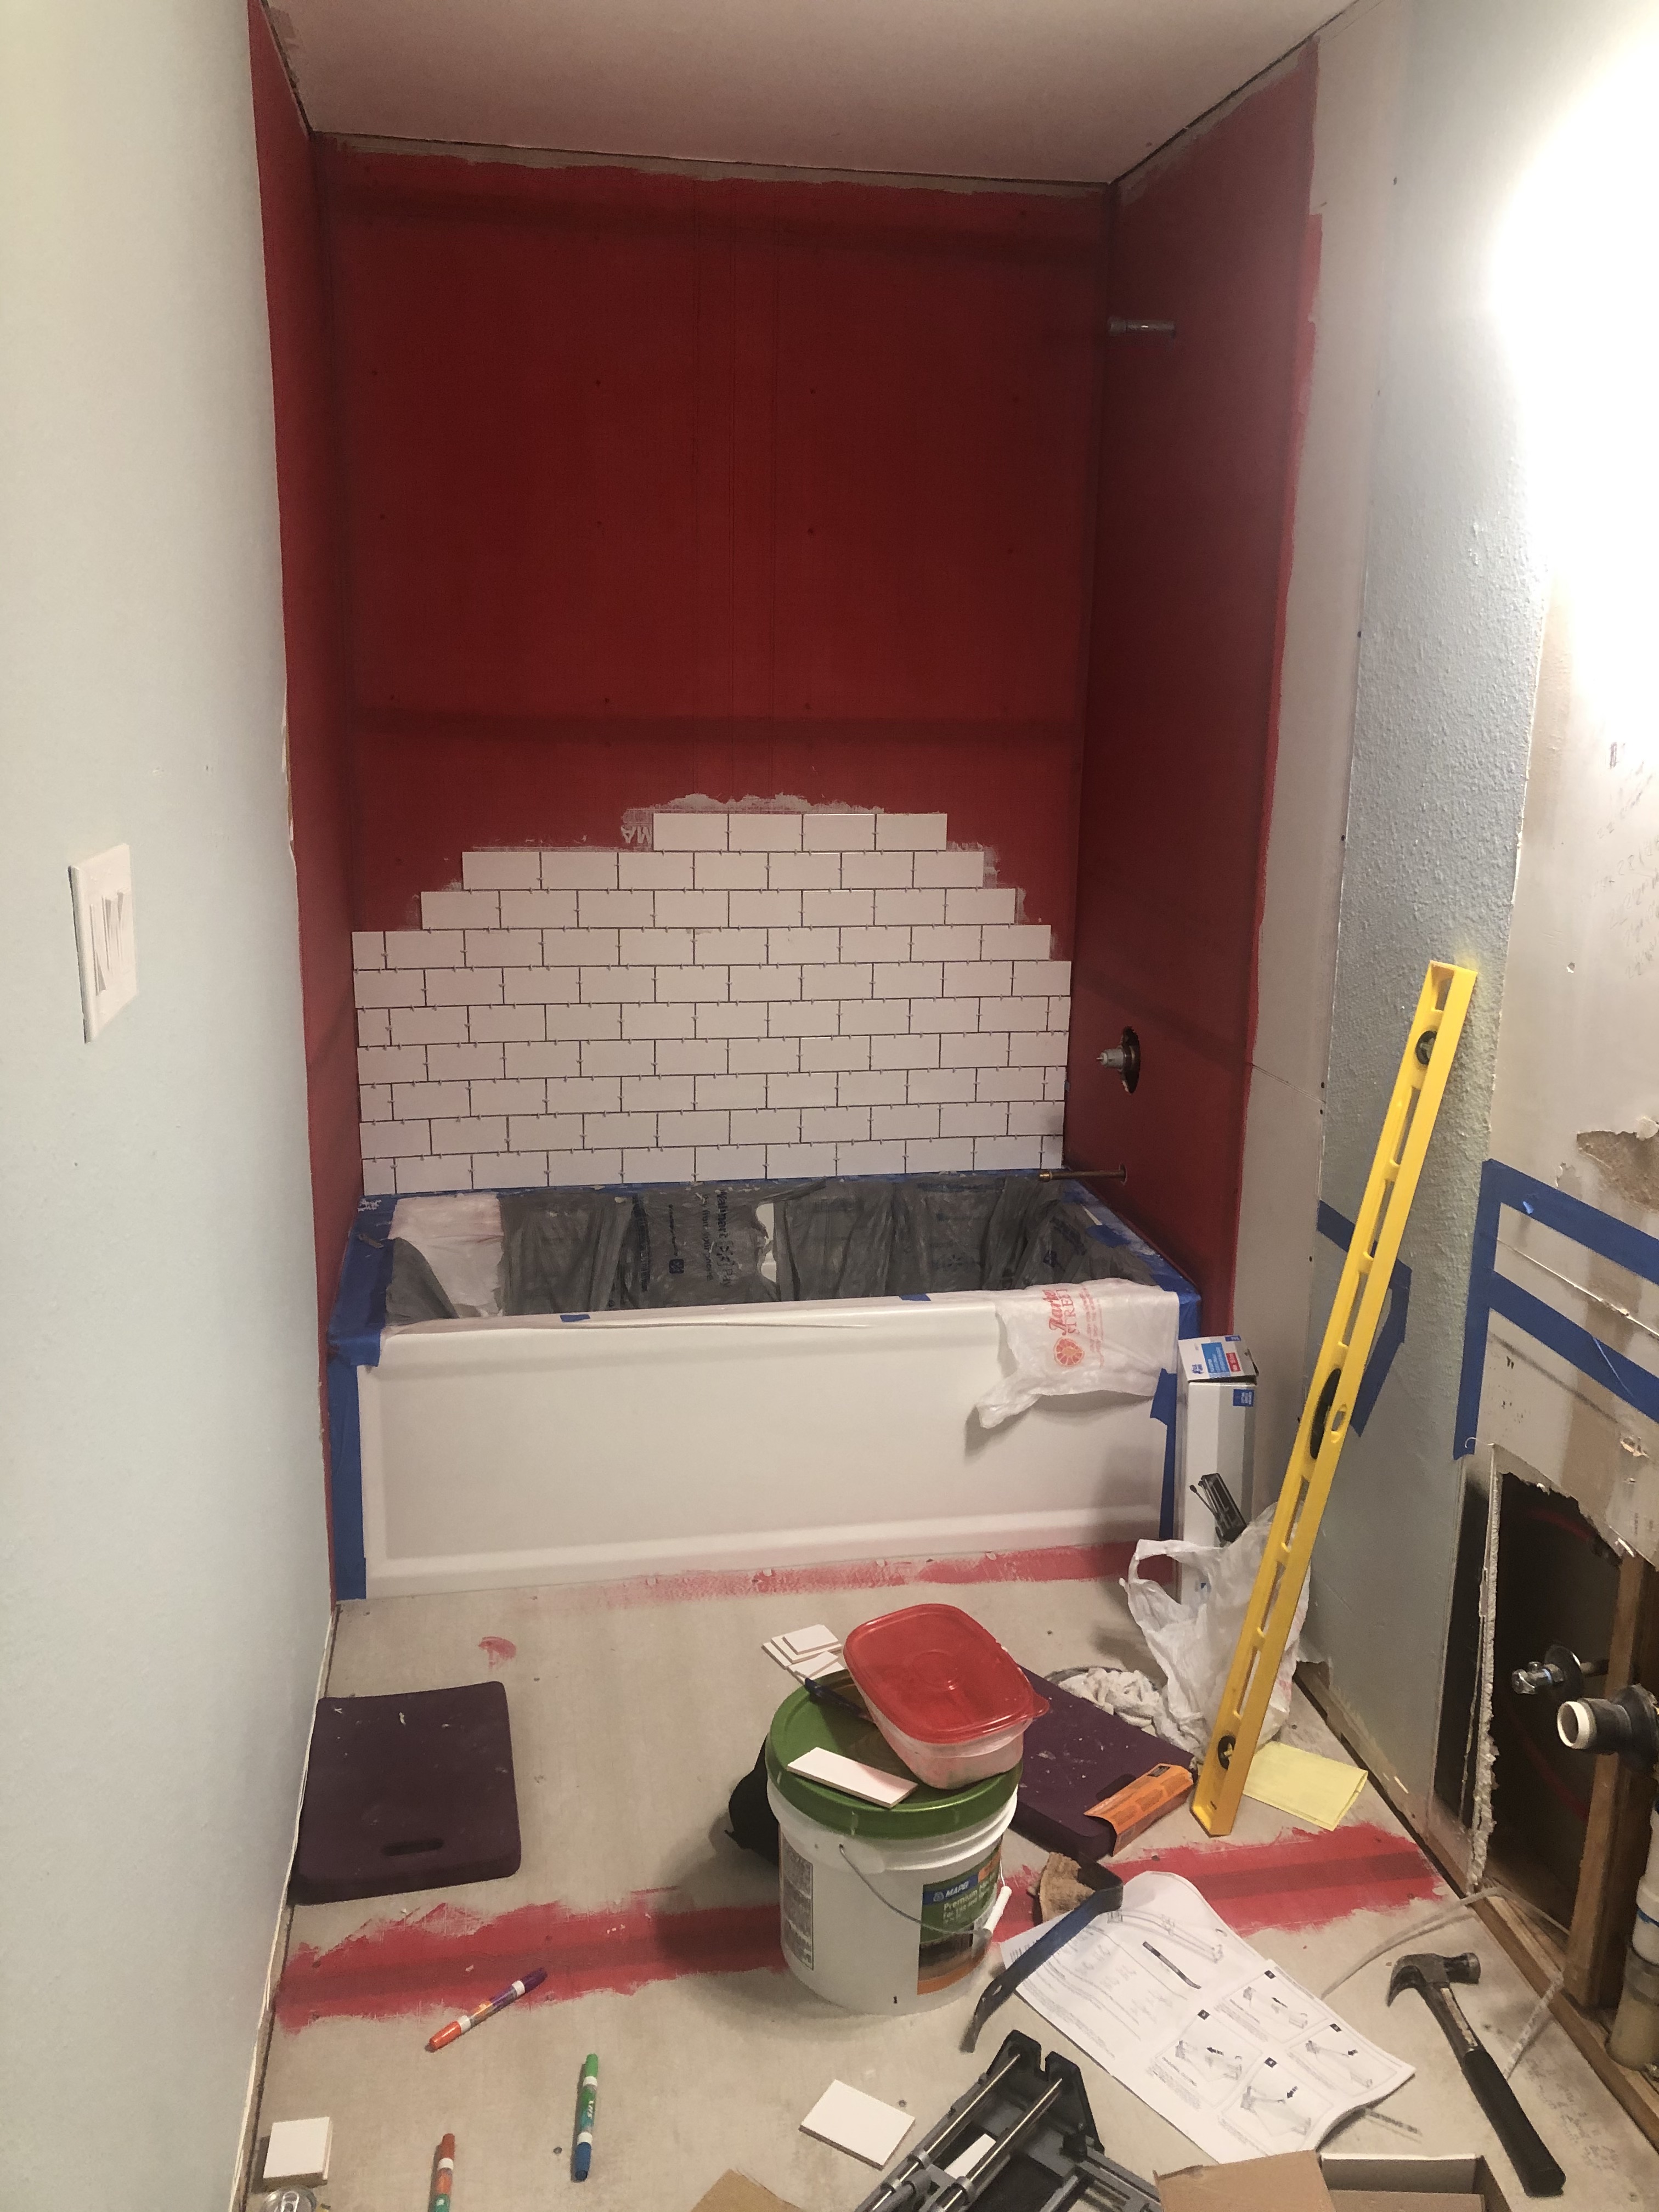

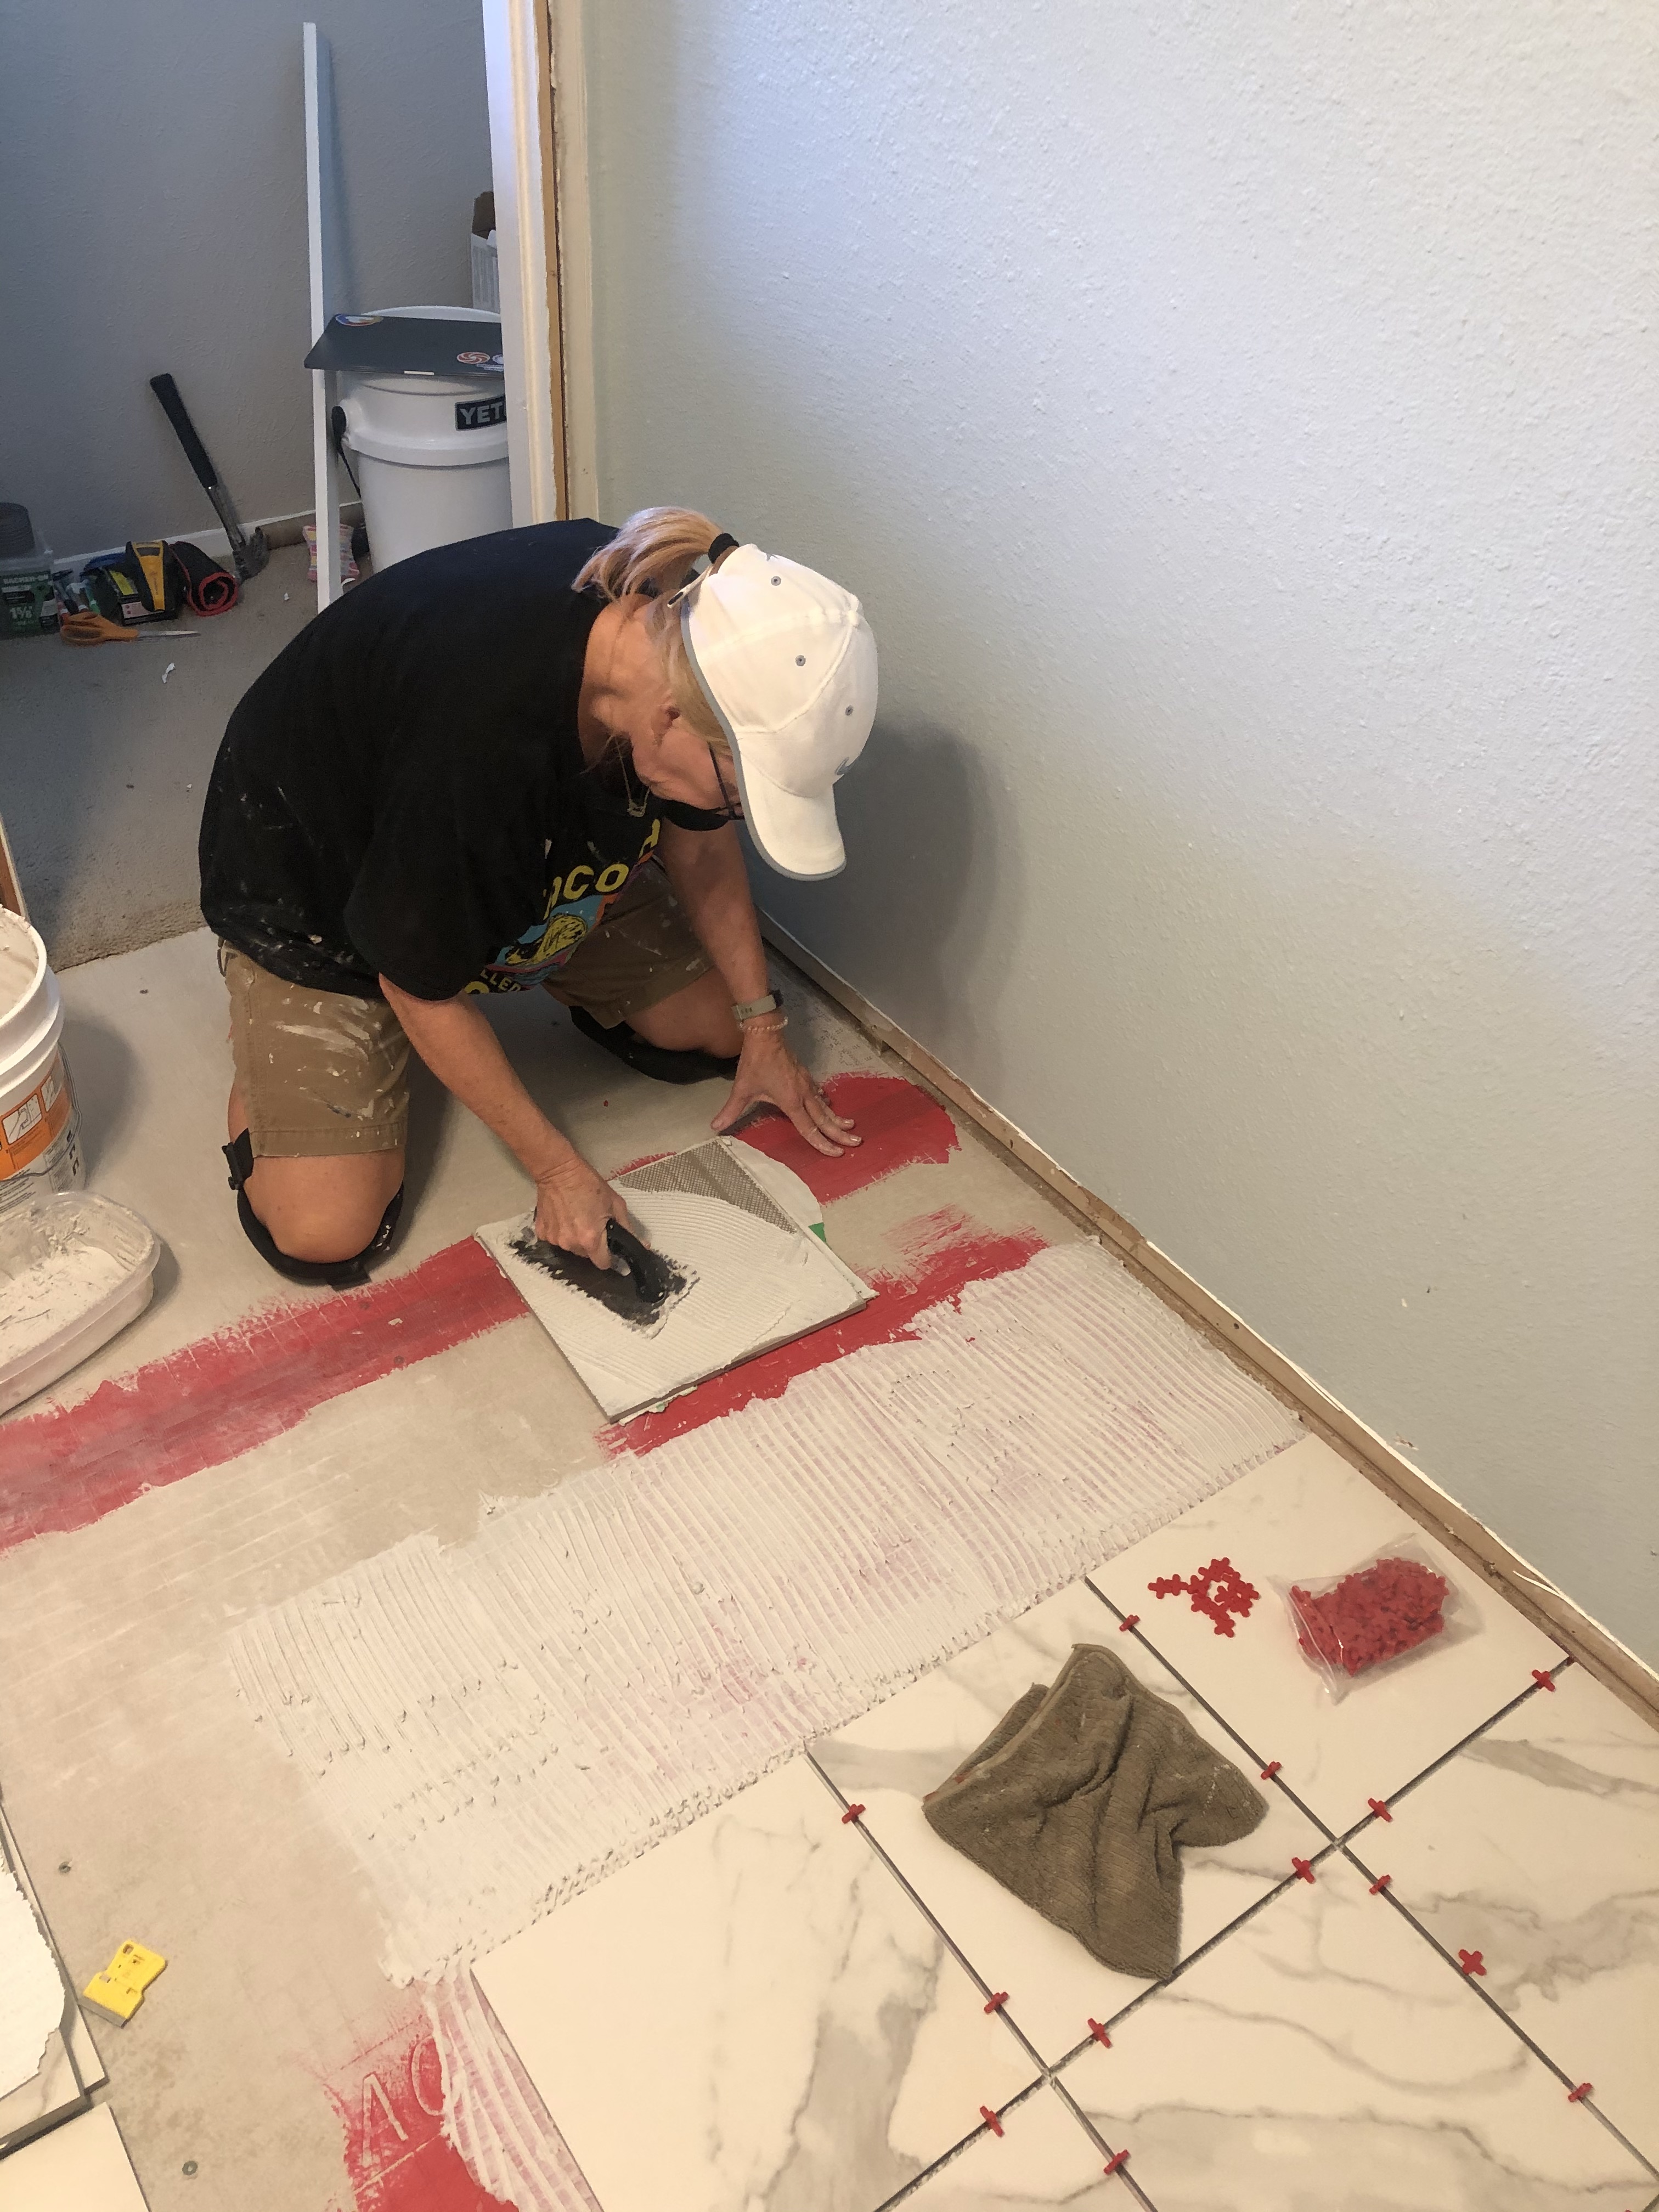
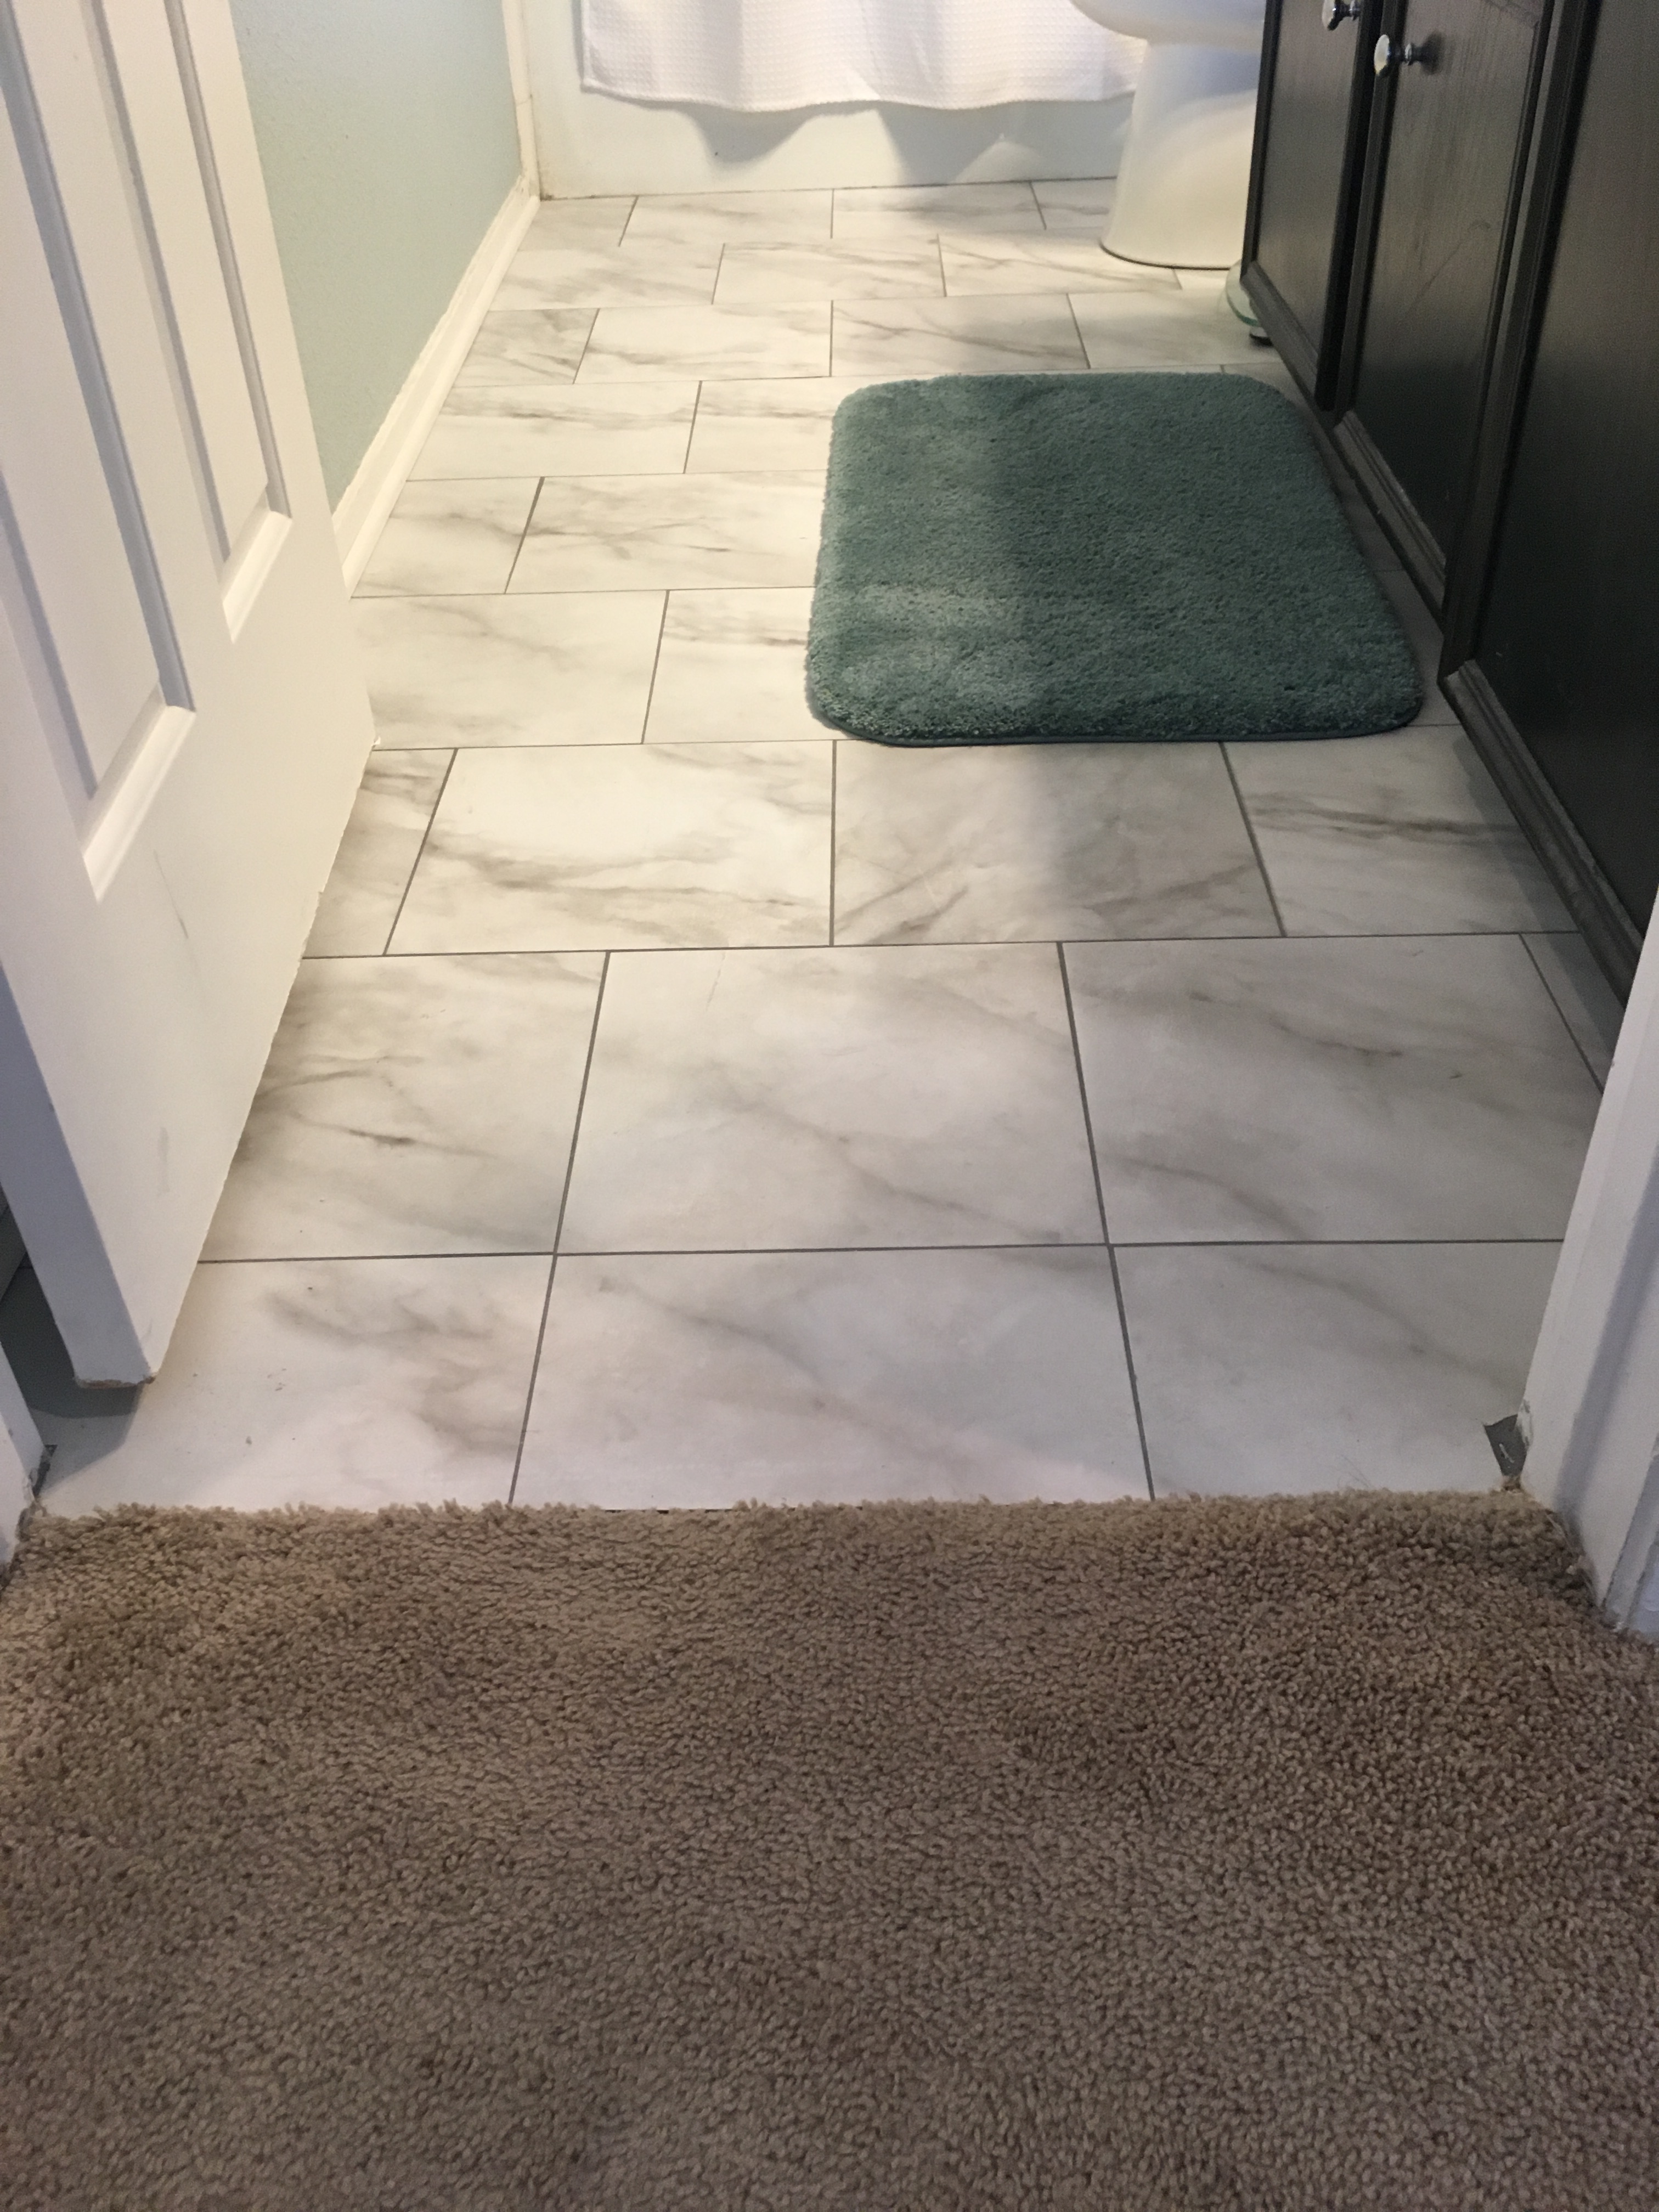
Once the Redgard had dried completely, it was time to start tiling. This was my first time to ever tile walls and I was pretty nervous. Once we got in a groove, it was easy. It was awesome to have my mom helping because we were able to get this done so much faster than if I had to do this by myself.
We used a Simple Set pre-mixed mortar from Home Depot on the shower walls and the floors.
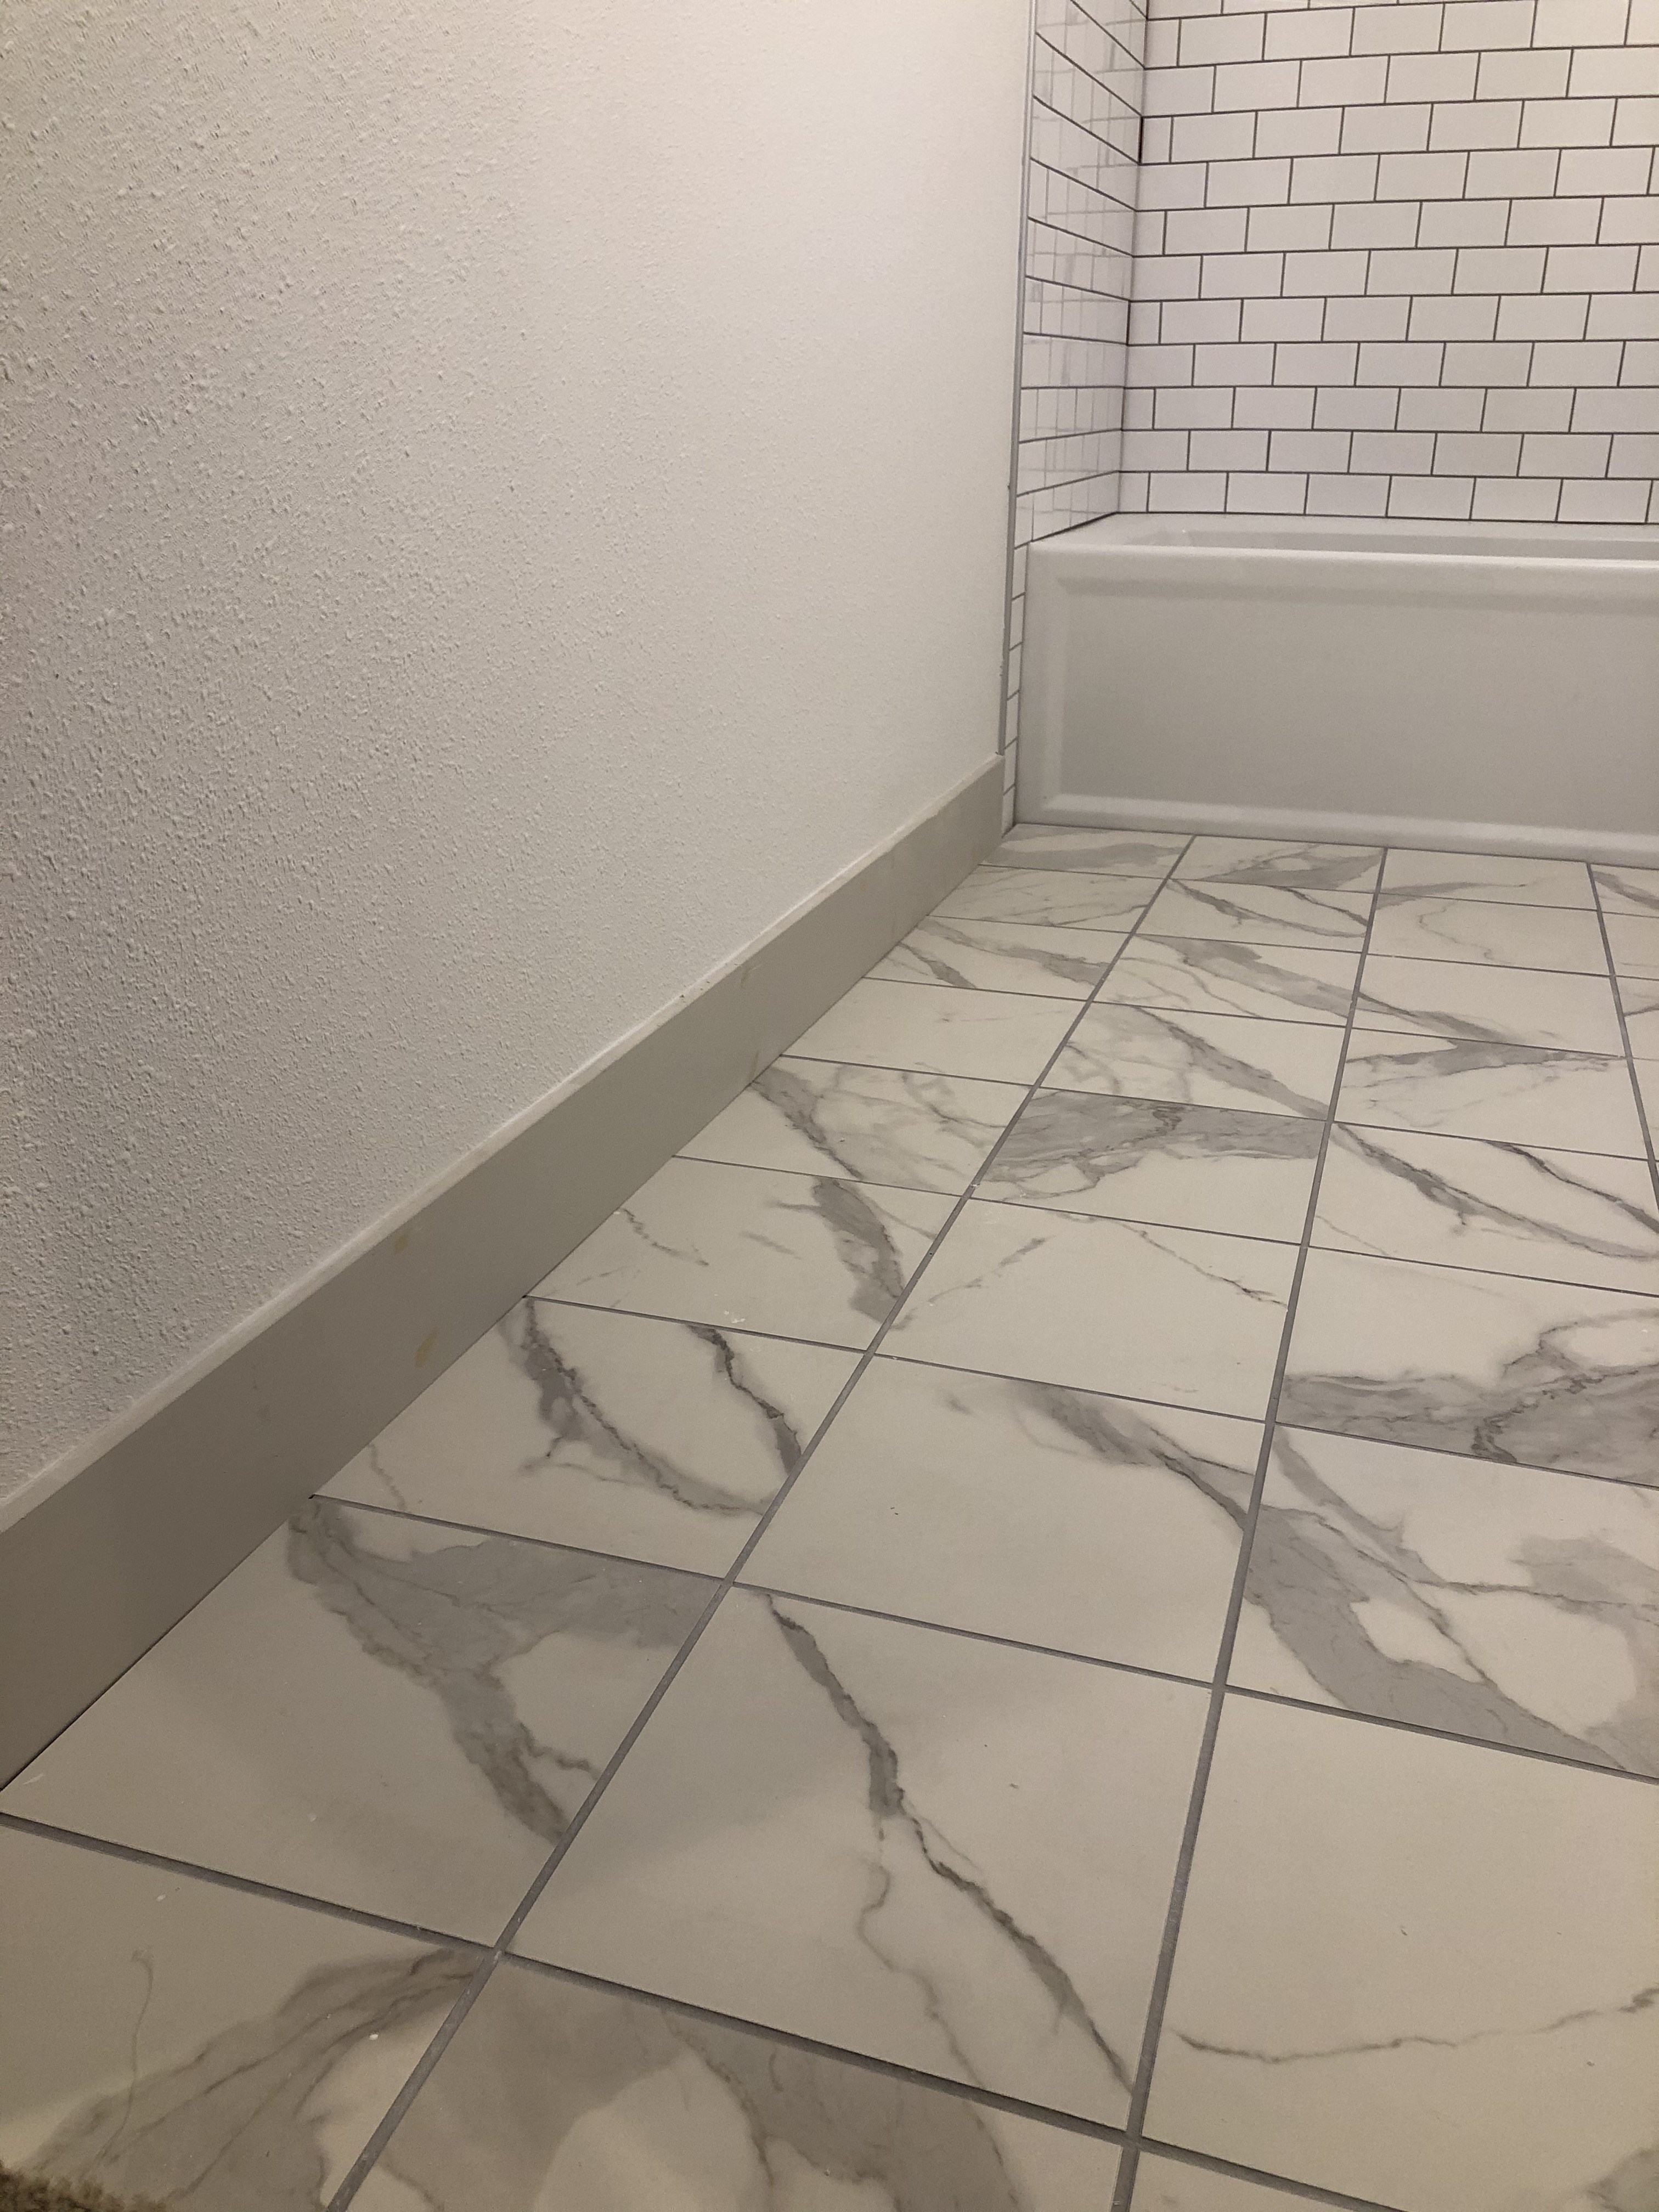
After four days my parents had to go home so I was back to finishing the floor tile on my own. I got a new wet saw that I was excited to use. I started by dry fitting all of the cut tiles to make sure everything would fit. Then I finished up mortaring the tiles to the ground.
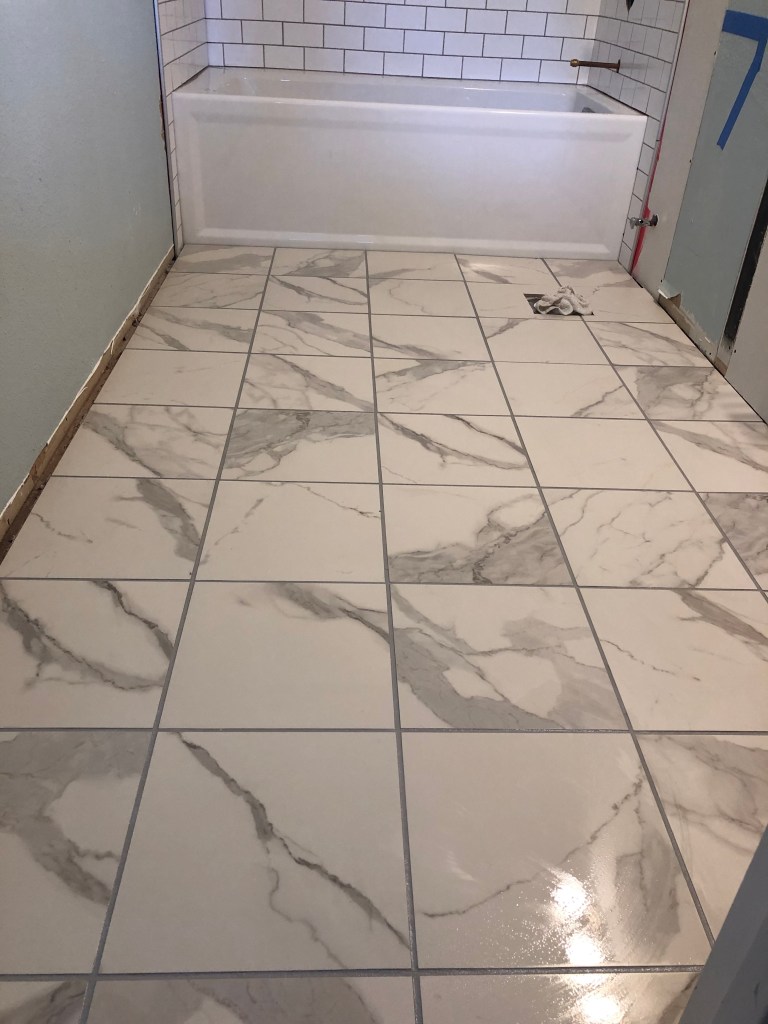
After waiting 24 hours, I was able to get the tile grouted using a pre-mixed Mapei grout (in Silver). Overall, this product is very easy to use compared to regular grout since you don’t have to mix it. The only negative, it really leaves behind grout haze. I had the same problem with the shower walls.
To remove grout haze, I used this Laticrete product. Instructions were clear and it worked like a charm. One wash was all I needed for the shower walls. I did three washes on the floors before the haze was sufficiently removed.

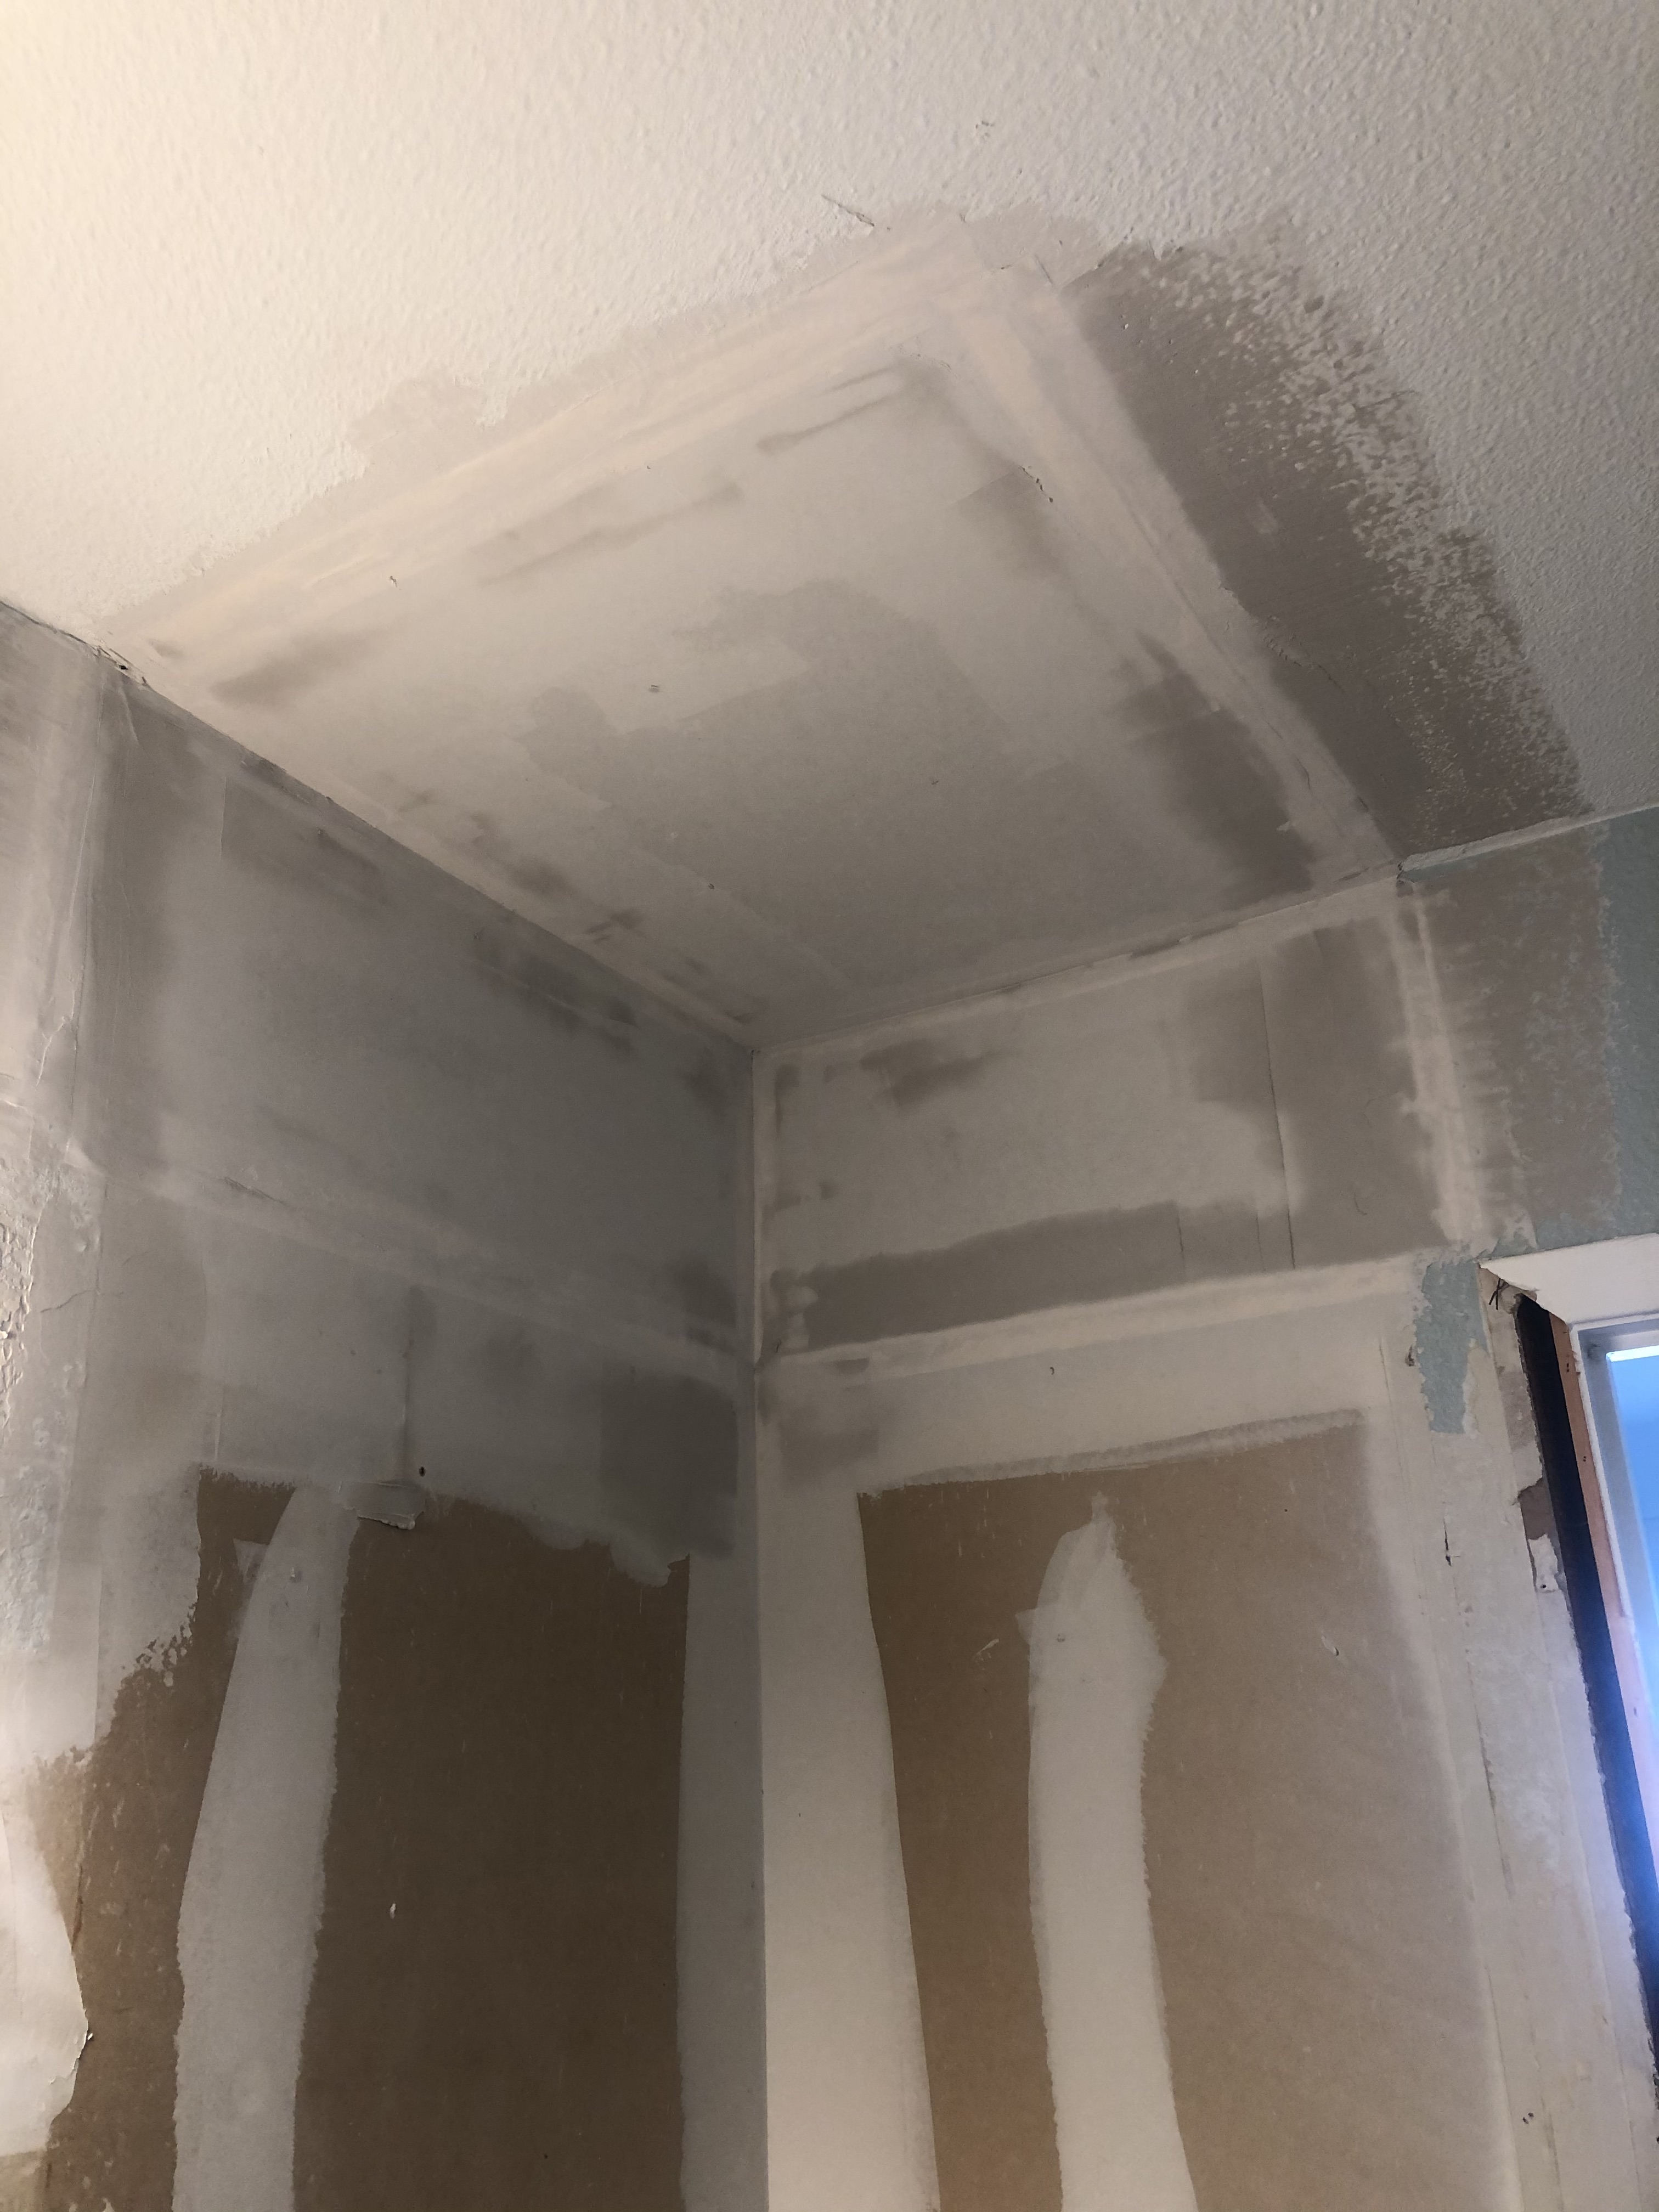

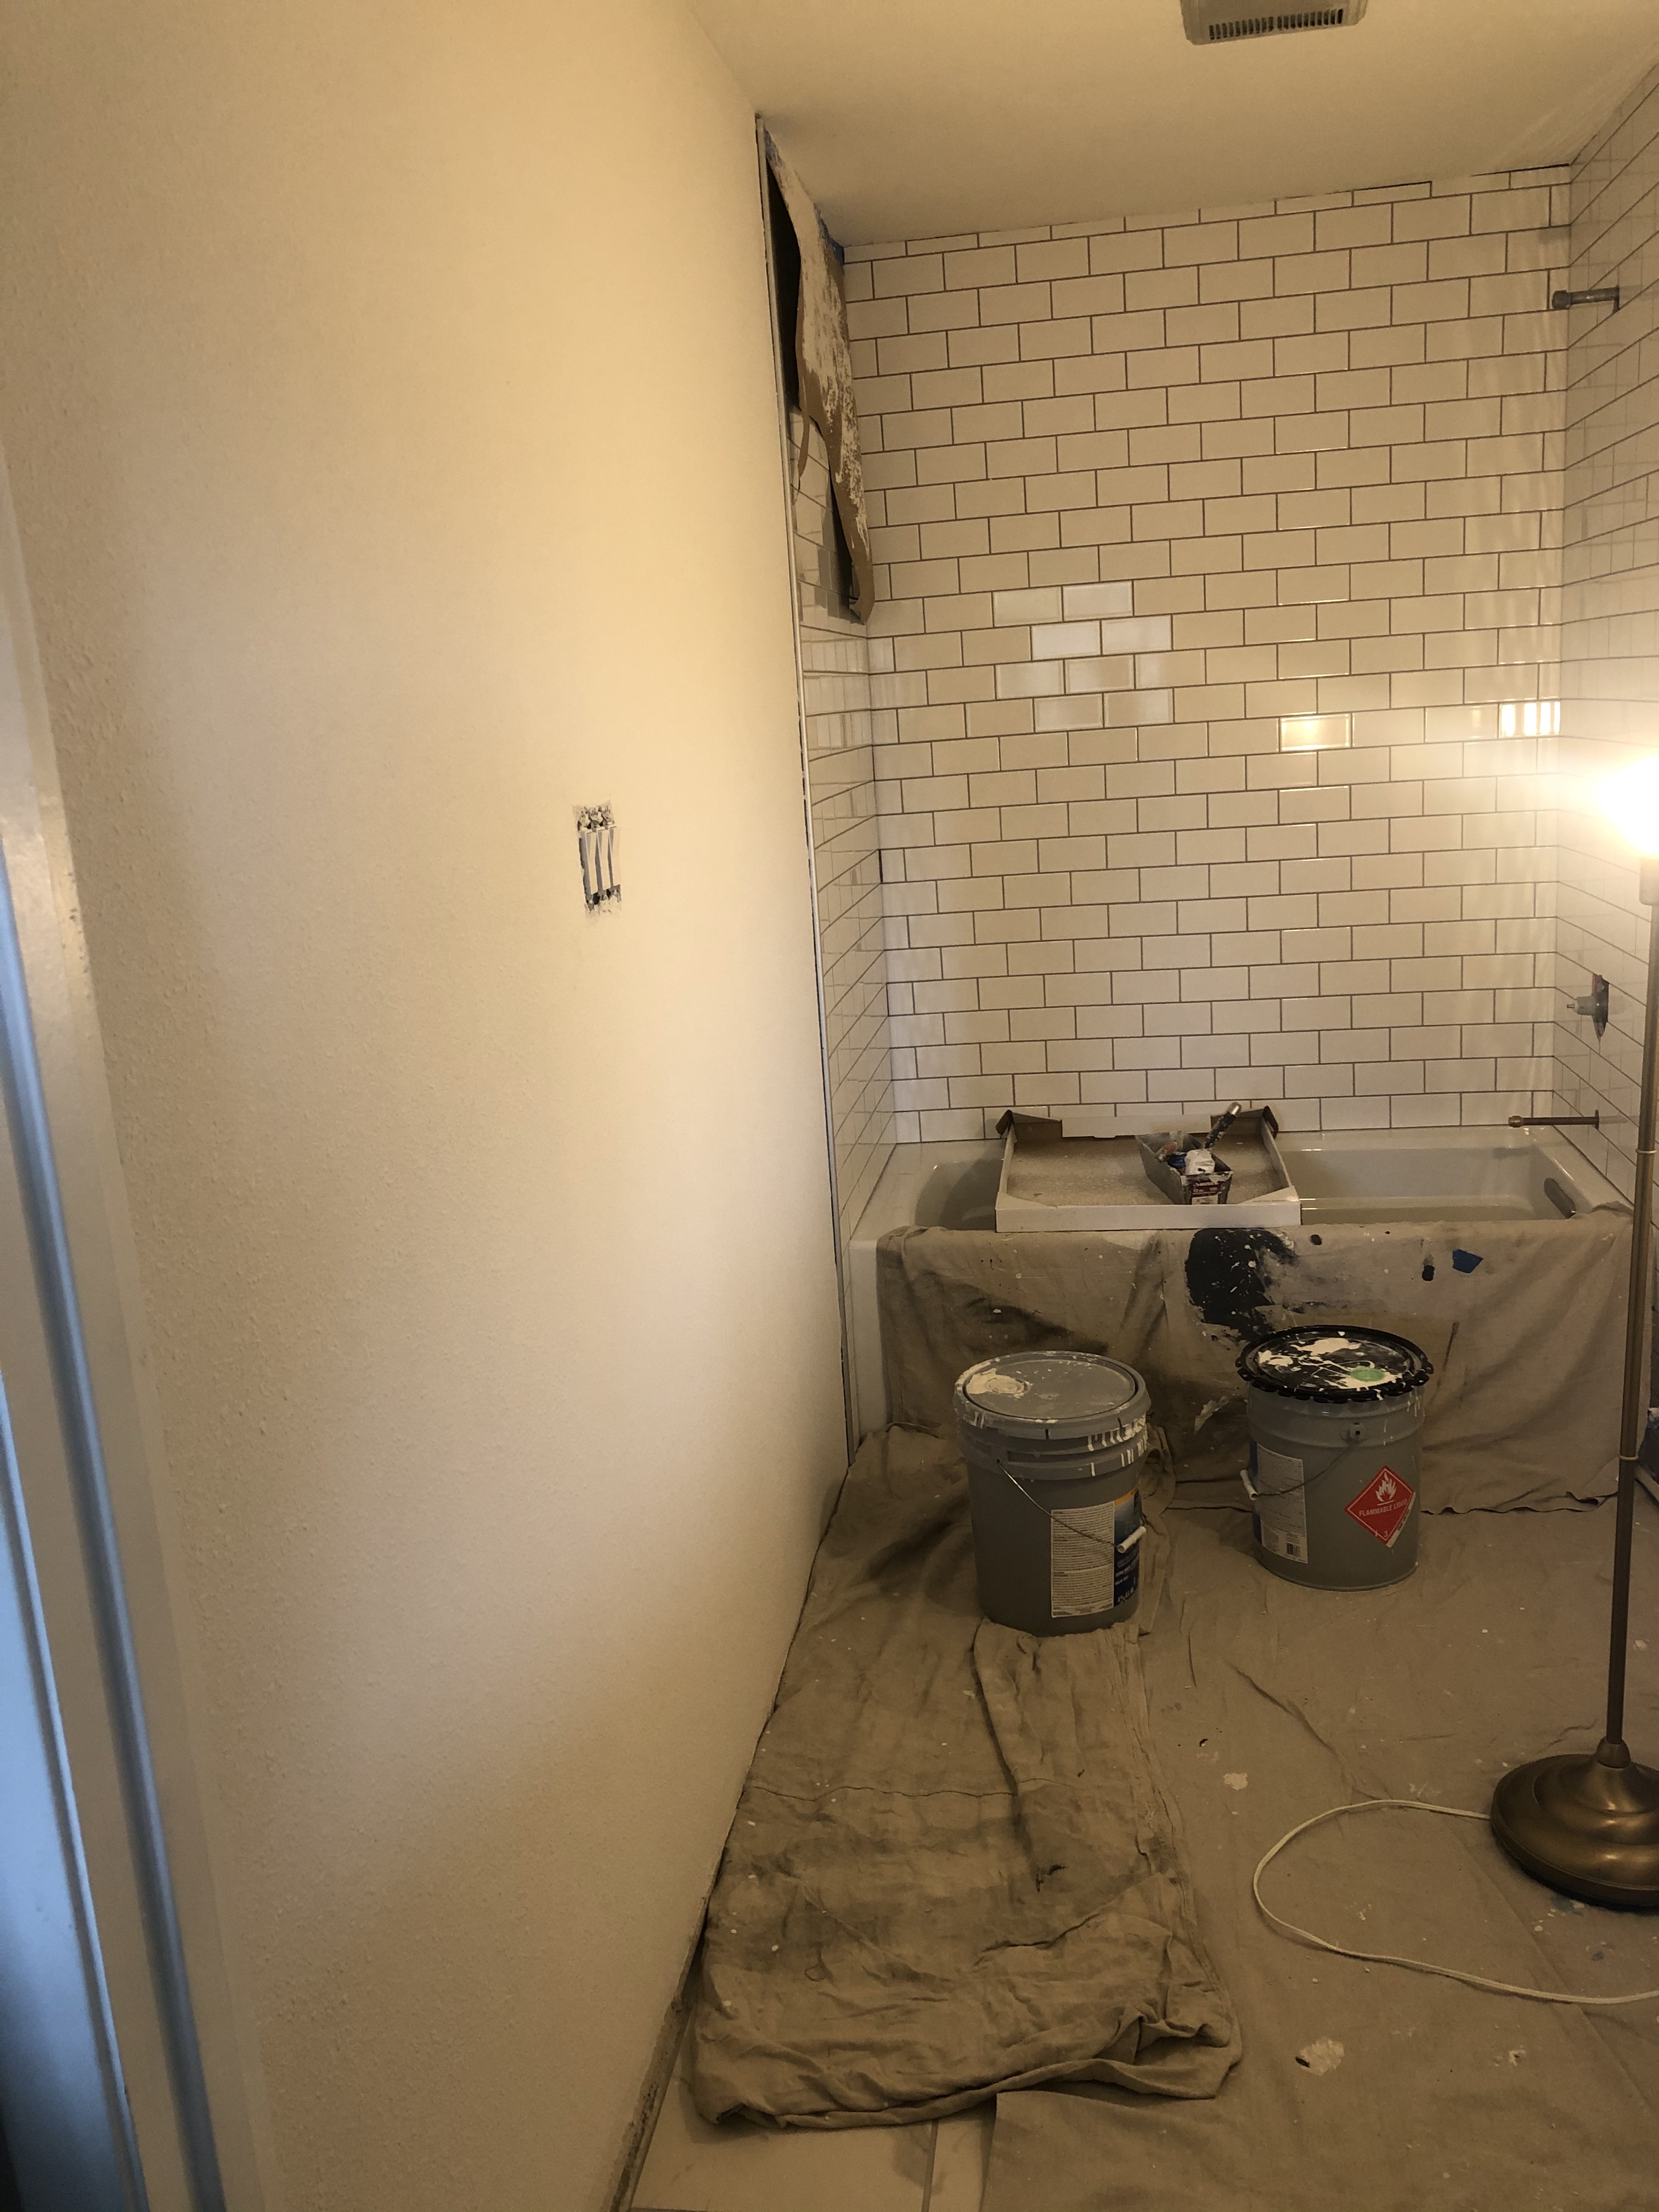

The next phase of this renovation was to fix the walls. We installed some new drywall which required taping and floating the seams and removing the large builder grade mirror left holes that needed to be patched.
I watched several YouTube videos and got started. I got the hang of taping and floating the drywall and feathering out the seams. However, there is an art to adding wall texture that is not in my skill set. DIY is great because you learn your capabilities but sometimes you also learn your limits. I needed help with this portion of the project.
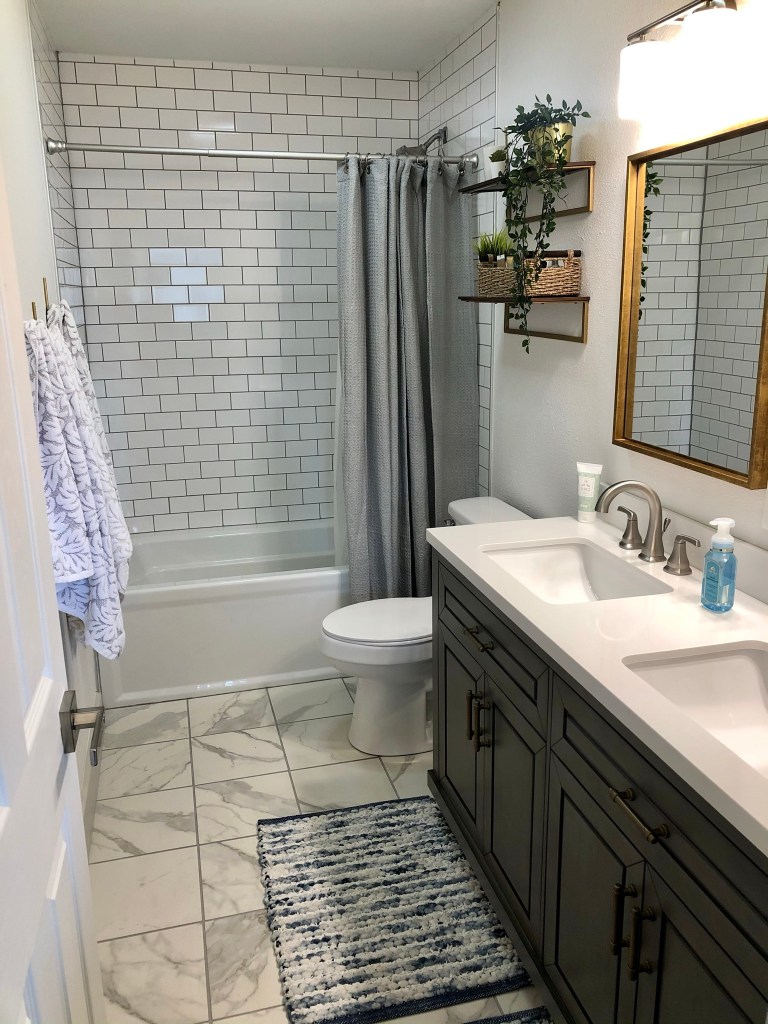
When we got all of the popcorn ceiling removed in our home, I used a local company called Tex Painting. They did a great job so that’s who we used for this project as well. They took 3 days to finish the work because of the required drying times for each step. Day one they re-mudded the walls to cover up the mess I made with my texturing attempt. Day two they added the texture. On day three they primed and painted everything. It looked so much better than what I had tried to do. (Wall paint: Sherwin Williams Snowbound)

Once the walls were complete, I was able to get the rest of the bathroom done very quickly.
The next task was to install baseboards and trim. I used 1×6 primed pine for the baseboards and 1×4 primed pine for the door trim. You can pick these boards up at Home Depot in 8′ and 16′ lengths.
I pre-painted the boards with Sherwin Williams Agreeable Gray before cutting and installing to save time. Once the boards were cut and nailed into place, I used wood filler to hide the nail holes and caulked the edges for a smooth transition to the wall. I love the way the dark baseboards look with the white walls.


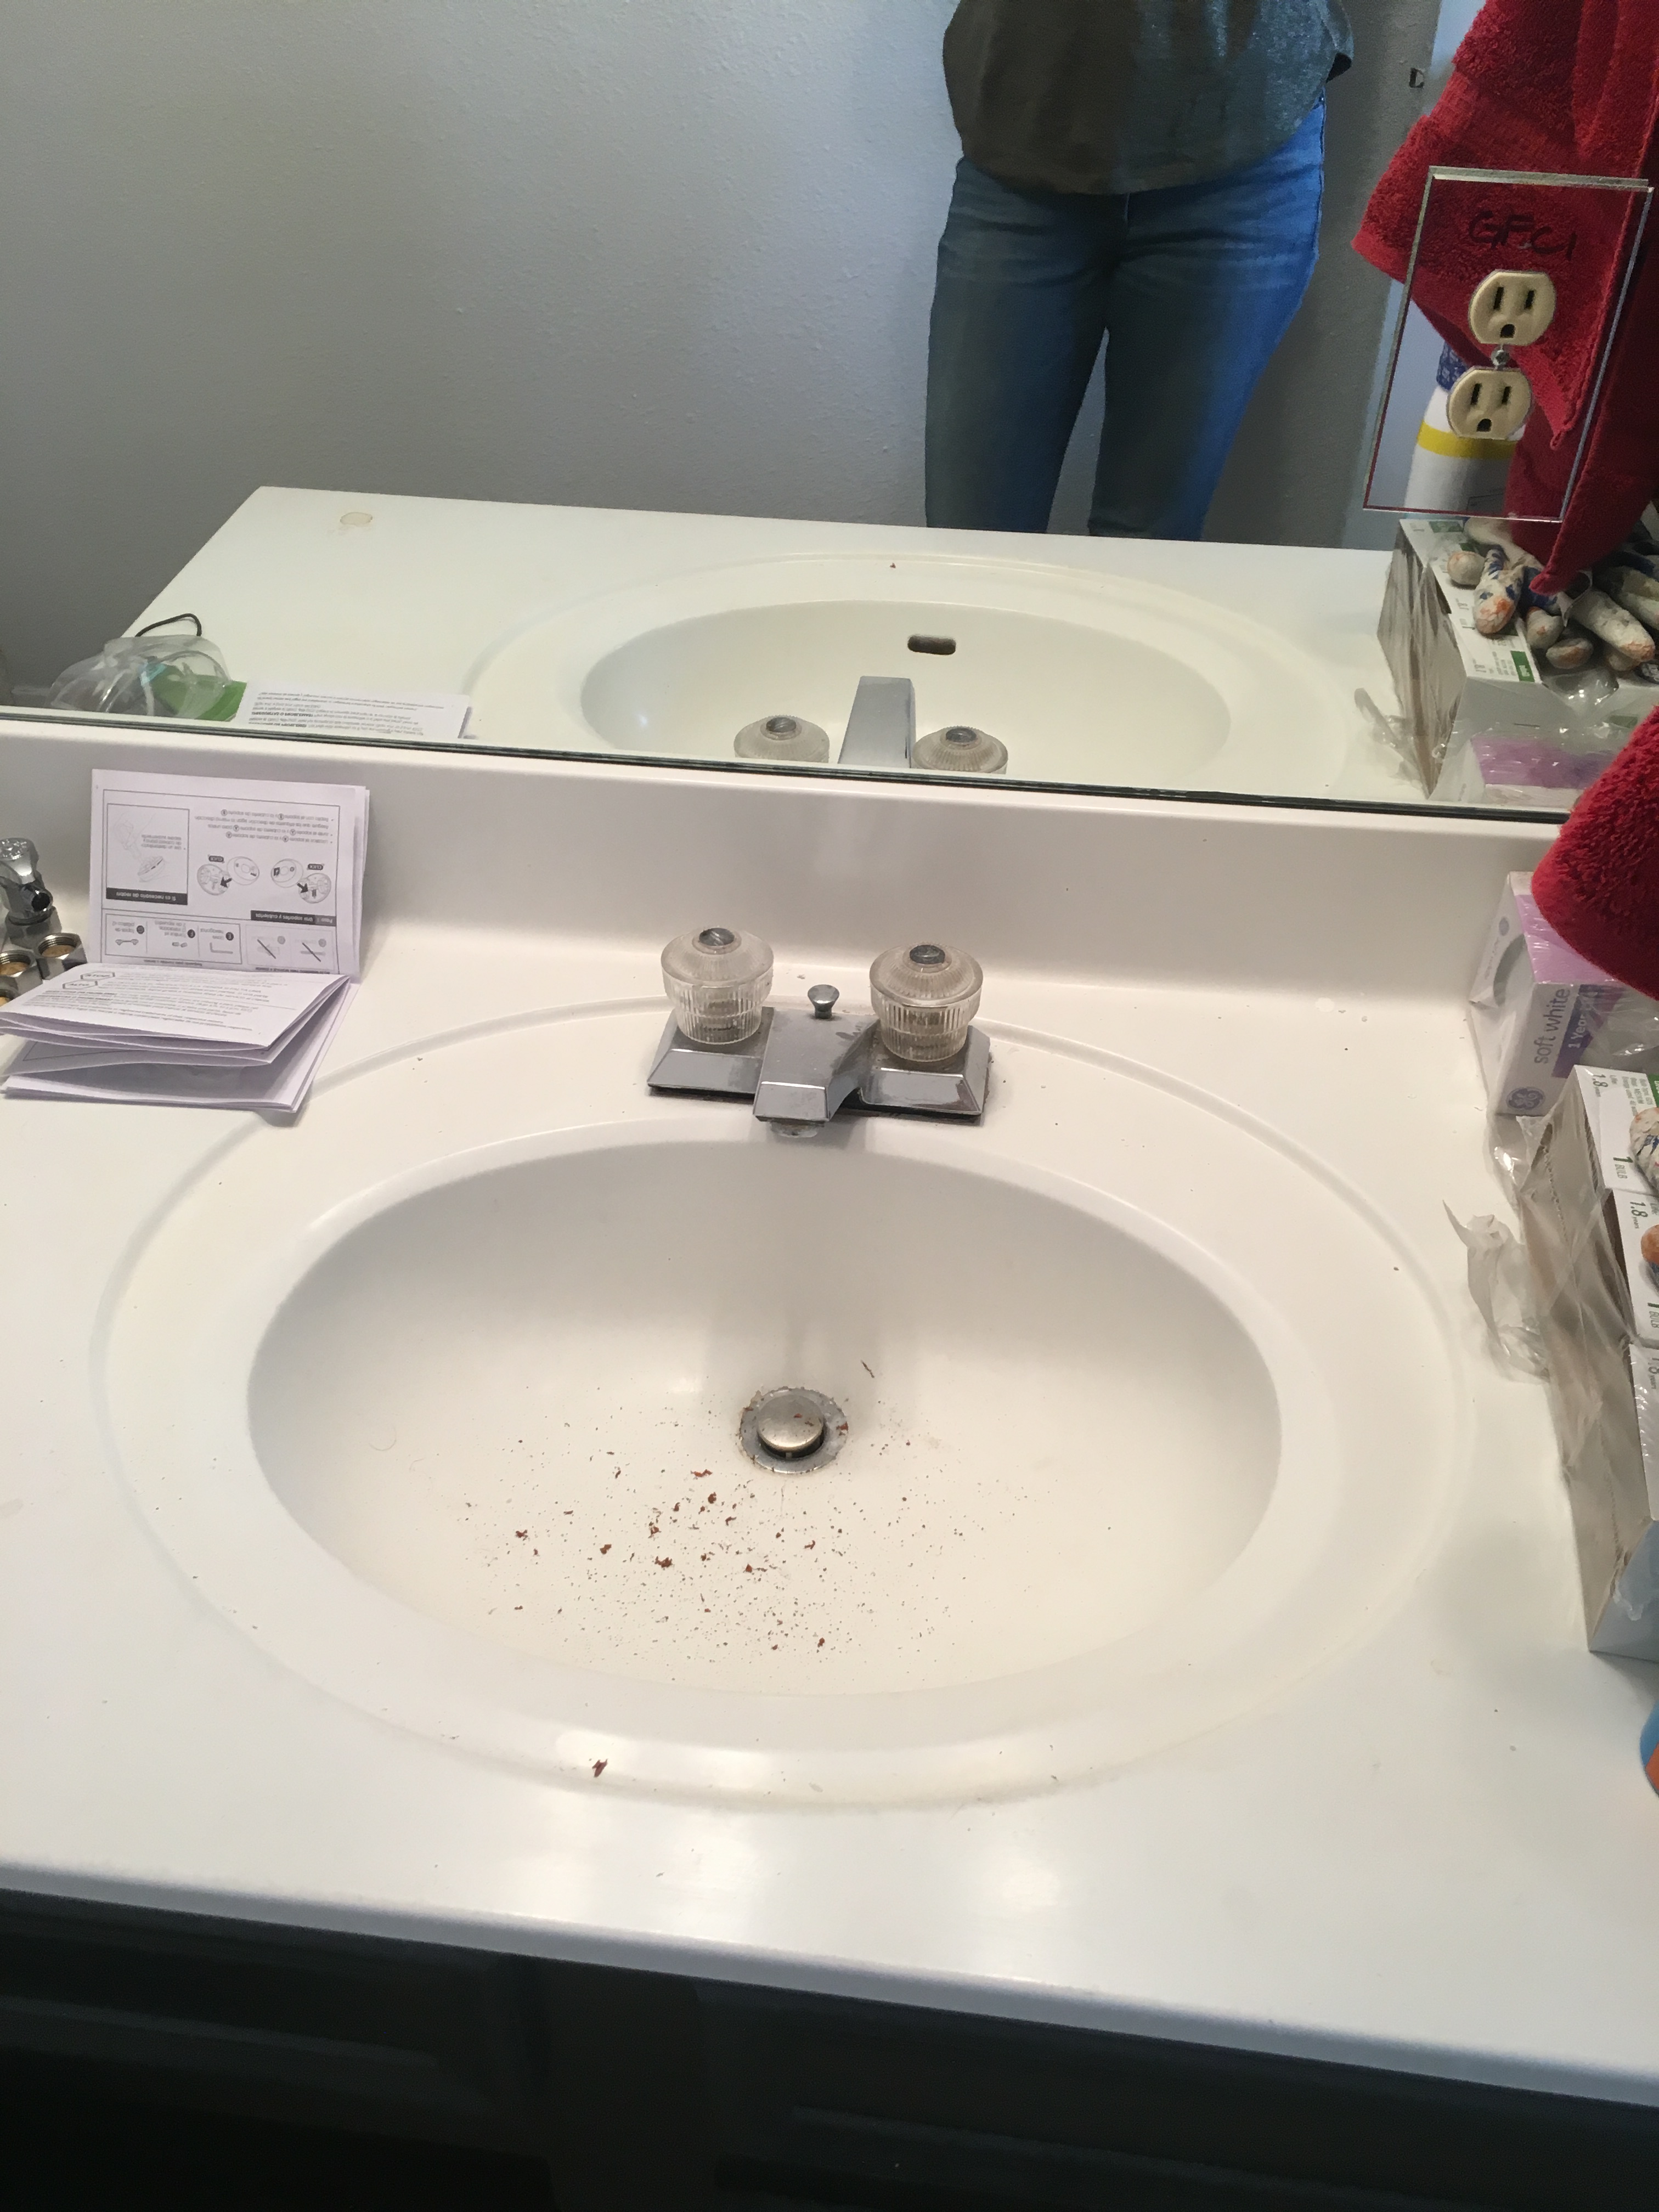
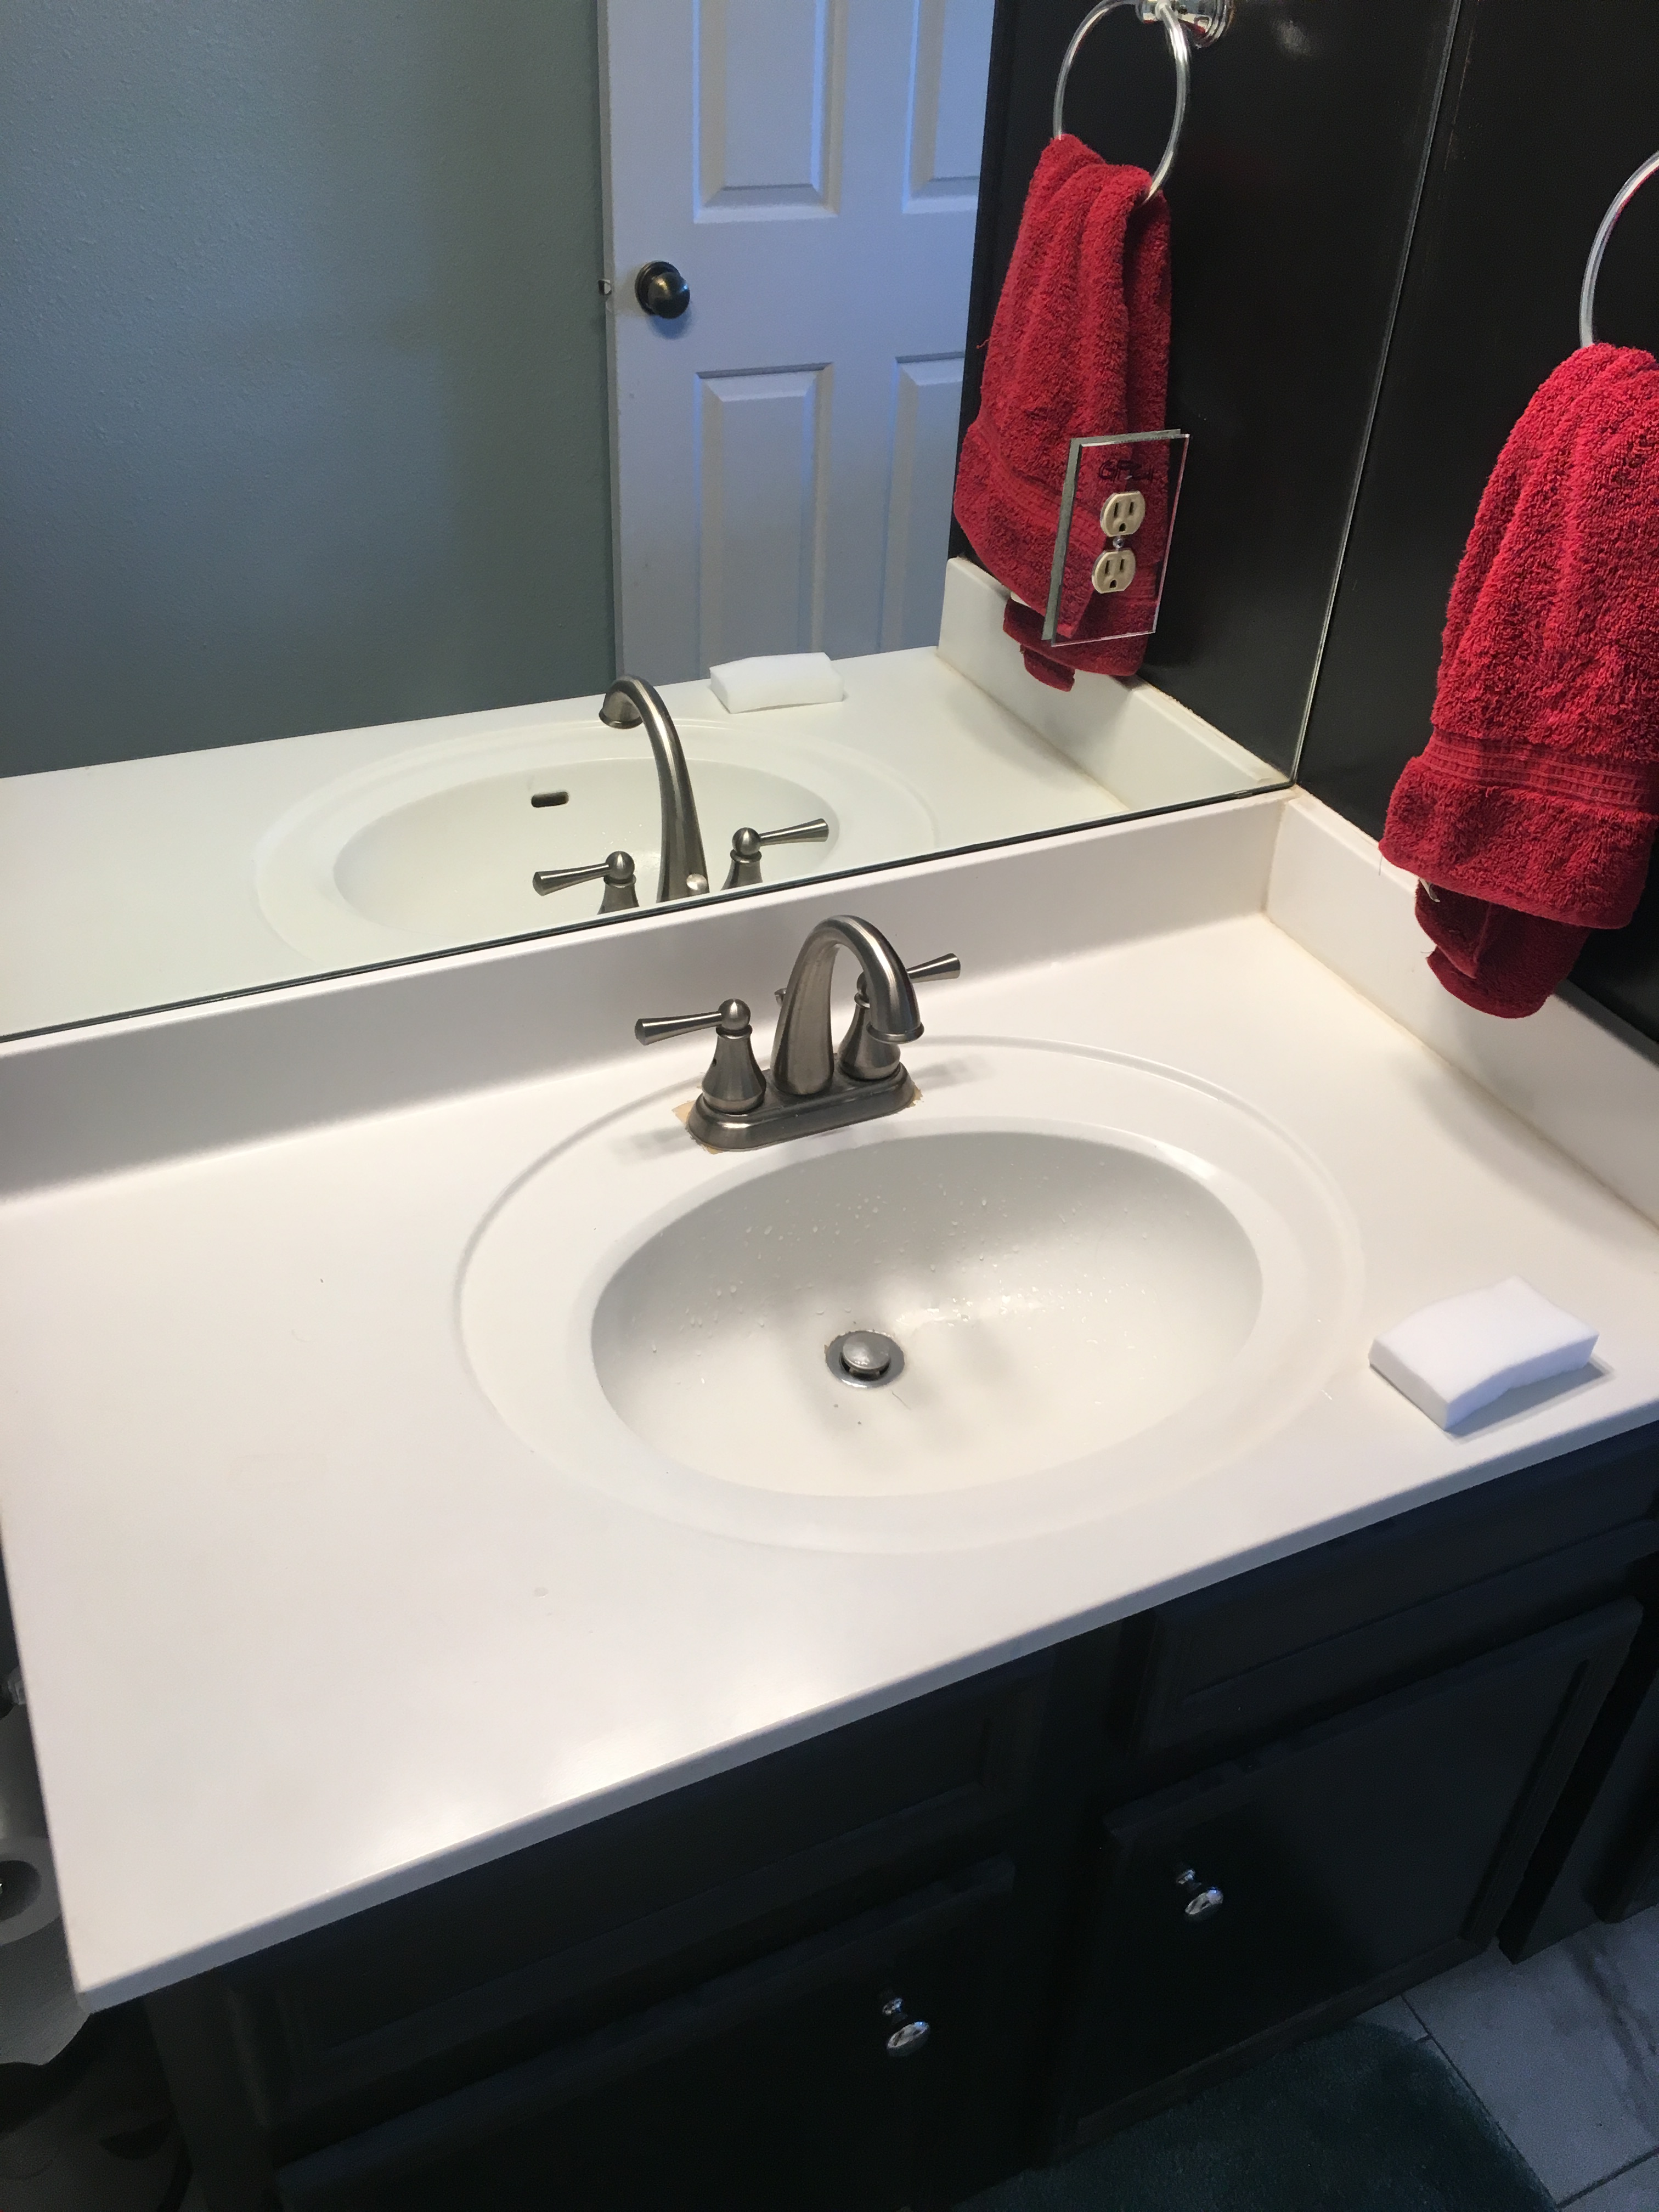
Once my husband and his buddy got the vanity in place, my plumber was able to finish out the bathroom plumbing by installing the faucets and toilet.
Cost Breakdown
| Item | Cost | Notes |
| Tub/fixtures/vanity | $2,063 | Includes tax, all from Home Depot |
| Plumbing | $2,250 | Includes rough in and finish out (added plumbing for one sink, replaced tub, moved toilet flange, and installed all fixtures) |
| Junk haul off | $355 | |
| Tile and install materials | $922 | Includes price for new wet saw |
| Texture and paint | $1,050 | Cost of fixing my mistakes |
| Finishing touches | $204 | Mirrors, vanity lights, shelves |
| Electrical | Add second vanity light, replace old ceiling vent, add canned light in shower | |
| TOTAL | $6,843 |
